Introduction to PICO-8 for Raspberry Pi
Get started with making 8-bit games on the Raspberry Pi with PICO-8
Written By: Cherie Tan
Difficulty
Easy
Steps
17
PICO-8 is a fantasy gaming console with an easy learning curve and constraints that makes it perfect for beginners to learn how to program and design their own games.
In this guide, we will walk you through on how to install and set up PICO-8 on the Raspberry Pi, then on how to create your first game where we'll get a player sprite to move across the screen.
Complete this guide to start making 8-bit games on the Raspberry Pi in a few simple steps.
In this guide, we will walk you through on how to install and set up PICO-8 on the Raspberry Pi, then on how to create your first game where we'll get a player sprite to move across the screen.
Complete this guide to start making 8-bit games on the Raspberry Pi in a few simple steps.
PICO-8 is a fantasy console for making, sharing, and playing tiny 8-bit games. It thrives within constraints such as a limited screen size, colour palette, and code length. Why is this a good thing? Having a constrained code length means we really need to think and make decisions on what is really important to keep in the game.
With other game engines such as Unity, you might need to work on a variety of different screen resolutions and optimise your game as such; On PICO-8, there's just the one resolution to work with, 128x128 pixels. It also includes a built-in sprite and music editor! All this creates an easy-to-learn environment that encourages small but expressive designs.
Fancy creating your own physical PICO-8 handheld console? Pick up a Game HAT for the Raspberry Pi with its large 480x320 screen and you could play a PICO-8 game scaled at a crisp 256x256 pixels.
This guide walks you through on how to install PICO-8 on the Raspberry Pi, which will get you started with making your first game in no time.
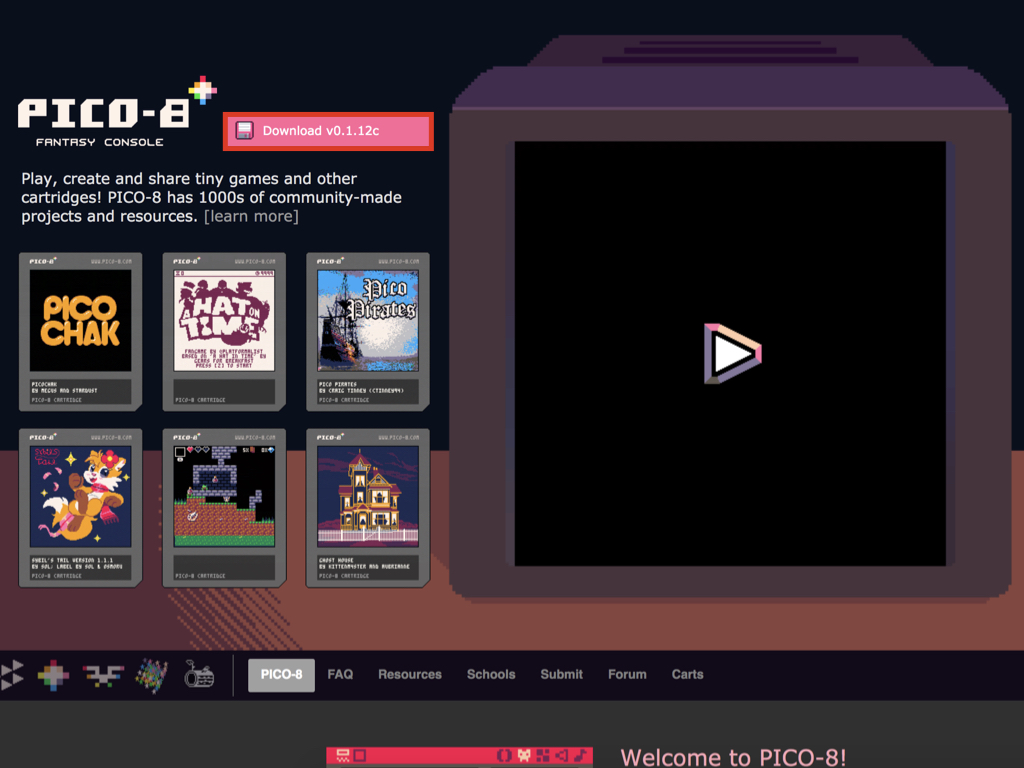
Head to the official Lexaloffle website and click on the Download v0.1.12c button
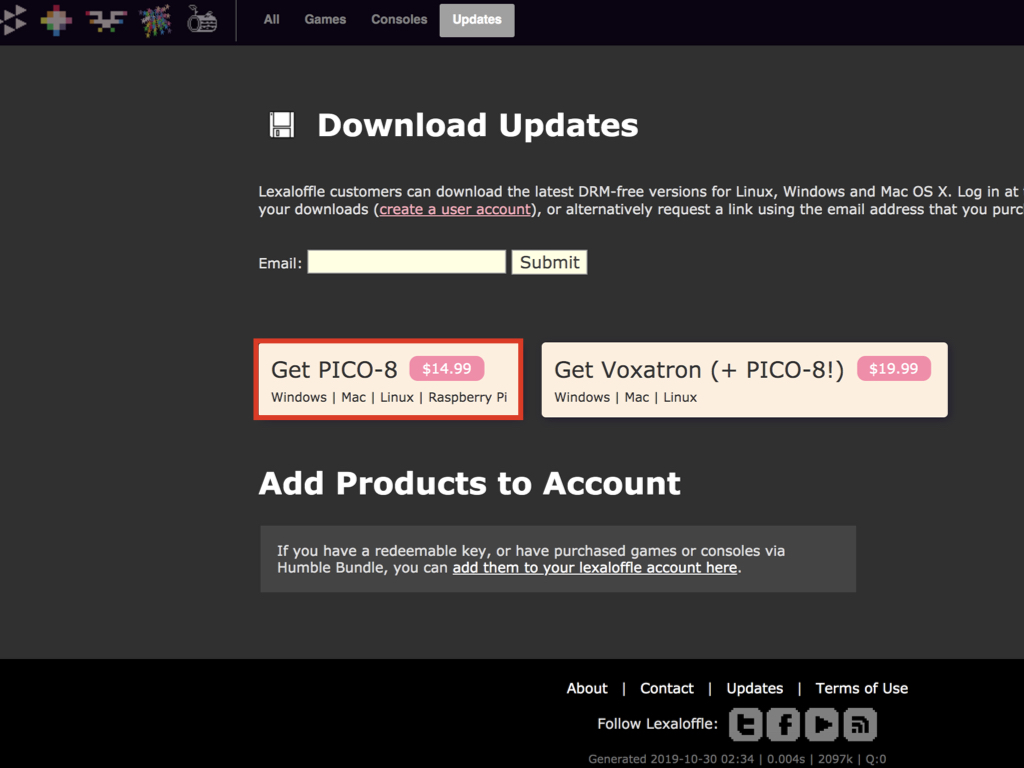
Click on Get PICO-8
Head to the Downloads section of your new account on the website and download the Raspberry Pi version of PICO-8. To get it on the Raspberry Pi, use Chromium to download the .zip file directly to your Raspberry Pi.
The PICO-8 license also includes builds for Windows, macOS, and Linux as well!
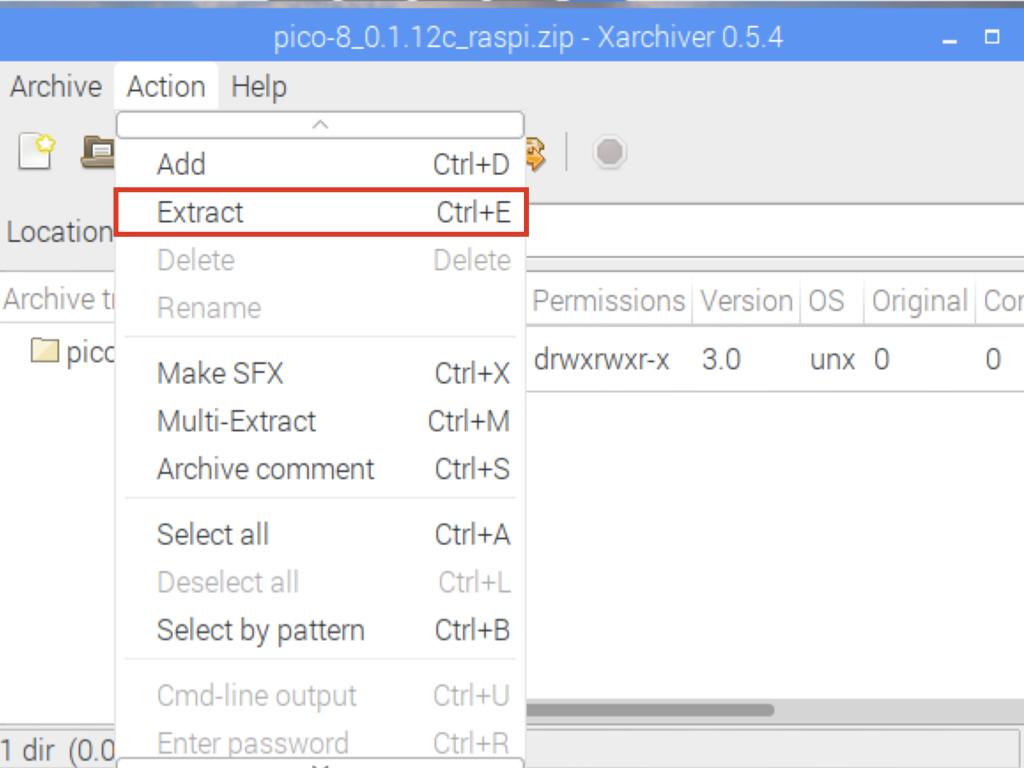
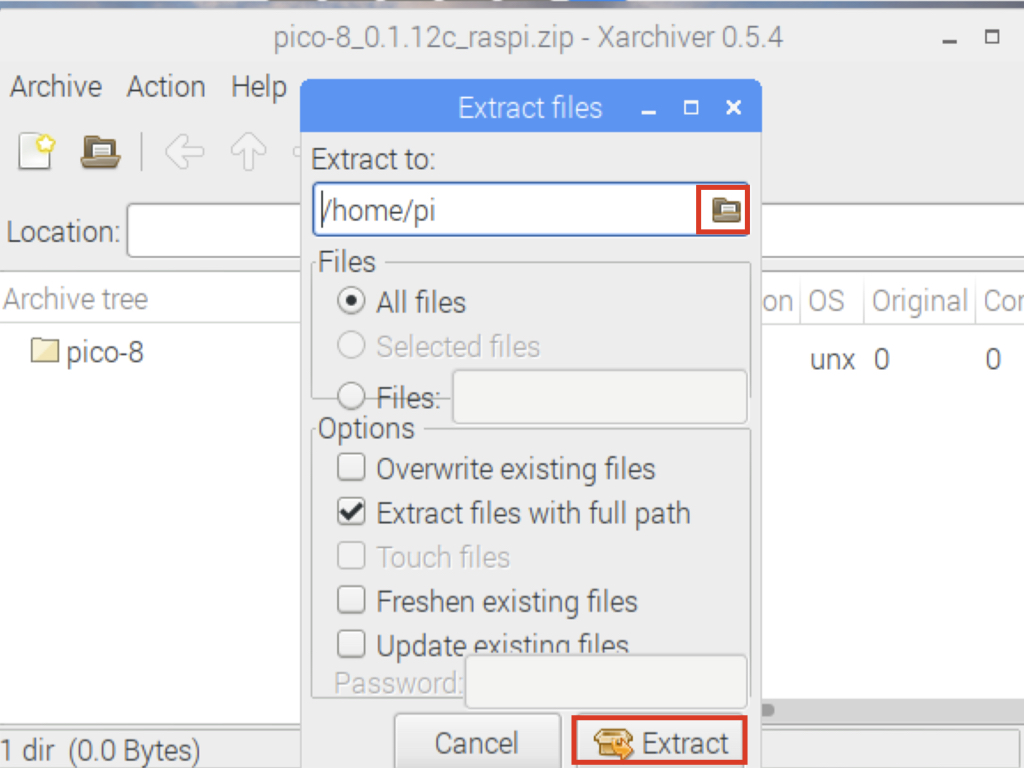
Go to Action > Extract
Extract its contents into the /home/pi directory
Click on the Extract button
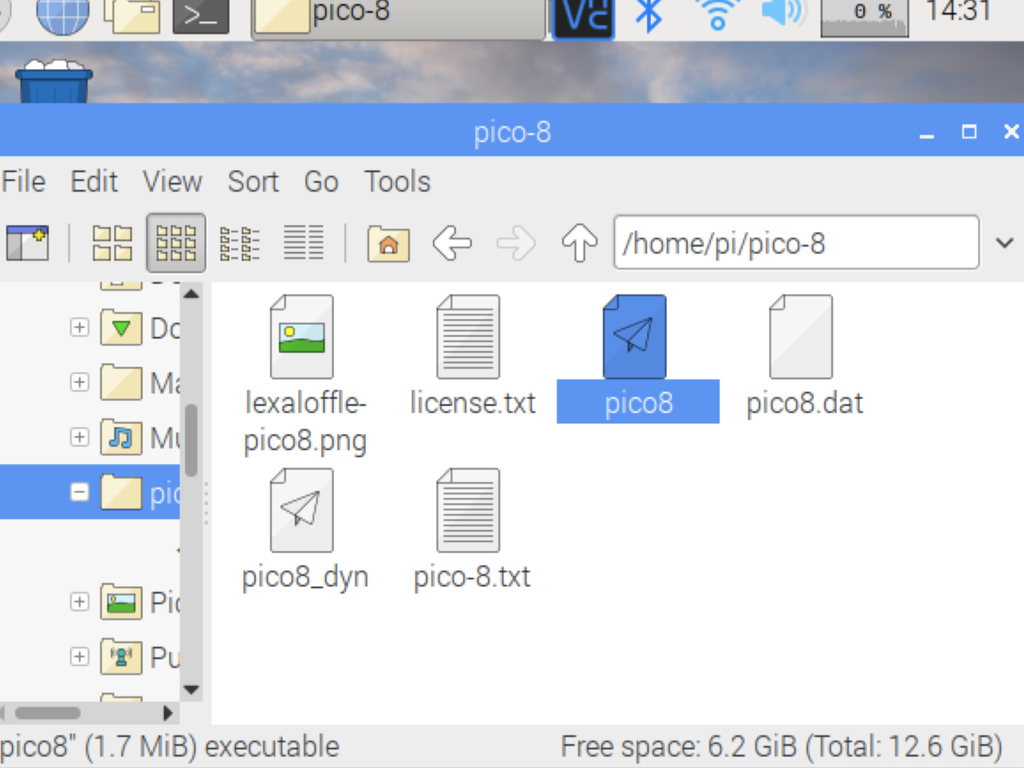
Now open up the pico-8 folder and click on pico8!
Next, navigate to where the zip file is located and double-click on it.
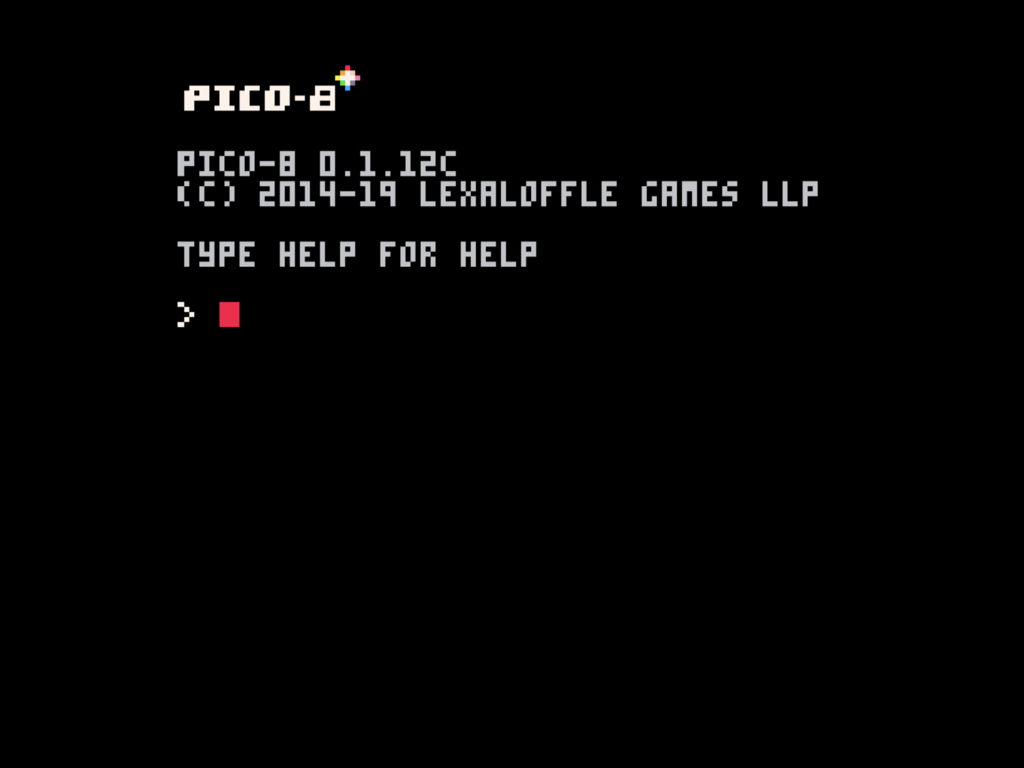
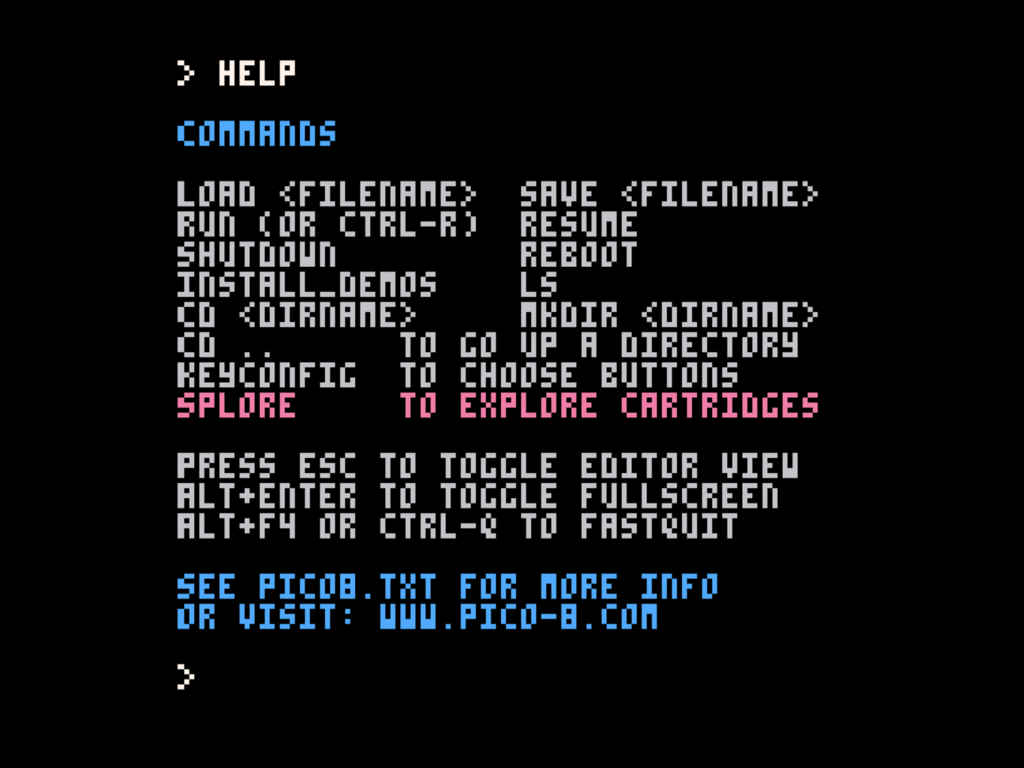
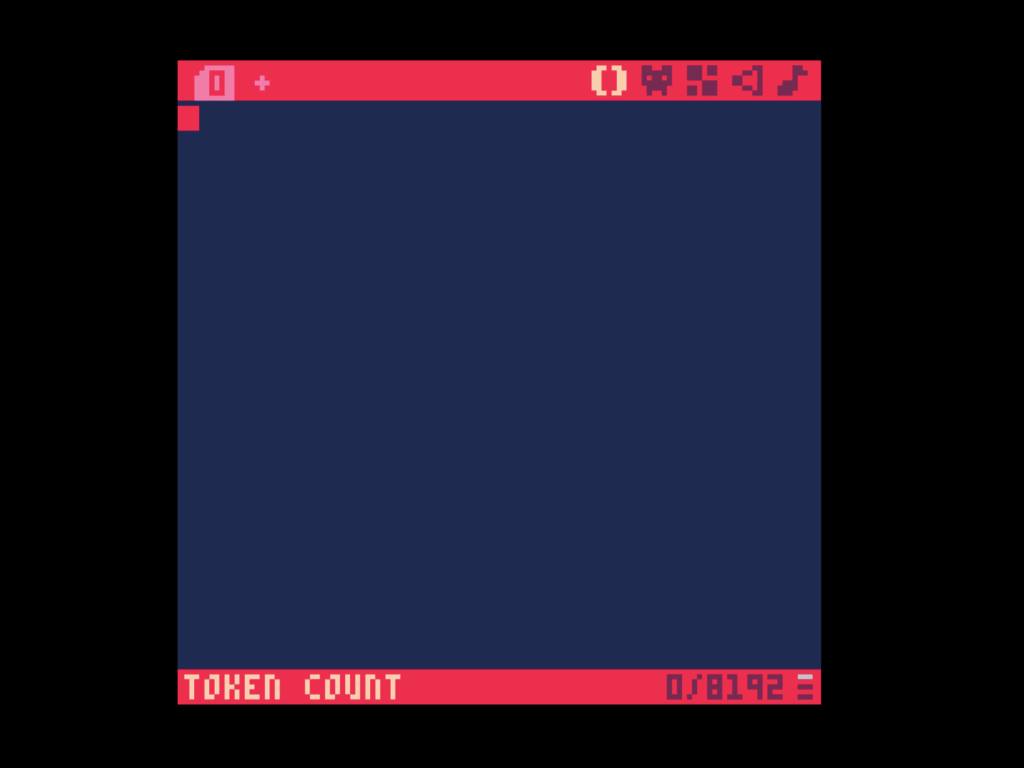
After launching PICO-8 you should now see the console where you can type help to see a list of commands.
PICO-8 doesn't use upper case letters at all, try using upper case to type HELP and you might notice that it outputs symbols instead.
It also does not require the use of semicolons to end the lines of your code, similar to Python!
Simply hit the ESC key to move between the console and game editor.
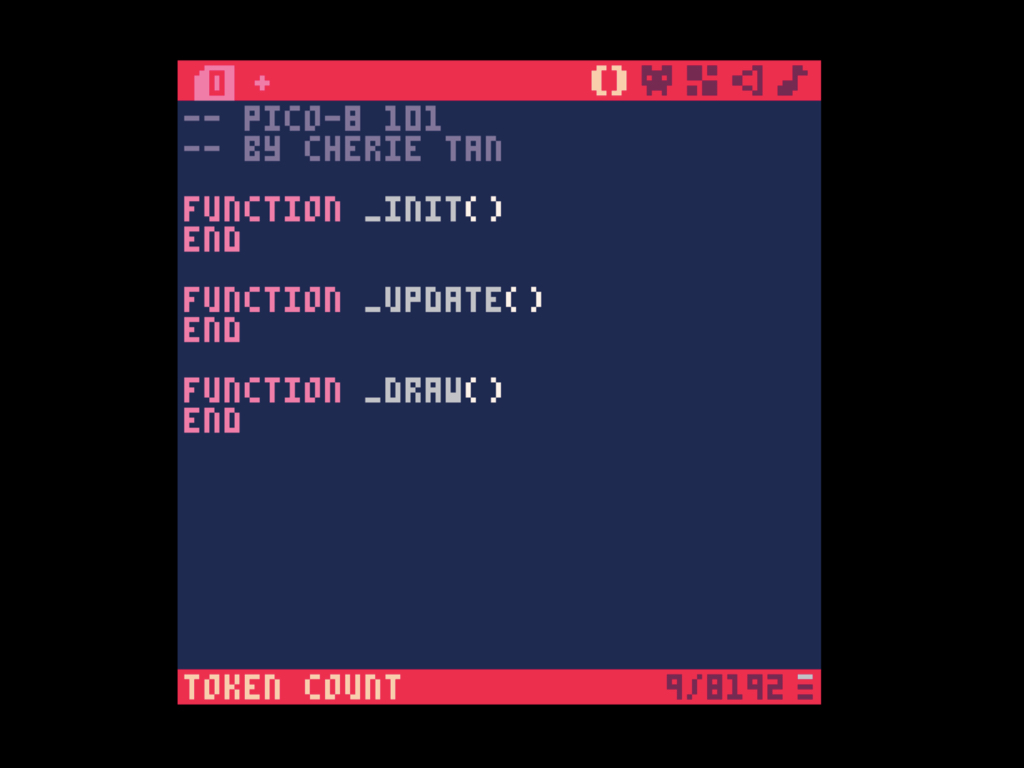
PICO-8 has three special functions to create what's called a game loop. The _init() function happens only once. The other two special functions, _update() and _draw() happens in a loop until the game ends, specifically 30 times a second. What this also means is that PICO-8 games run at 30 fps by default.
Go ahead and define these three functions in the code editor.
While it is possible to place all your code within these three functions, it is generally better to create other separate functions, then have these three run those other functions. Later, we will create a separate function to move the player sprite!
The code limit for PICO-8 is based on tokens, which are individual bits of code. For example, X=5 would take up three tokens. Yup, that's one token for each part: (X, =, and 5). Notice the "Token Count" of 9/8192 down below on the code editor? A total of 8192 tokens are allowed which is generally fine for even a large game!
A function contains instructions for the computer that are grouped together under one name. They are written with parentheses after its name, for example: function move()
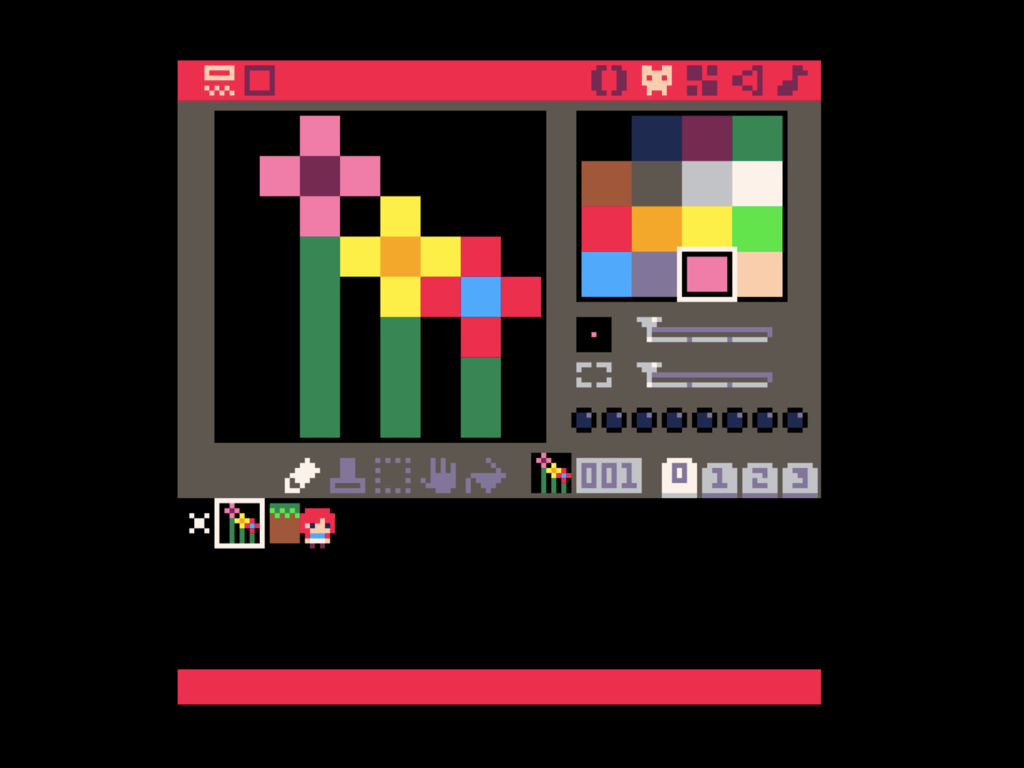
It is also possible to import a PNG image file as sprite data from an external sprite editor such as Aseprite, into PICO-8.
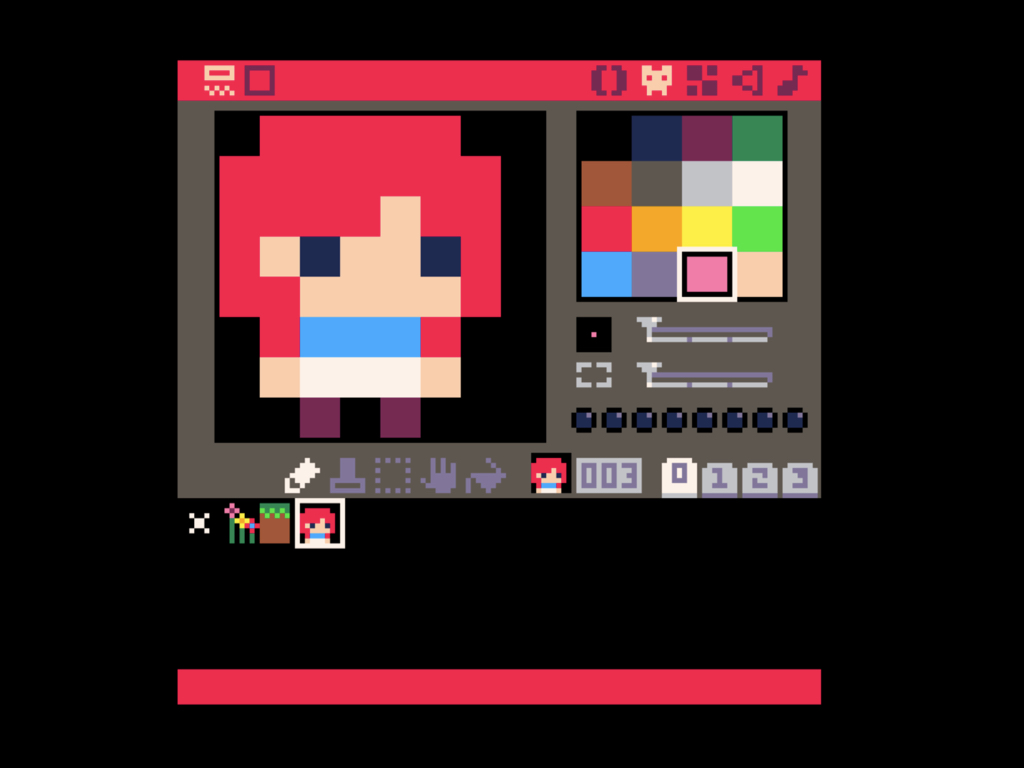
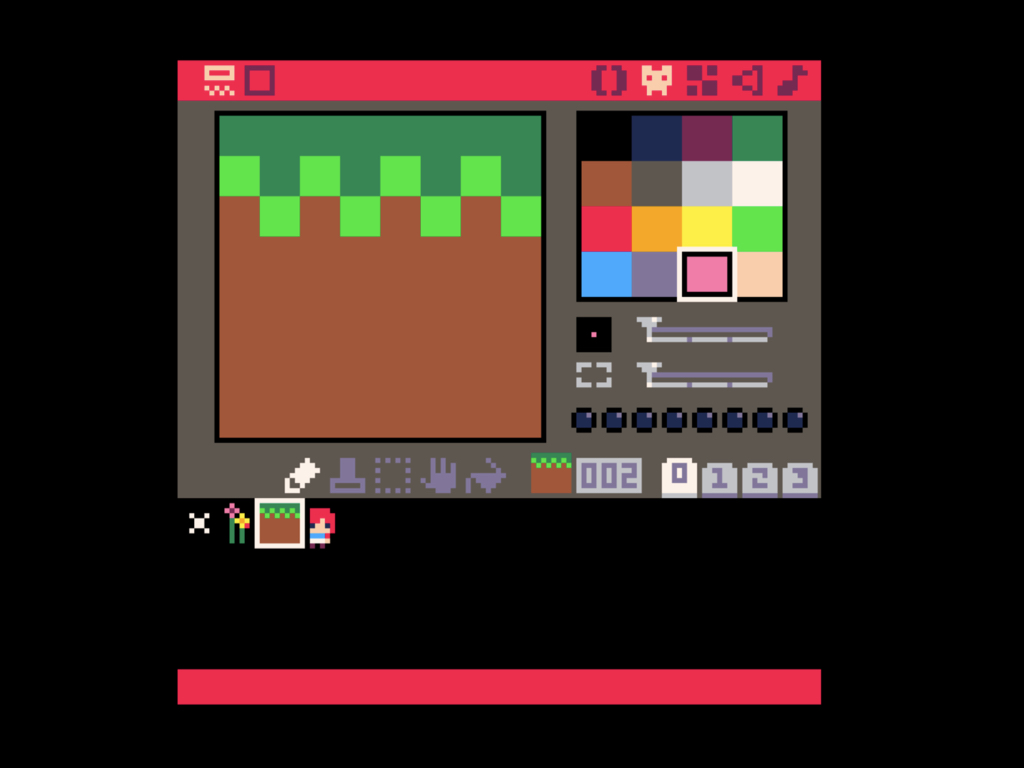
Sprites are the pieces of art that make up the game. These can be characters, tiles, backgrounds, and so on. Click on the sprite editor icon up the top right-hand corner to start drawing!
You can create 256 sprites, at 8x8 pixels across four tabs labelled 0 to 3. Click on an empty black space on the bottom of the sprite editor to create the next sprite.
Note: Tabs 2 and 3 are shared with the Map Editor! So if your map is going to be rather large, you probably won't be able to use the last two tabs for other kinds of sprites.
Note: Tabs 2 and 3 are shared with the Map Editor! So if your map is going to be rather large, you probably won't be able to use the last two tabs for other kinds of sprites.
There are five tools in the sprite editor: Draw, Stamp from Clipboard, Select, Pan, and Fill.
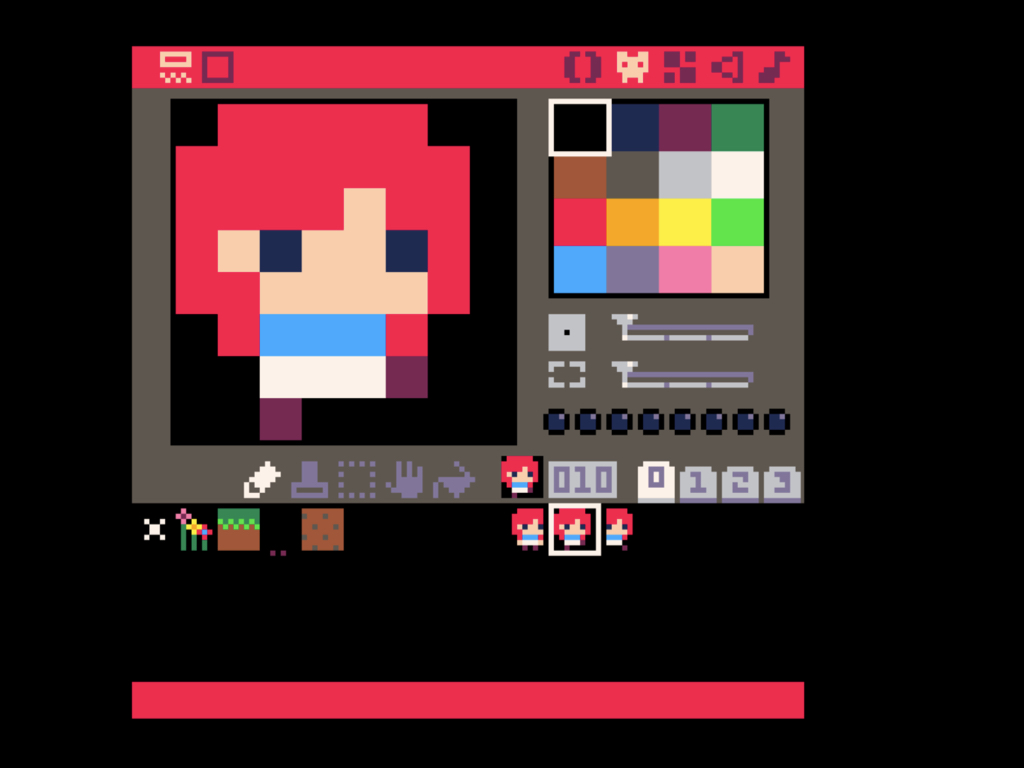
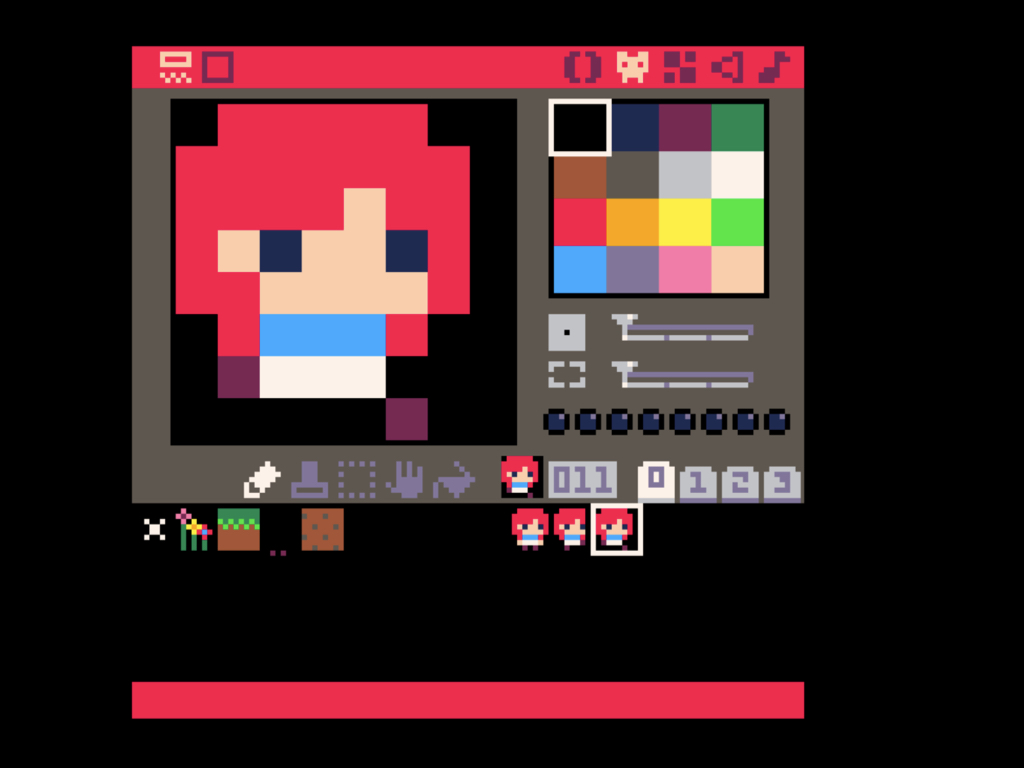
We will need sprites for the player movement. Go ahead and create walking sprites for your player sprite.
The player idle and walking sprites are sprites placed at #9 to #11. These numbers will later be used in our code.
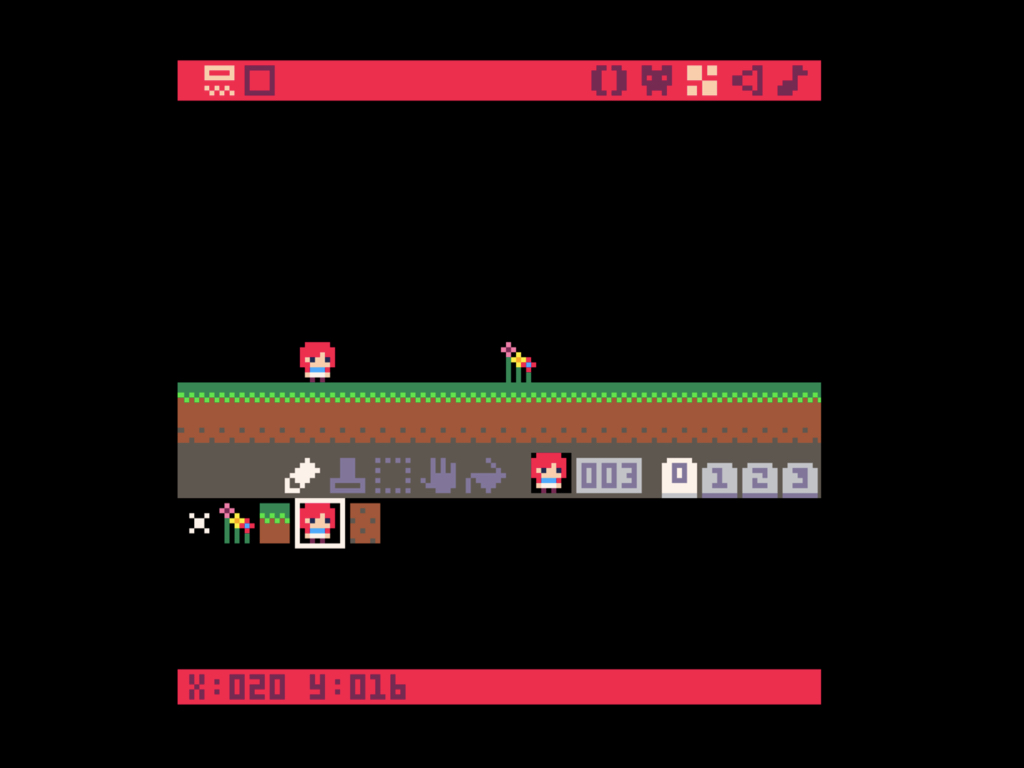
Click on the Map Editor icon next to the Sprite Editor icon.
The map tiles use 8x8 sprites from the Sprite Editor, with a maximum map size of 128x64 pixels.
Lay out your sprites across the map!
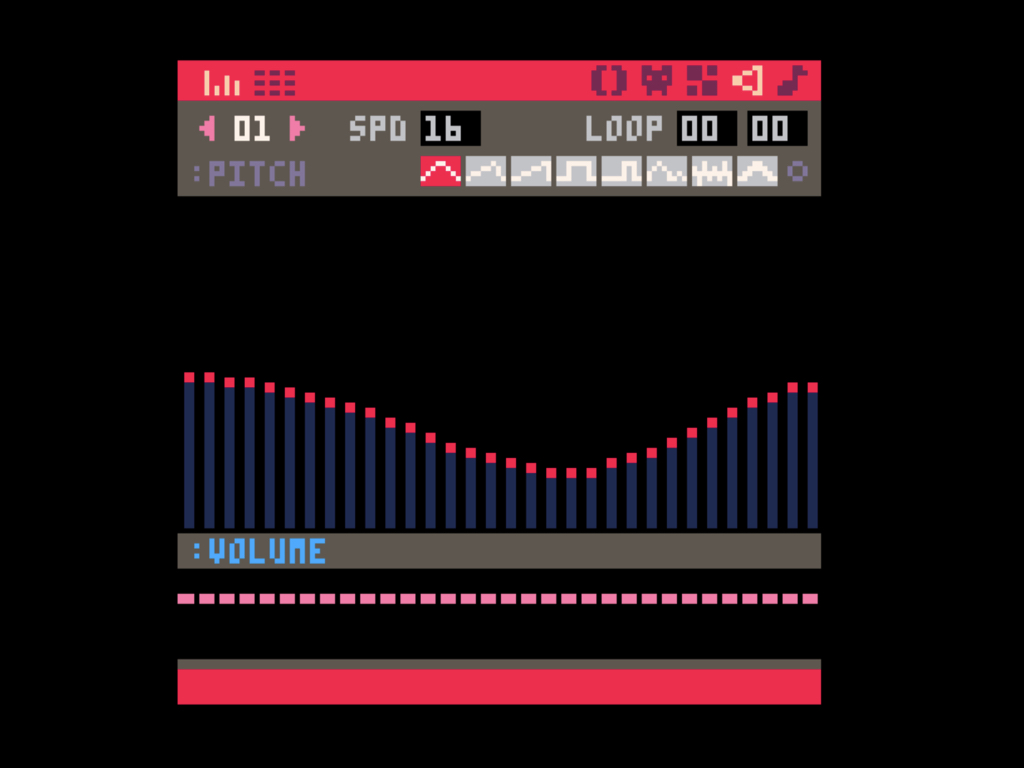
Each PICO-8 cartridge can have up to 64 sounds, with each sound having 32 notes.
Frequency, instrument, volume, and effect can be controlled for each note.
Playback speed can be changed and you can also loop entire sections.
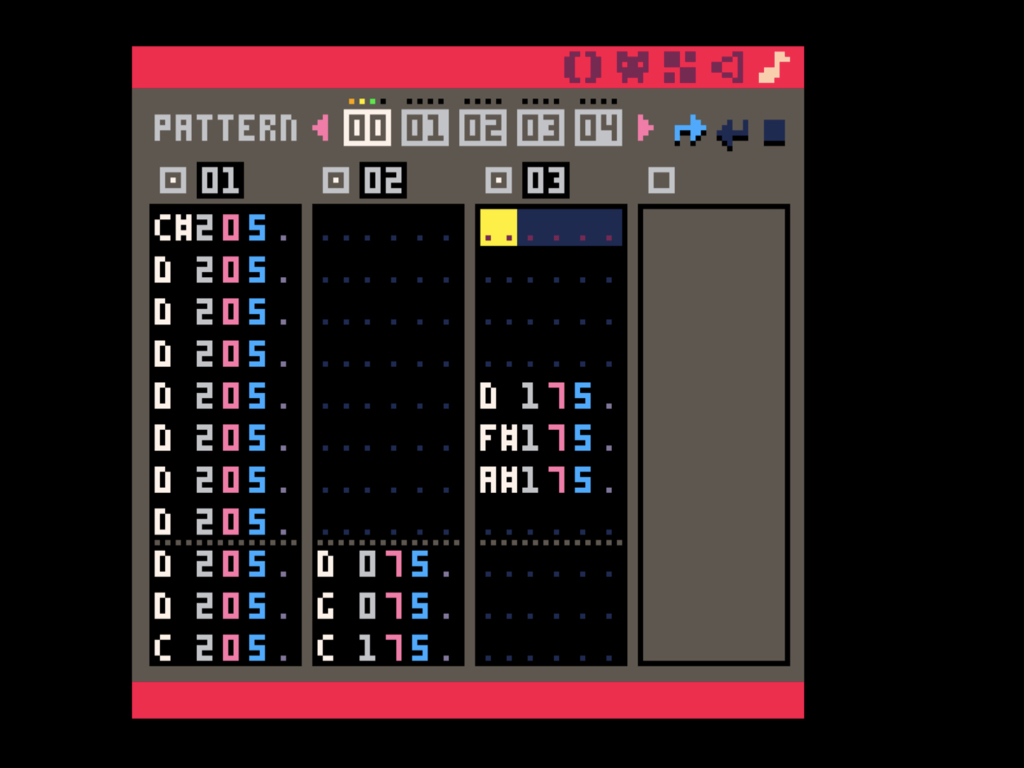
Using the sounds from the sound editor, you can create patterns of music in the music editor! Each pattern has four channels. It is here that you can layer and combine the sound effects to make music.
There are three controls on the top right-hand corner, two arrows and a square. These help to set patterns to stop, or loop back to a previous pattern.
The right arrow if on, marks a start point
The left arrow marks a loop point.
If the square button is on, that marks a stop point.
The right arrow if on, marks a start point
The left arrow marks a loop point.
If the square button is on, that marks a stop point.
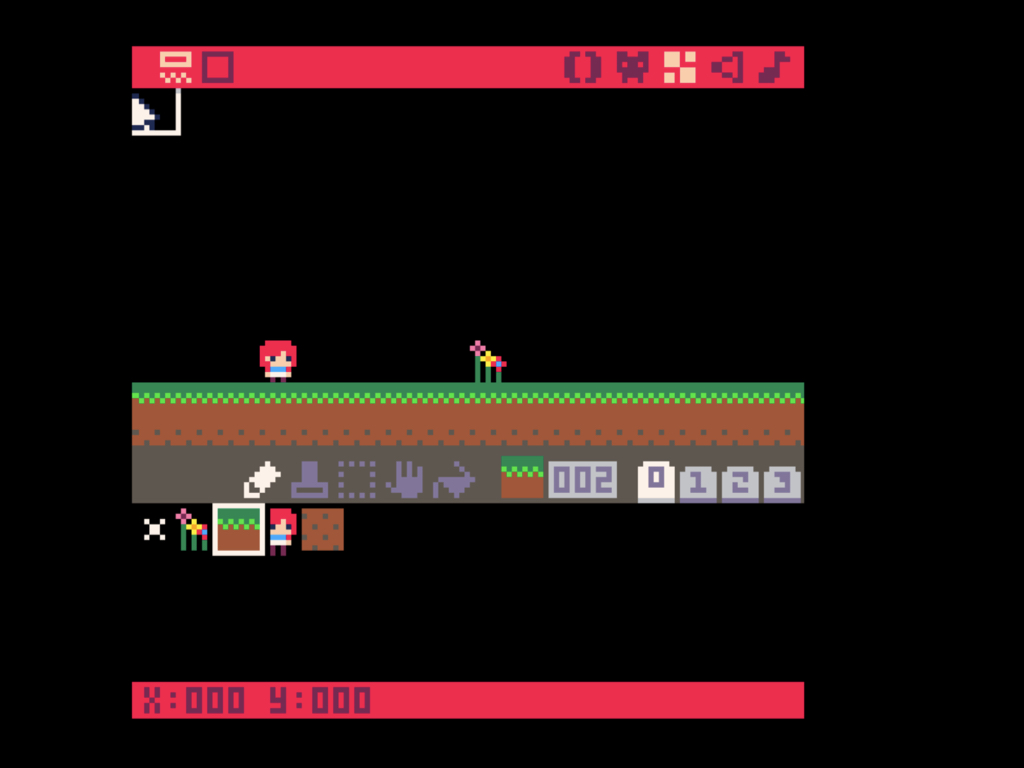
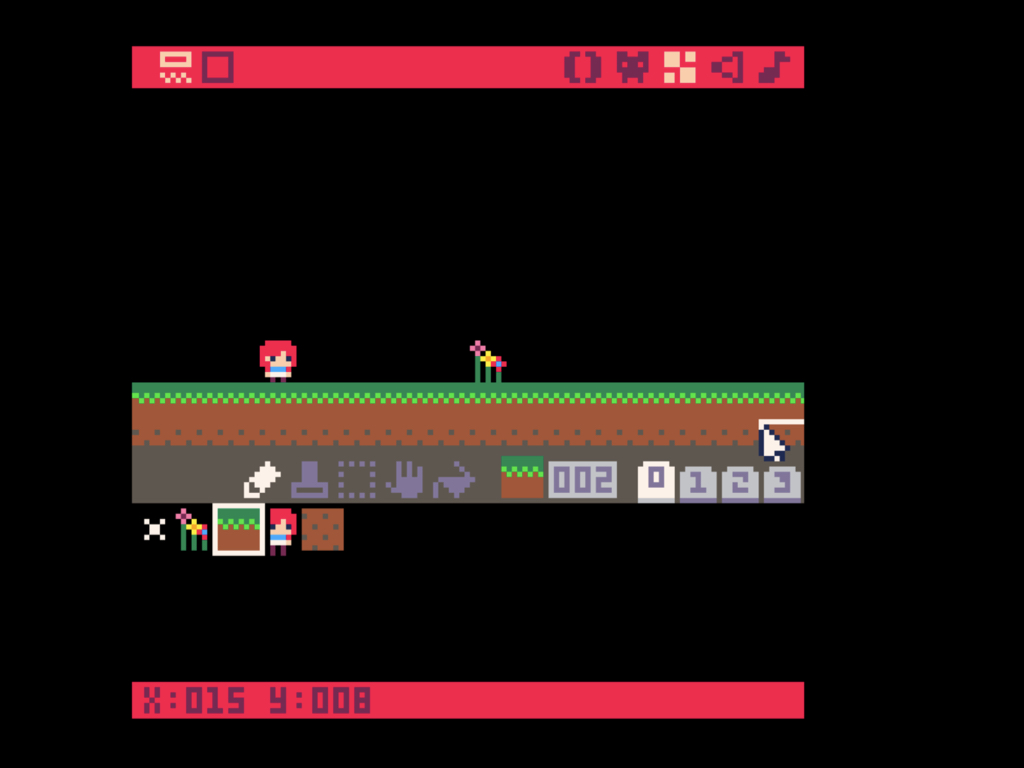
The PICO-8's screen space is 128 pixels wide by 128 pixels tall. But notice how the coordinates starts at 0,0 up the top-left corner? Move right and the value of the X coordinate goes up, move down and the value of the y coordinate goes down.
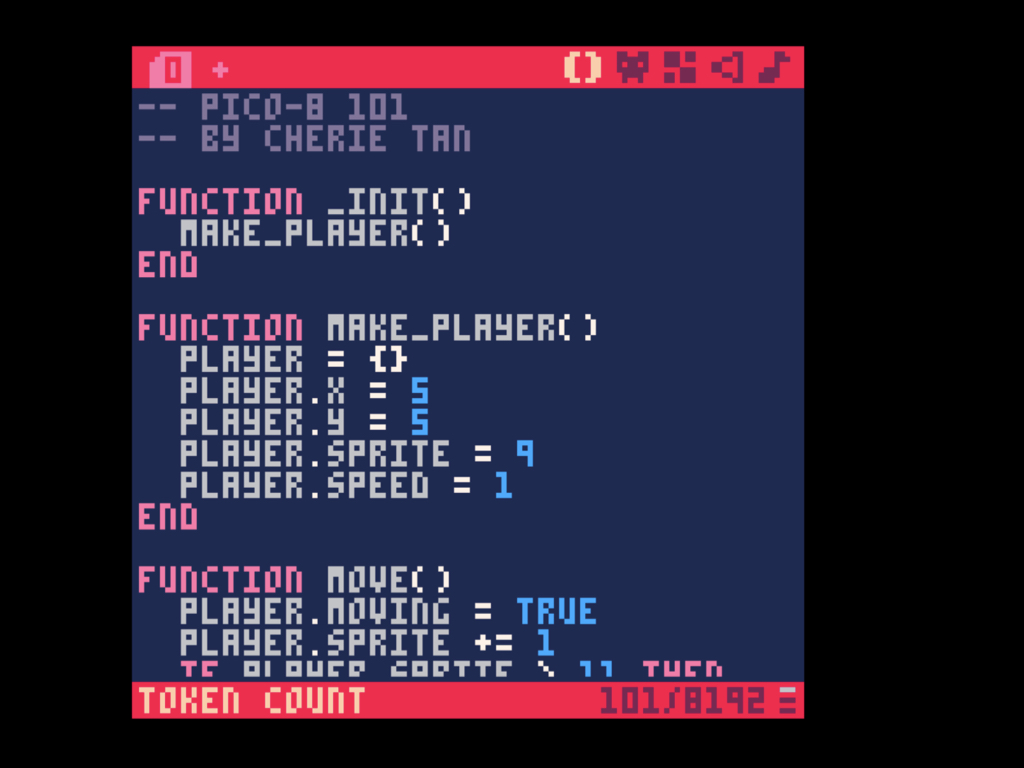
Now that we've looked at each section of the PICO-8 editor, let's start with coding our first game in PICO-8. For this game, we will get the player sprite to move across the screen. First, go ahead and create a new function and name it make_player.
Next, to add code to this function, we'll need to talk about variables and tables! A variable is a way to store information, with a name. In PICO-8, this information could be numbers, text, or the values TRUE or FALSE. For example, "x = 5", the variable is named x with a value of 5.
Tables are a way to store a lot of information all together under one variable name. When you add information, or value to a table, it gets paired with a key which can be a name or a number. This key is what you use to get the information back out of the table.
Go ahead and create a table, name it player by using empty curly braces.
Next, add keys such as player.x, player.y, player.sprite, and player.speed.
The value in player.sprite will be the sprite number. Earlier on, we created the player idle sprite at #9 with moving player sprites at #10 and #11.
Remember to run the make_player() function in _init()!
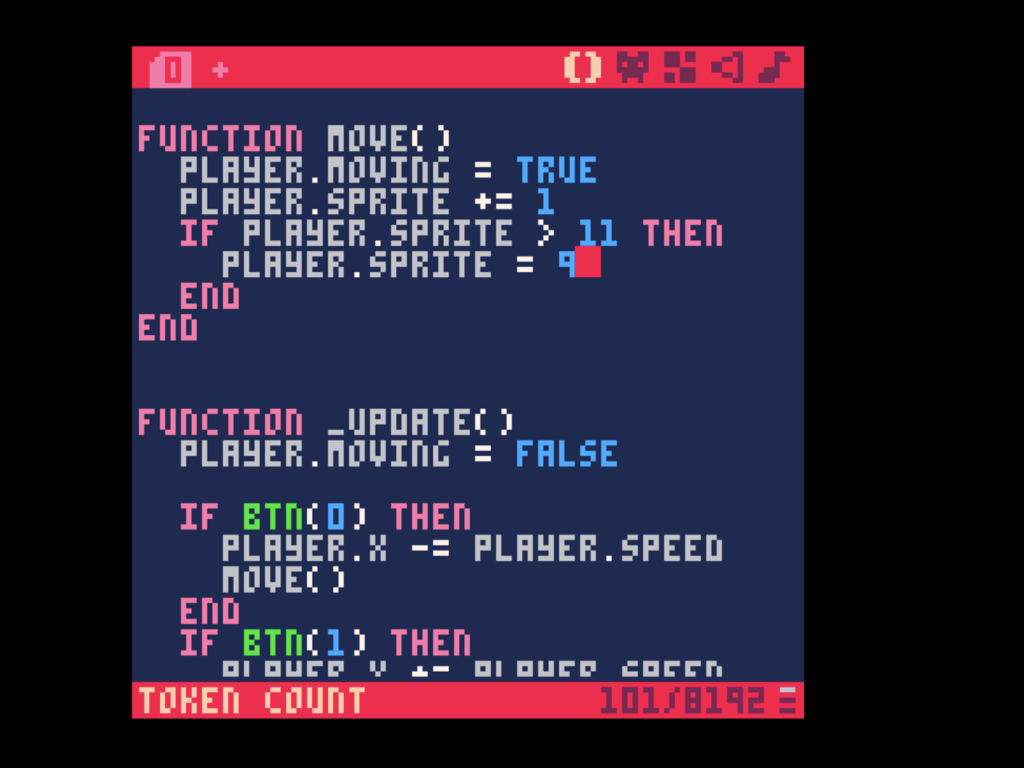
Next, create another function and name it move
Add a new key for the player table, player.moving with a value of TRUE
Then increment the value of player.sprite by 1 with player.sprite += 1
Next, create a conditional statement such that if the player.sprite value is greater than 11, then set the player.sprite value back to 9.
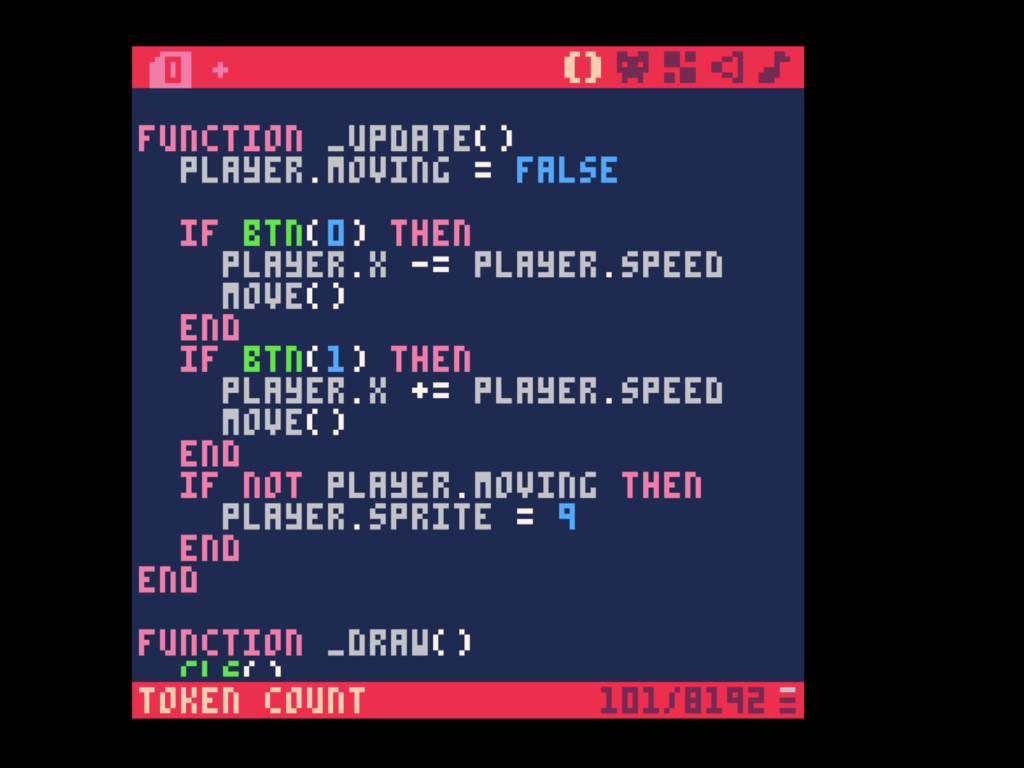
Next, remember to call move() after each button press to animate the player character.
If the player sprite is not moving then set it to sprite at #9, which shows the player character at idle.
Inside _update(), we'll now call the move function to animate and move the player character as well as add player controls. First, set player.moving to FALSE.
To move the player sprite, we'll use btn(0) and btn(1).
btn(0) represents the left arrow key and btn(1) represents the right arrow key. If the left arrow key is pressed, then decrement the value of player.x by player.speed. So if the player is currently at x coordinate 15, and we decremented it by the player.speed which is 1, the player's x coordinate or player.x will now be 14. Likewise, if the right arrow key is pressed, then the value of player.x is incremented by player.speed which is 1. Feel free to change the value of player.speed to increase or decrease its speed.
btn(0) represents the left arrow key and btn(1) represents the right arrow key. If the left arrow key is pressed, then decrement the value of player.x by player.speed. So if the player is currently at x coordinate 15, and we decremented it by the player.speed which is 1, the player's x coordinate or player.x will now be 14. Likewise, if the right arrow key is pressed, then the value of player.x is incremented by player.speed which is 1. Feel free to change the value of player.speed to increase or decrease its speed.
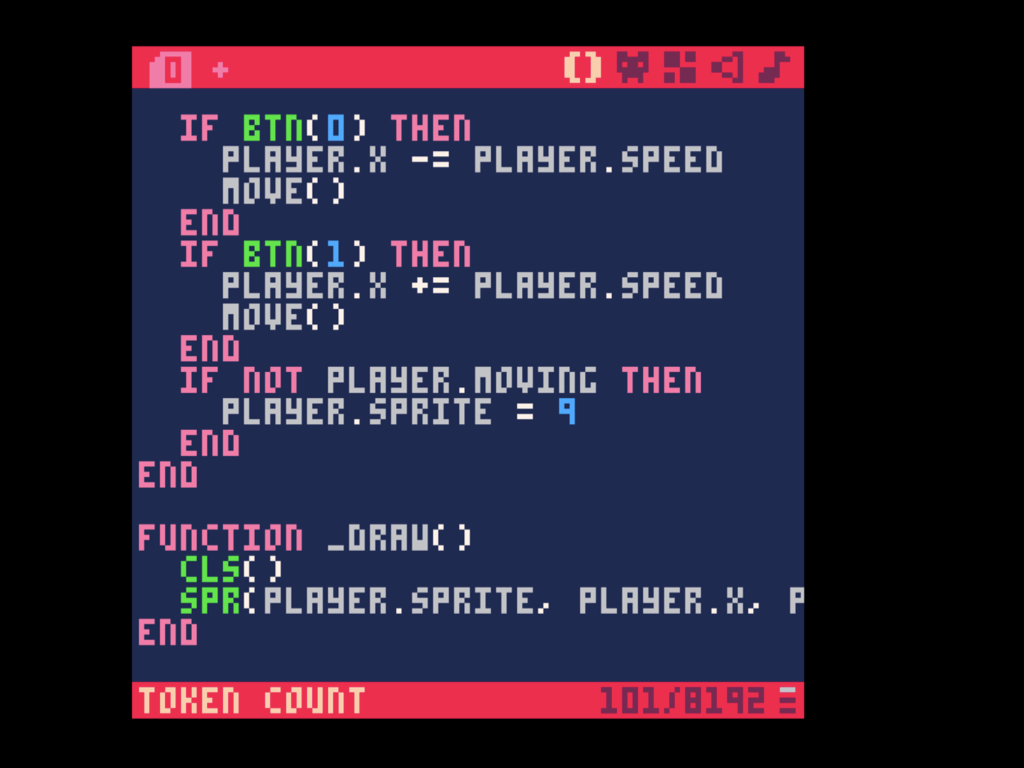
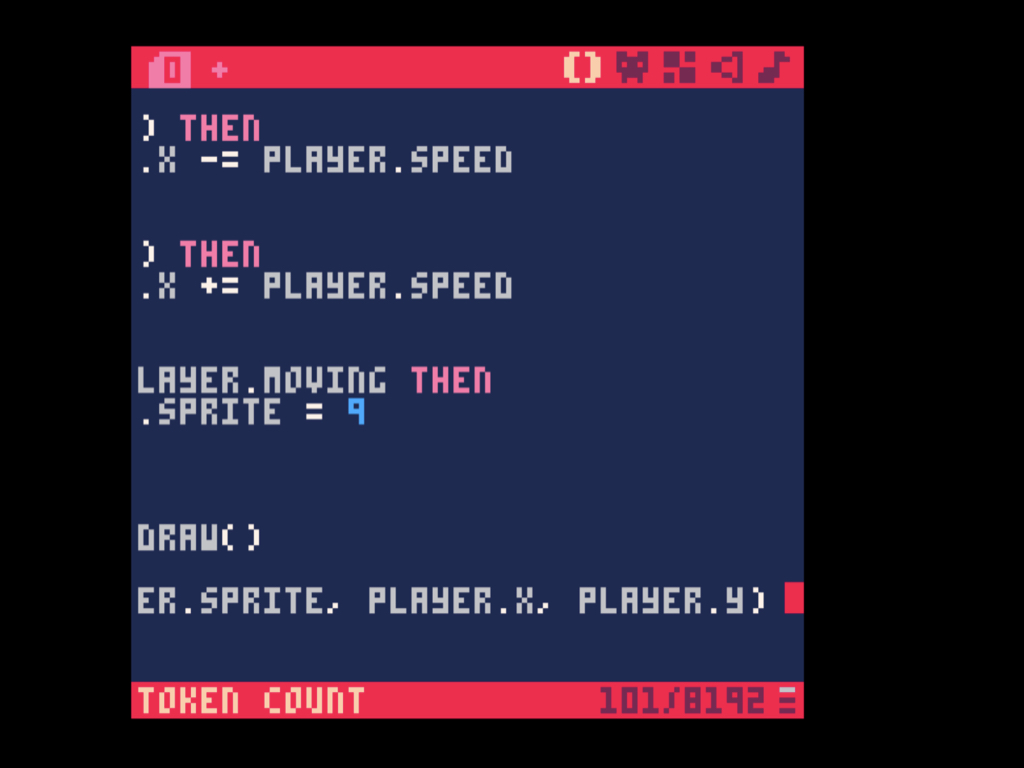
Next, over in the _draw() function, first, clear the screen with cls()
Then draw the player sprite on screen with spr()
There can be seven parameters for spr( n, x, y, [w, ] [h, ], [flip_x,] [flip_y]) which are:
n : The sprite number
x : The x coordinate
y : The y coordinate
w : The width of the range, as a number of sprites.
h : The height of the range, as a number of sprites
flip_x : If true, the sprite is drawn inverted left to right. By default, it is set to false.
flip_y : If true, the sprite is drawn inverted top to bottom. The default is false.
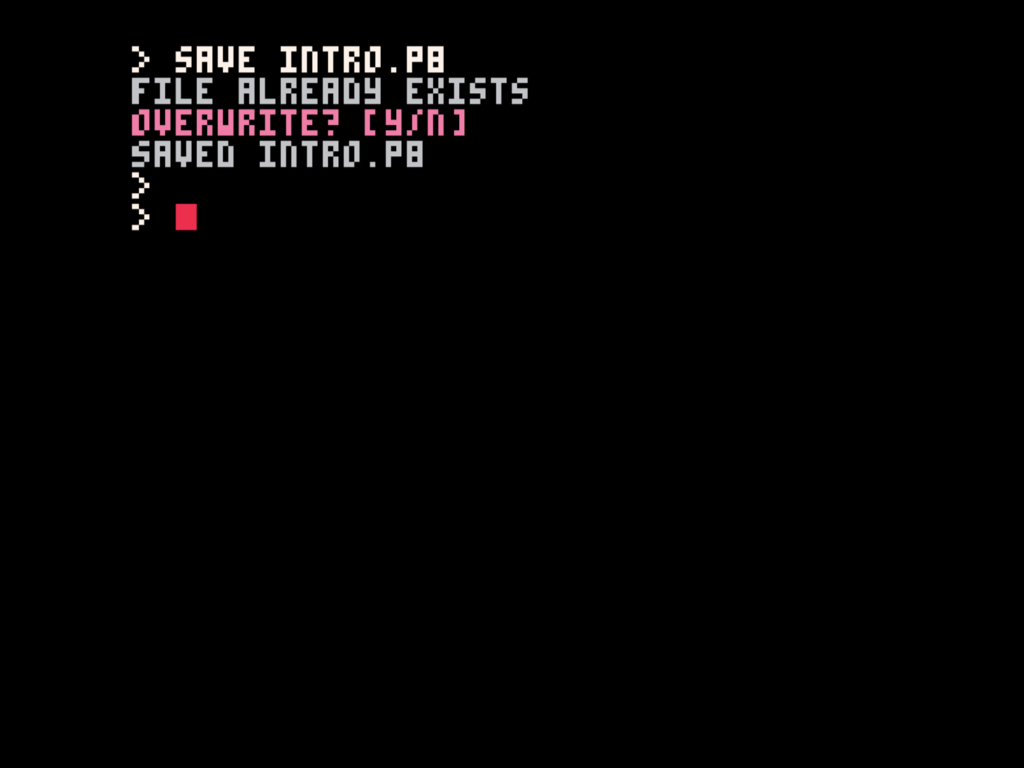
Hit the ESC key
Type save intro.p8
If a file already exists, you will be prompted to overwrite it or not. Hit the Y key to confirm overwrite.
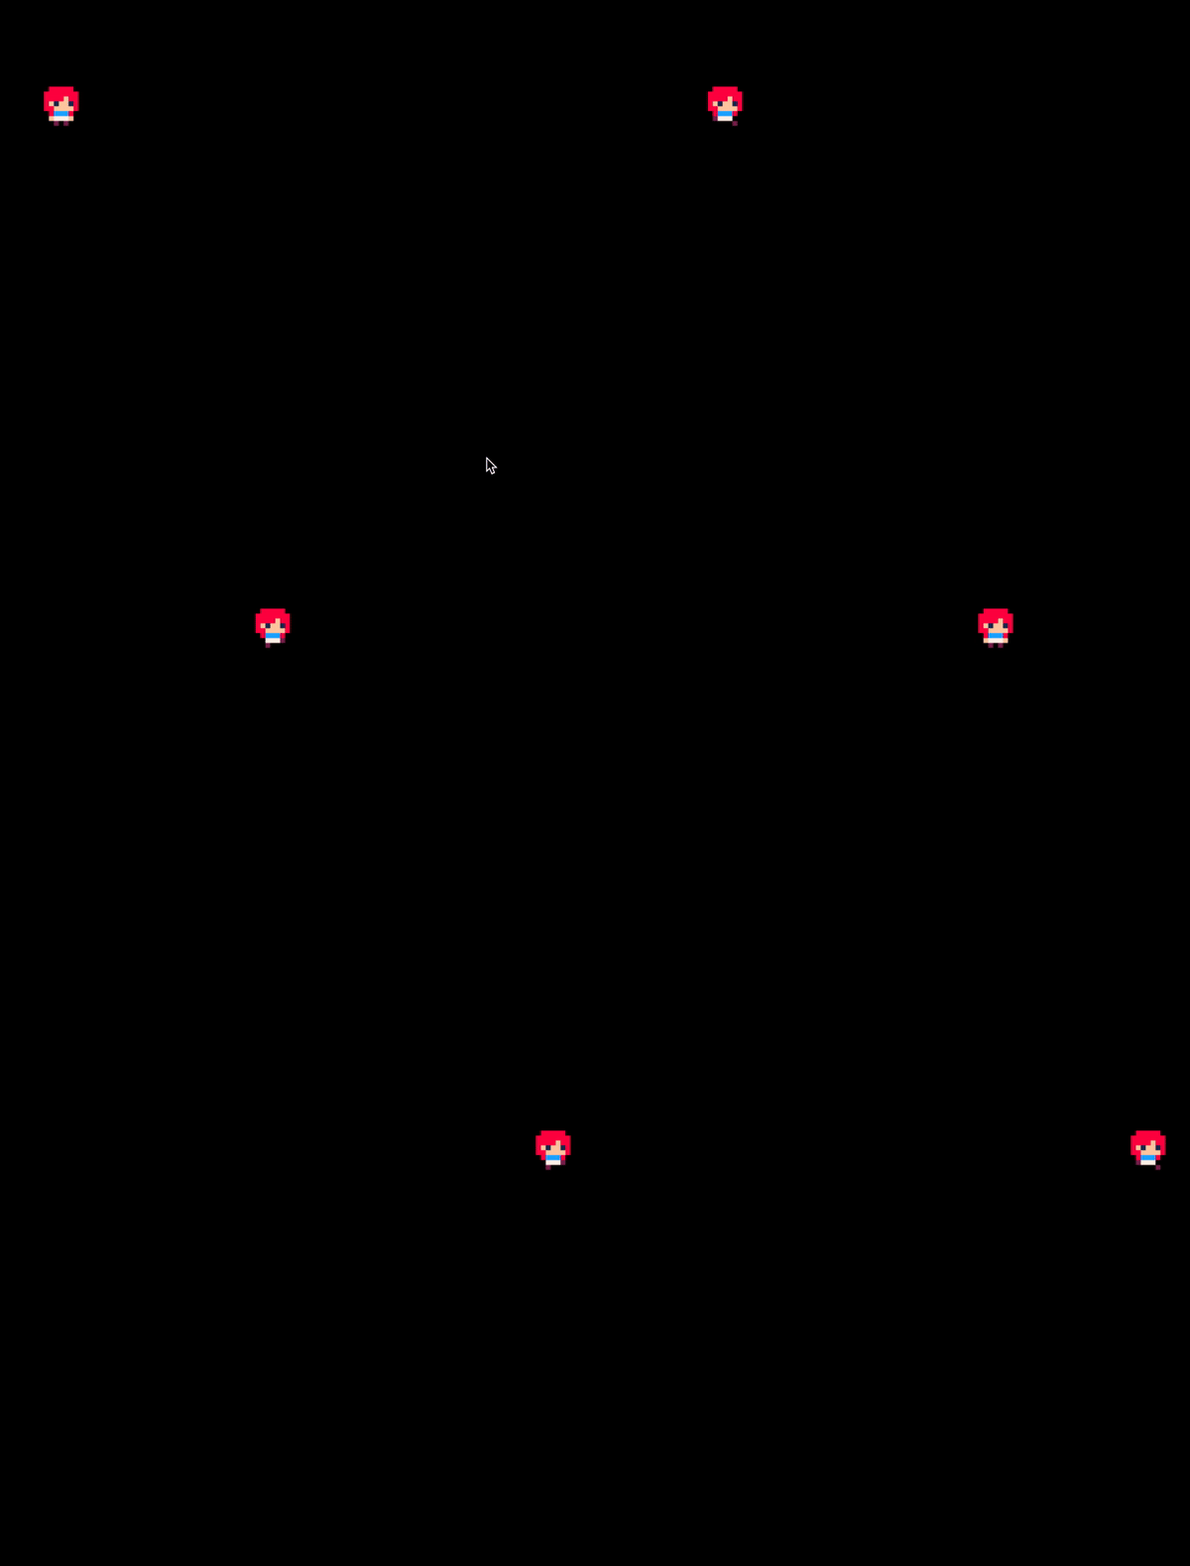
Now to run the game, type run
We've barely scratched the surface on the wonderful tool that is PICO-8, but you now have a basic idea of how to use it and let your creativity flow. Check out the guides over at https://www.littlebird.com.au/a/how-to/#raspberrypi to learn even more. Happy coding!