Create a File Server using Samba
Turn your Raspberry Pi into a file server
Written By: Cherie Tan
Difficulty
Easy
Steps
8
If you've ever wanted to set up a file server with the Raspberry Pi, this guide is for you.
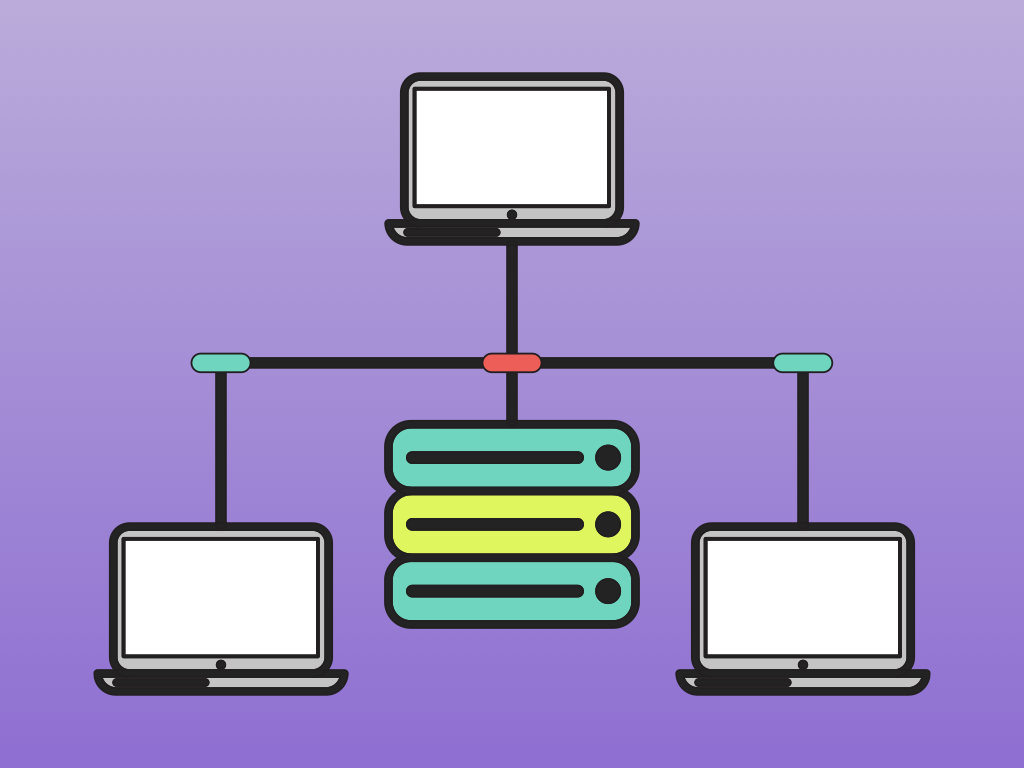
You will learn how to use Samba to turn your Raspberry Pi into a local file server for your network.
Once you have set it up, you can use your newly created file server on all other computers on your network and have a convenient place to store everything you want to share with housemates, friends or family.

Samba is an open-source, Linux implementation of the CIFS/SMB protocol.
CIFS stands for Common Internet File System, while SMB stands for Server Message Block protocol.
This means that you can easily share your Raspberry Pi's files and folders across a network using Samba.
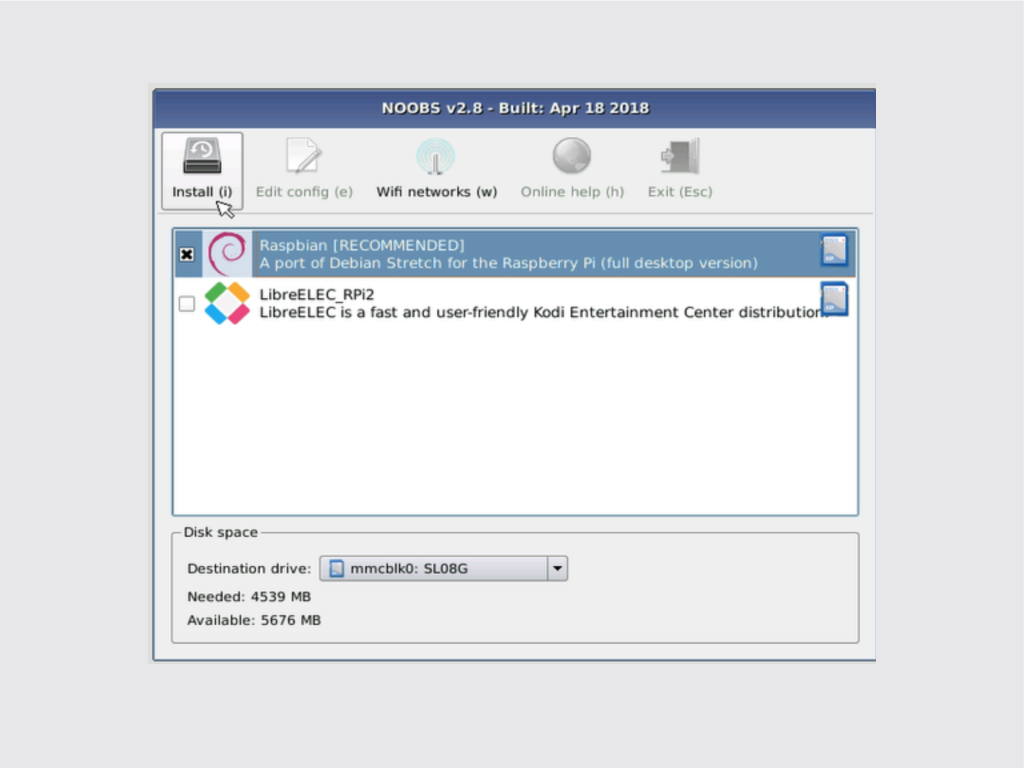
Before going any further, you will need the Raspbian operating system running on your Raspberry Pi.
You will need the latest version of NOOBS loaded on a blank microSD card, to install the Raspbian operating system.
In this guide, we recommend using a microSD card already preloaded with NOOBS. Otherwise, please follow our previous guide if you would like to create a NOOBS microSD card of your own.
[share]
Comment = Pi shared folder
Path = /share
Browseable = yes
Writeable = Yes
only guest = no
create mask = 0777
directory mask = 0777
Public = yes
Guest ok = yes
This will open the config file in the text editing app, Nano, where you can edit text files directly in the terminal window without a graphical user interface.
If you do not want to allow guests to access the directory, remove the line: Guest ok = yes
Press CTRL+O and then Y to save. Then press CTRL+X to exit Nano.
The next step involves editing the Samba config files so that file sharing will become visible to computers on the network. To open up the Samba config file, enter the following command: sudo nano /etc/samba/smb.conf
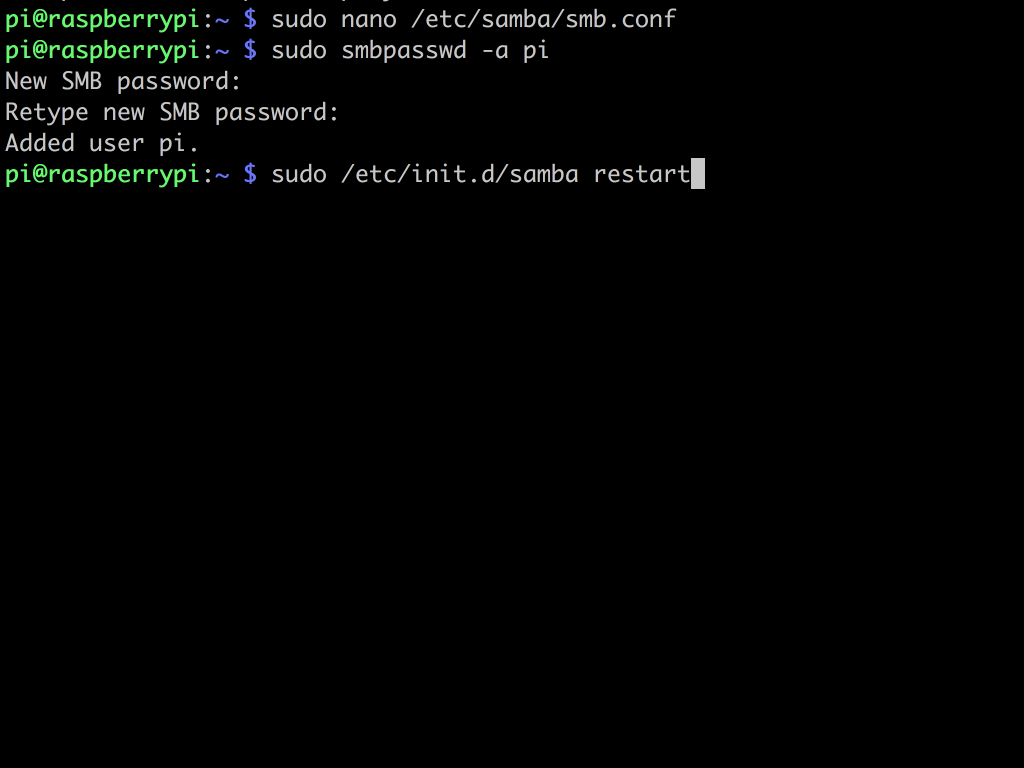
Finally, restart Samba with the following command: sudo /etc/init.d/samba restart
Now whenever you start up the Raspberry Pi, Samba will start up automatically.
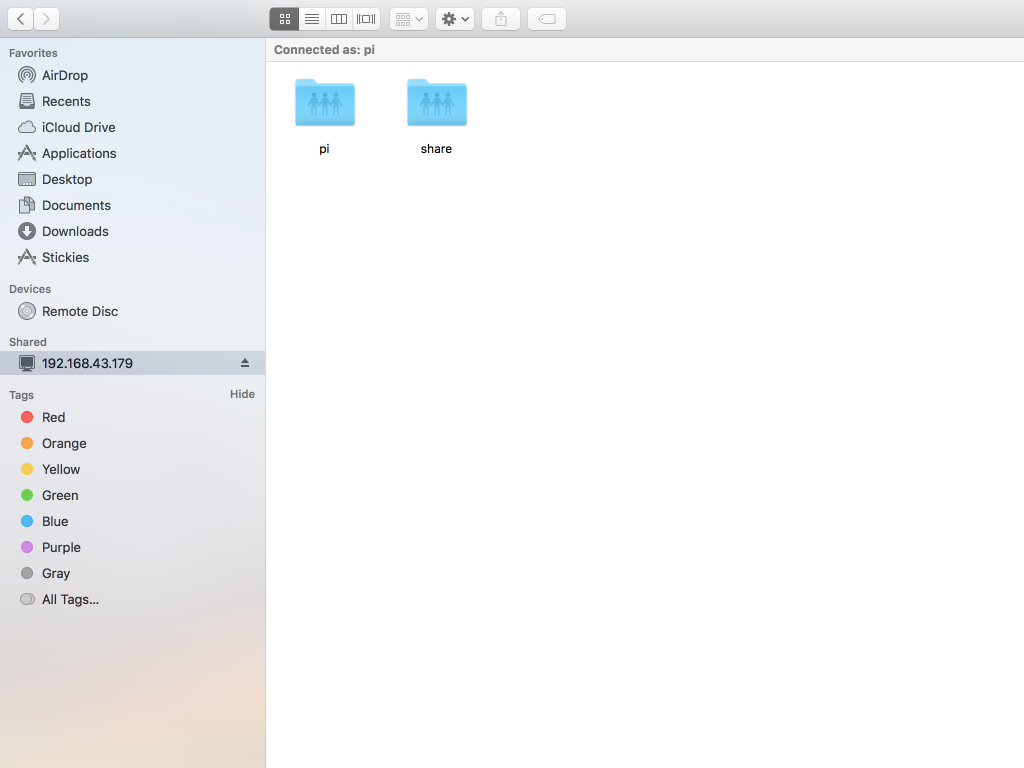
Open up Explorer on your Windows computer, head over to the Network folder and you should see RASPBERRYPI.
If you are using Mac OSX, you should see RASPBERRYPI under shared devices in Finder.
It is recommended that you use an ethernet connection. WiFi will work just fine although performance may be affected when it comes to transferring large files and folders.
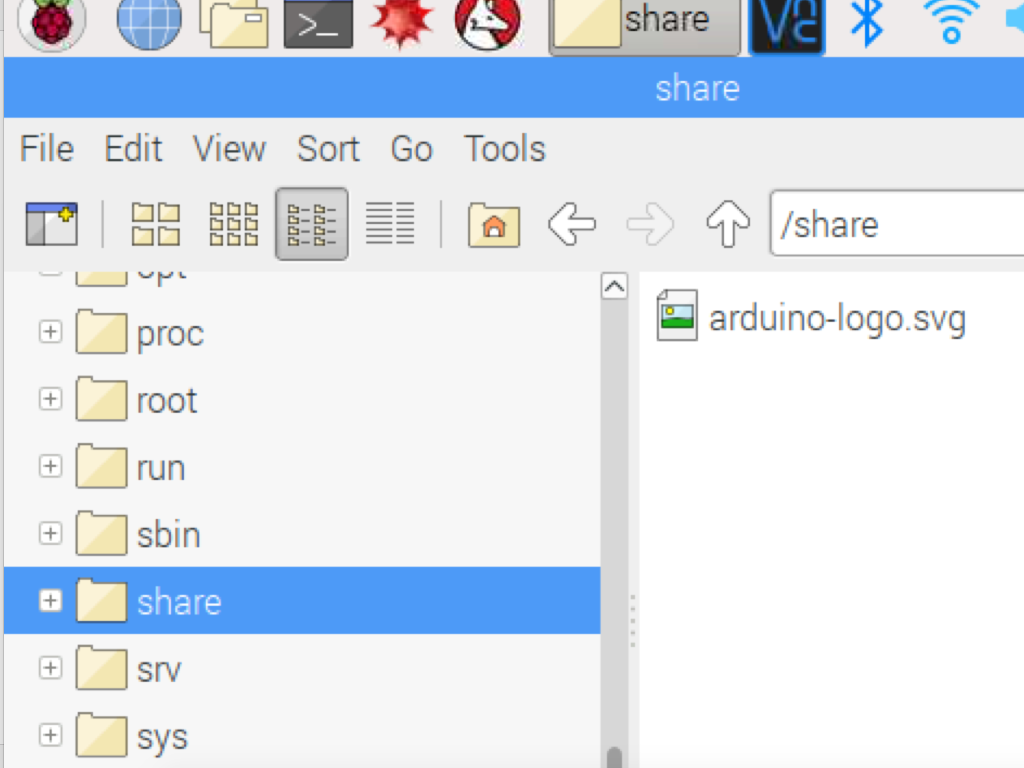
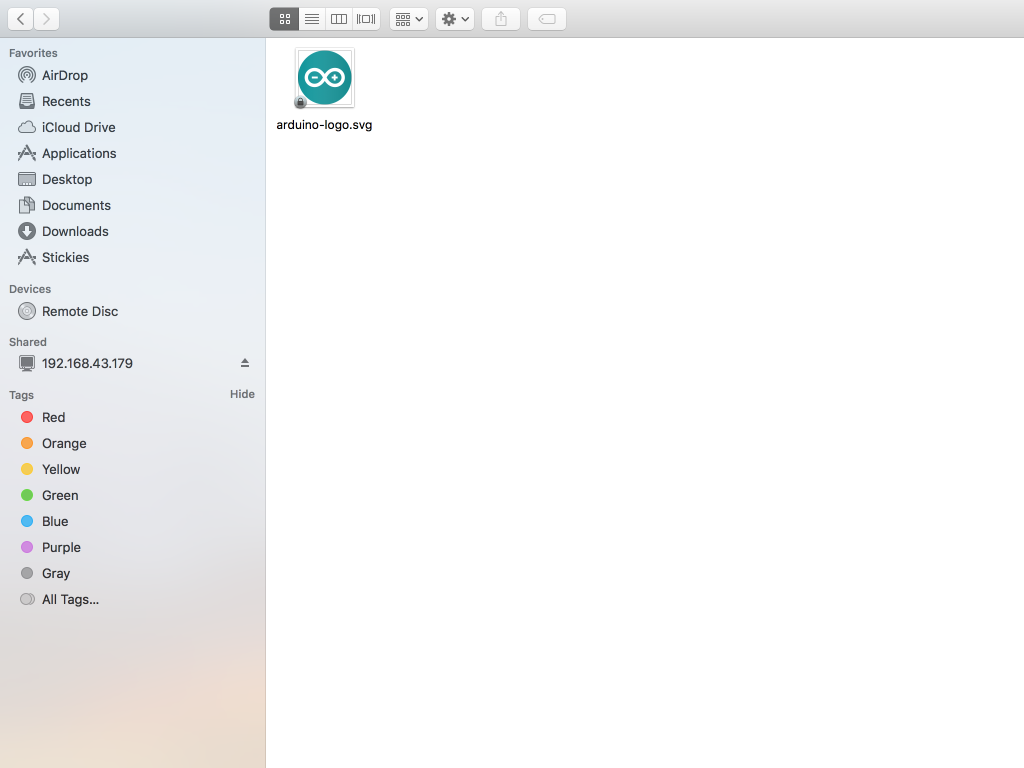
From Raspbian, you can drag and drop files and folders into the 'share' folder found in the root directory. These files should show up in the RASPBERRYPI folder on your respective devices connected to the local network!
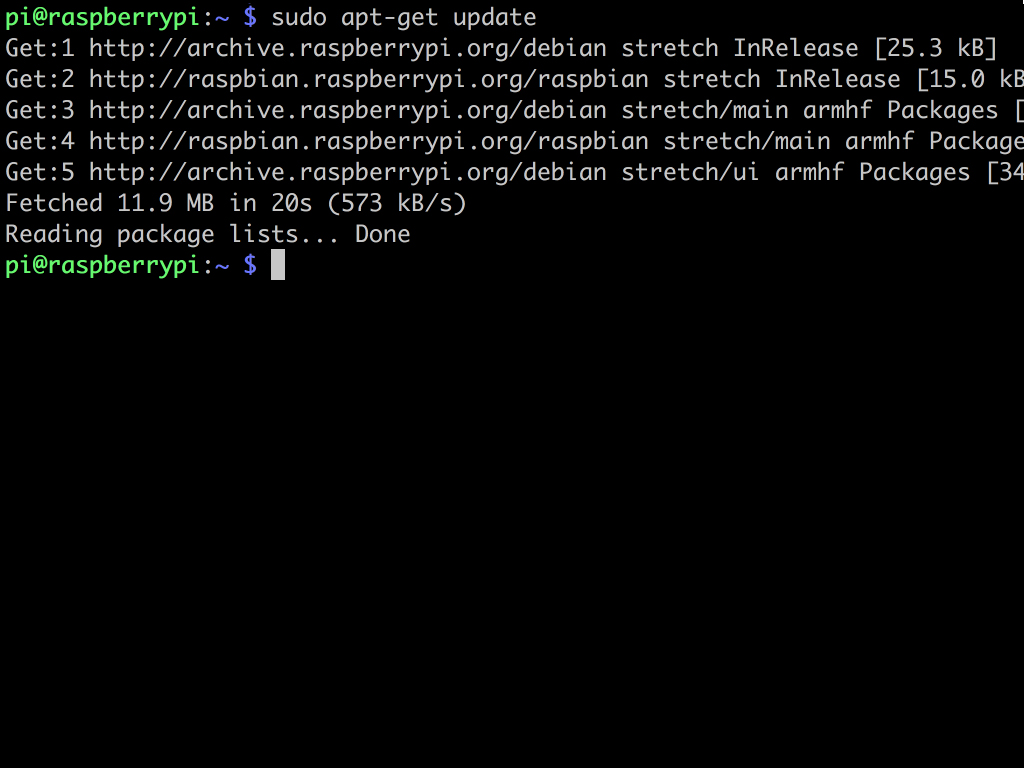
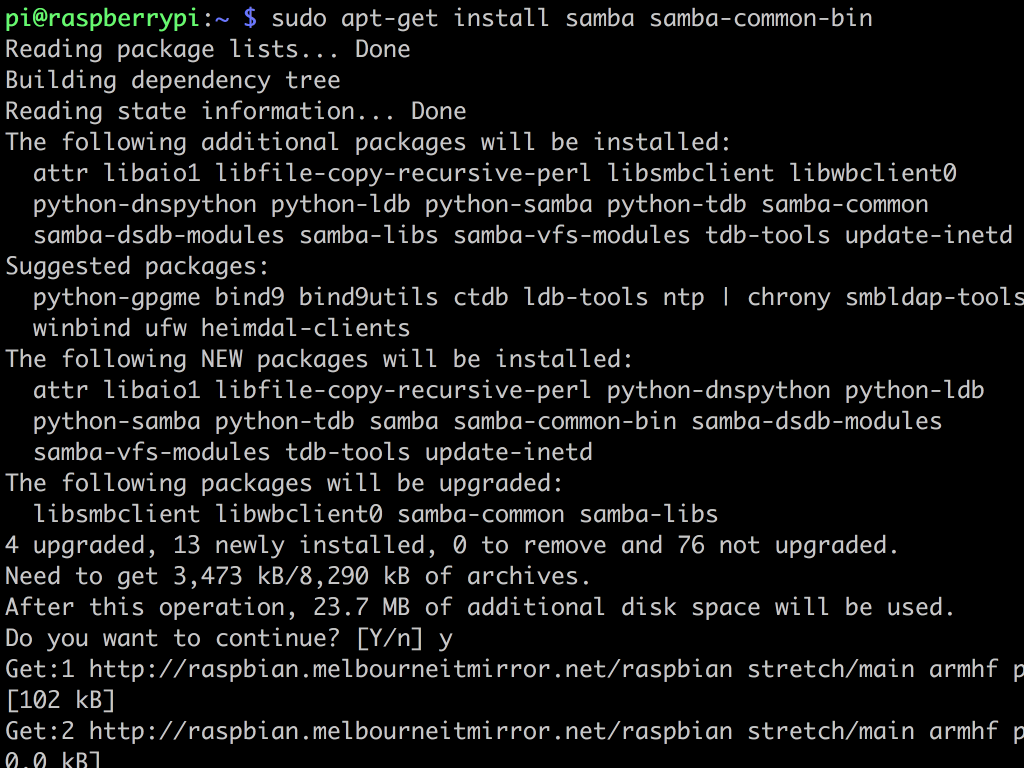
First we will update the repository, so type the following command: sudo apt-get update
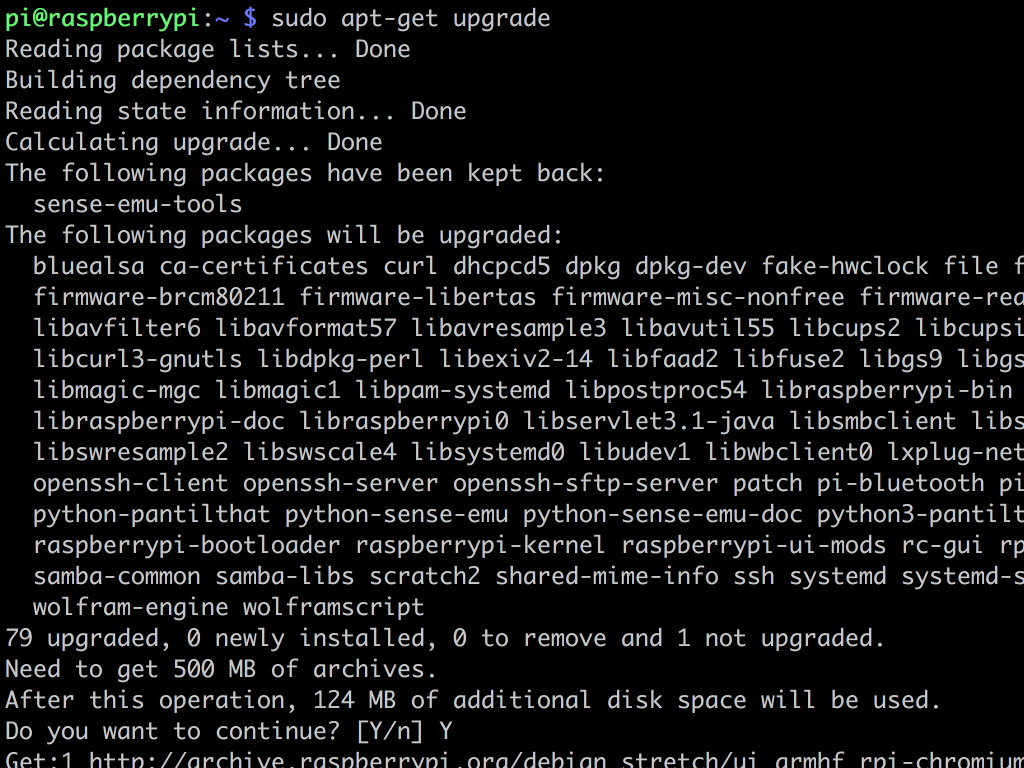
Then we will make sure it is fully upgraded: sudo apt-get upgrade
Now install samba using: sudo apt-get install samba samba-common-bin


