Using the Buttons and LED Matrix on micro:bit
Get started with using the pushbuttons and LED matrix on the micro:bit
Written By: Cherie Tan
Difficulty
Easy
Steps
11
The micro:bit comes with two on-board pushbuttons called momentarypushbuttons, labelled 'A' and 'B' as well as an LED matrix display.
In this guide, you'll learn how to use the two pushbuttons and the LED display using the MakeCode editor.
Complete this guide to get comfortable with using the pushbuttons and LED display.
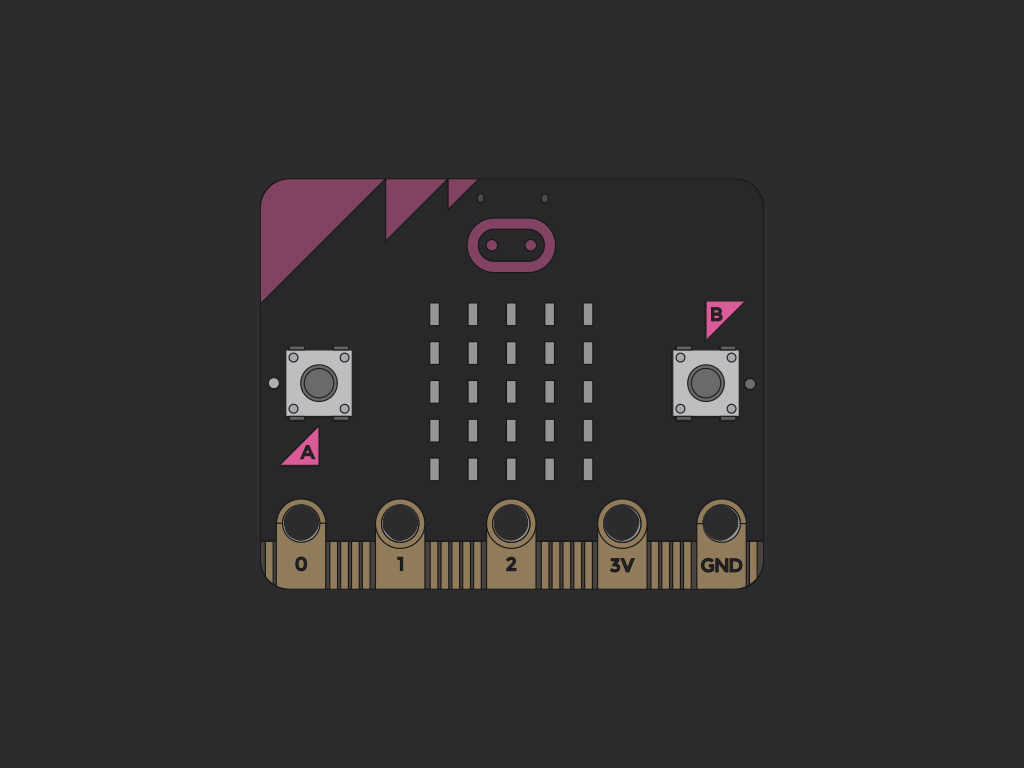
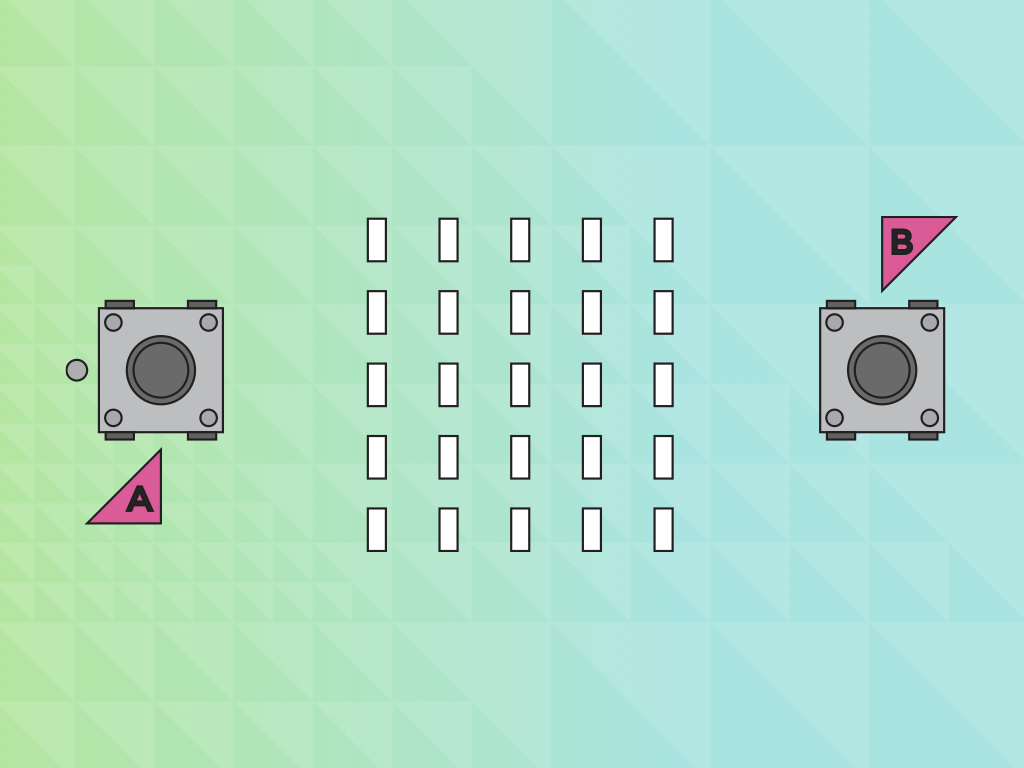
The micro:bit has two on-board momentary pushbuttons, displayed at the front of the board and positioned on either side of the display. They are labelled 'Button A' and 'Button B' and are the primary input devices on the micro:bit.
These buttons are unlike the switches you would use to turn on a light. Unlike toggle switches, the pushbuttons on the micro:bit are known as momentary switches. This means it only stays 'on' only as long as it is being pressed. On the other hand, a toggle switch stays 'on' and only goes from 'on' to 'off' when you toggle it again.
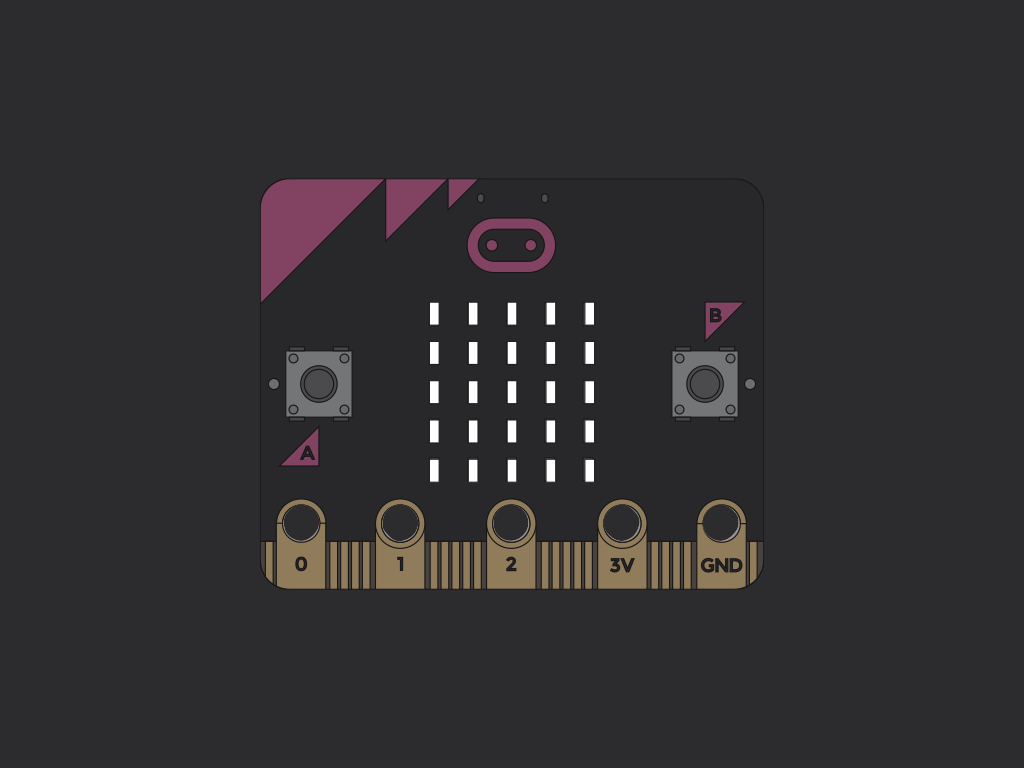
The micro:bit's LED screen is composed of 25 red LEDs arranged in a 5x5 grid. It is similar to a desktop computer where the monitor may be 1,920 columns of 1,080 pixels. But unlike a desktop monitor, the micro:bit's display has just five columns of five pixels. This is a total of 25 pixels and it's enough to get started with displaying messages, bar graphs or a simple game! Shortly, you will learn to use the display using MakeCode.
For more information on the micro:bit and its features, take a look at our guide, 'Meet the micro:bit'.
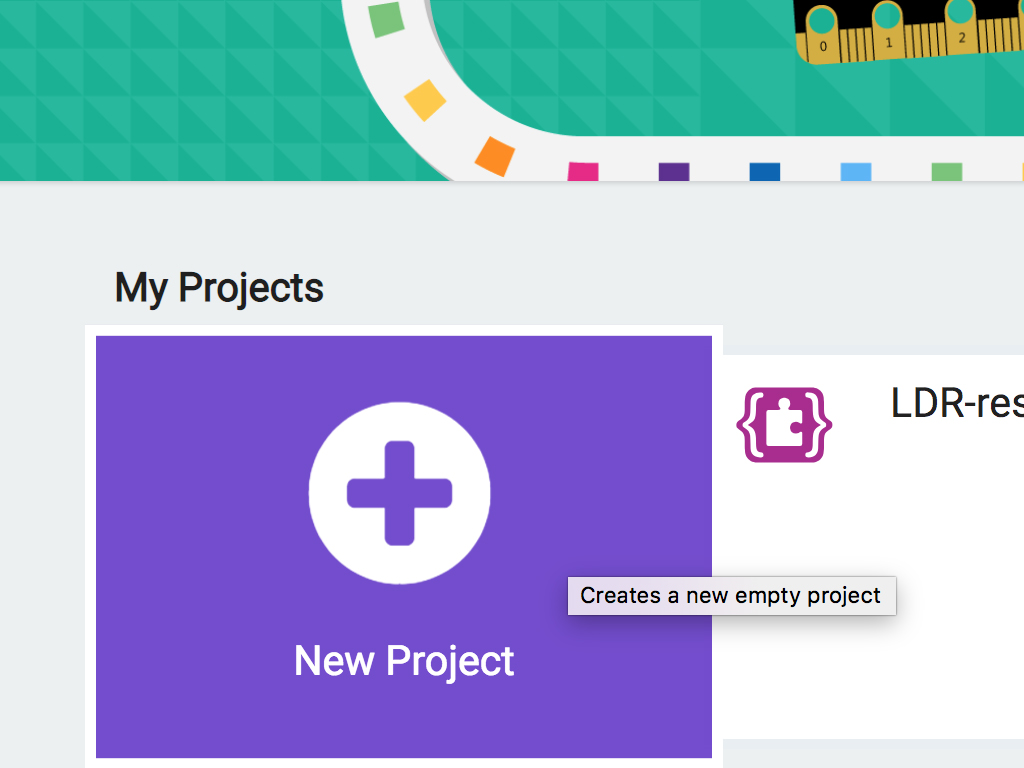
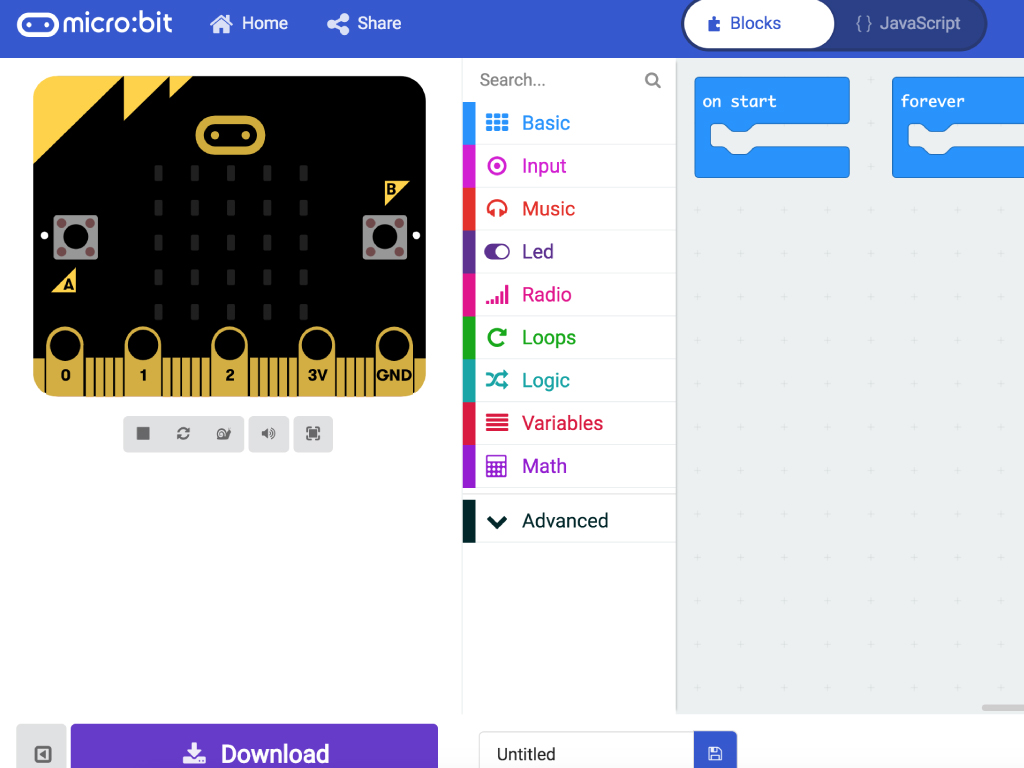
Let's get started with using them. First, open up the MakeCode editor: https://makecode.microbit.org/
Click on 'New Project' and you will be directed to the editor
For more information on the MakeCode editor, check out our guide, Setting up the Micro:bit with Makecode.
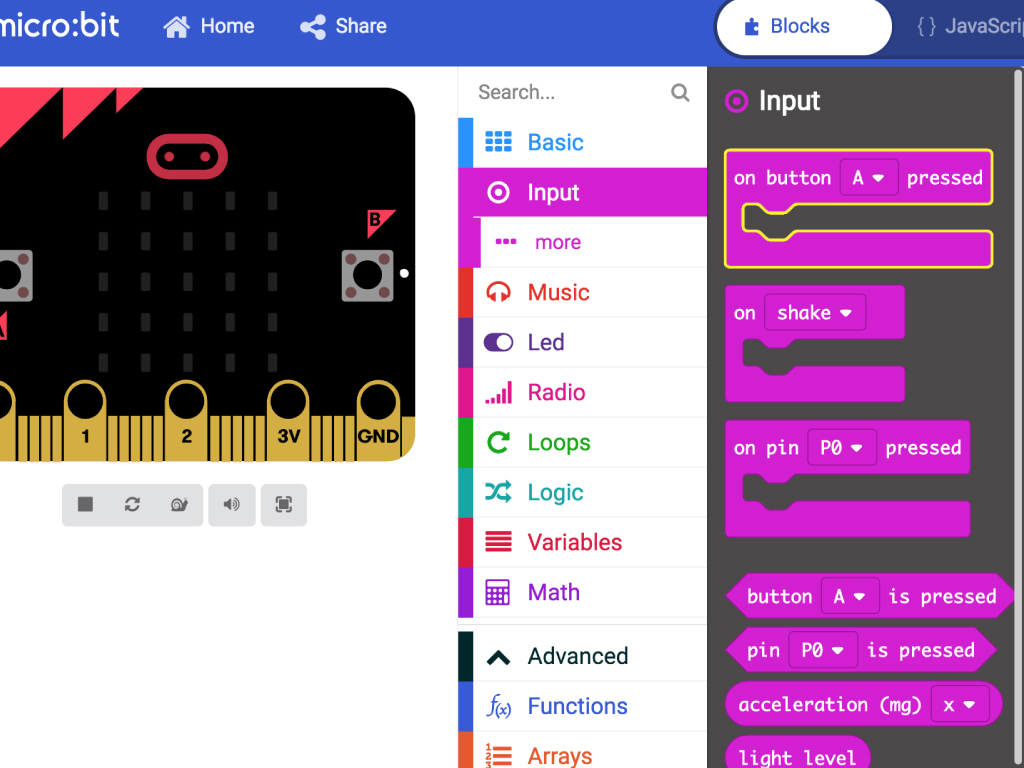
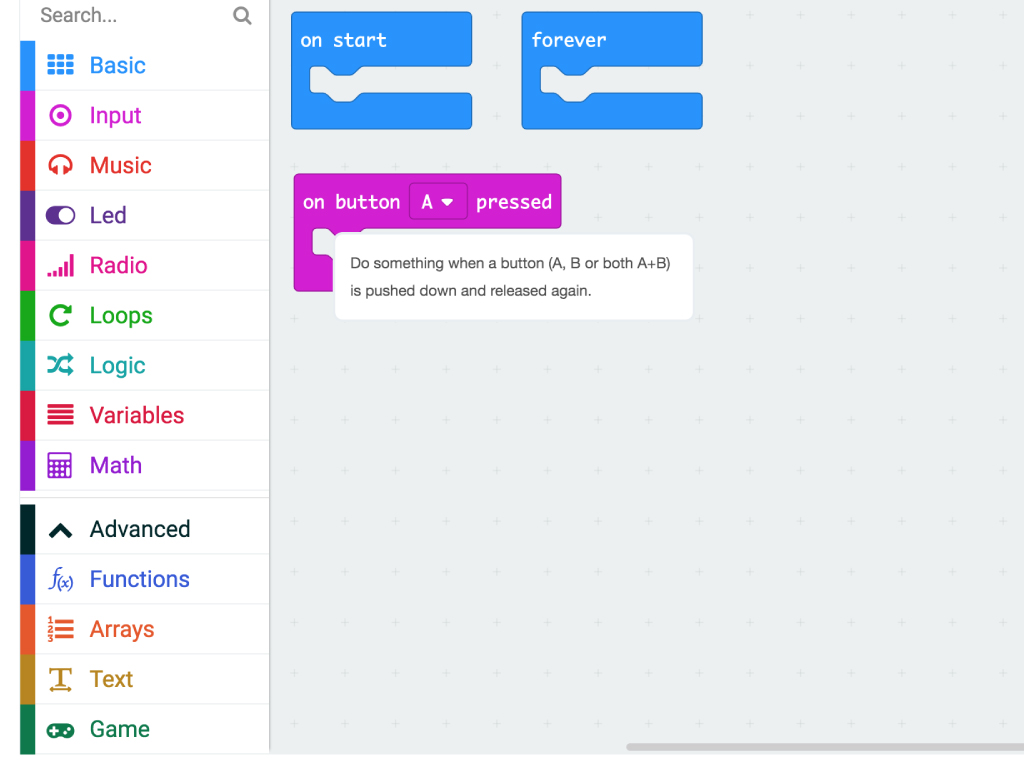
To start off, let's see how we can use one push button on the micro:bit, specifically Button A. Click on the 'Input' tab and get out a 'on button ... pressed' block.
By default, it will be set to button A, so you can leave it as is.
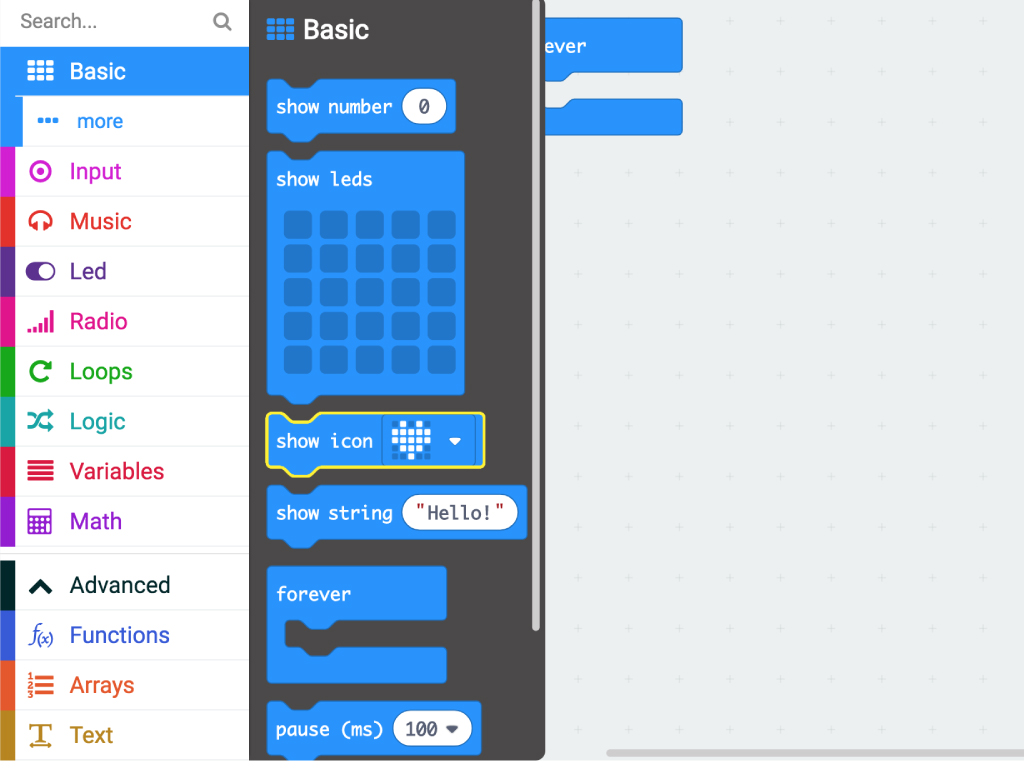
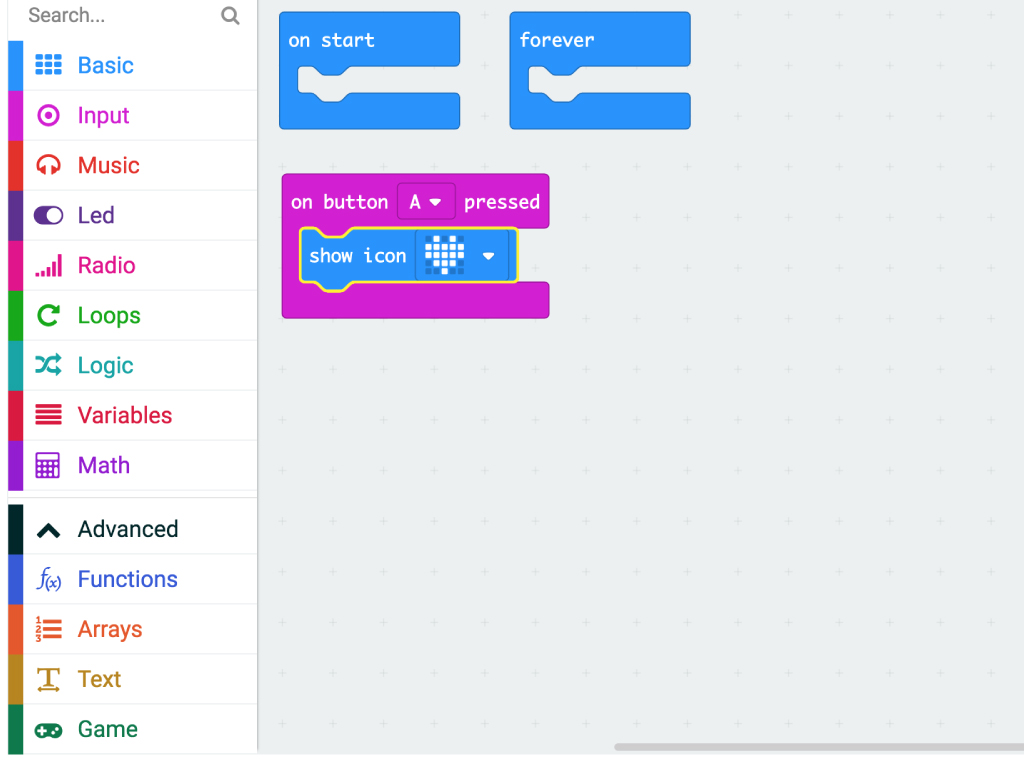
Next, click on the 'Basic' tab to get a 'show icon ... ' block
Place this block within the 'on button A pressed' block.
If you uploaded this code to the micro:bit now and pressed button A, the icon will be displayed on the LED matrix. But first, let's add code for the other button.
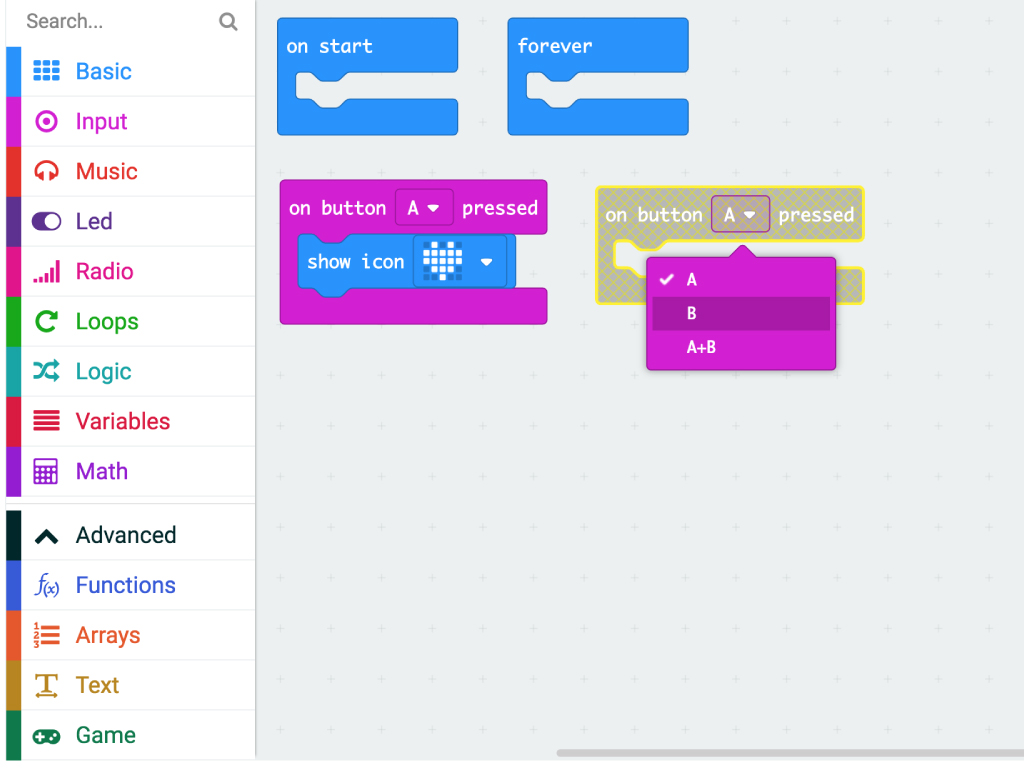
Being able to use one pushbutton is great, but the micro:bit has two pushbuttons. Adding in the second button is as simple as repeating what you’ve already done. So get out another 'on button ... pressed' block.
Set it as ' on button B pressed.
Grab another 'show icon ... ' block
Click on the icon to change it to a different one.
Jump to the final step to upload this code to the micro:bit!
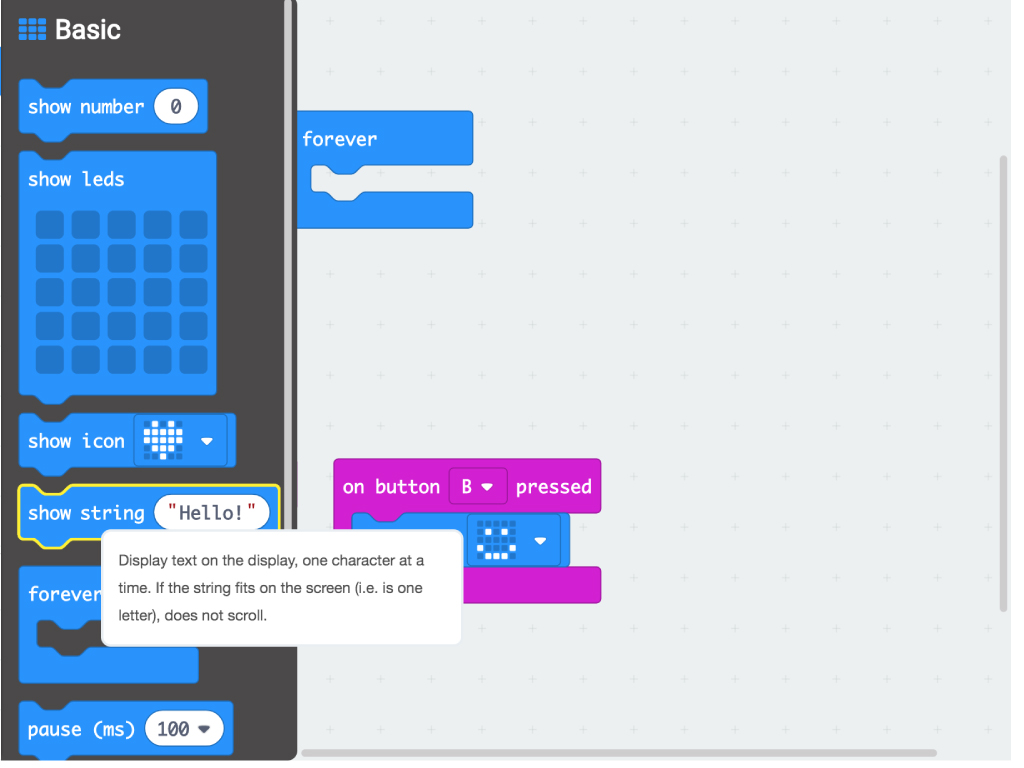
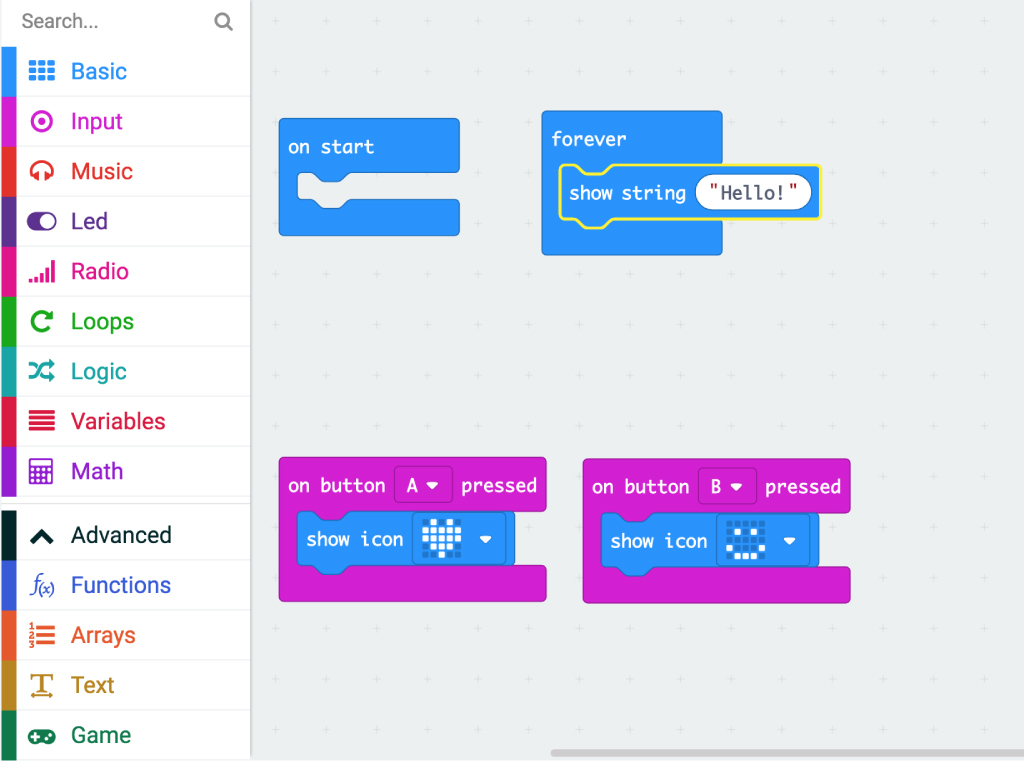
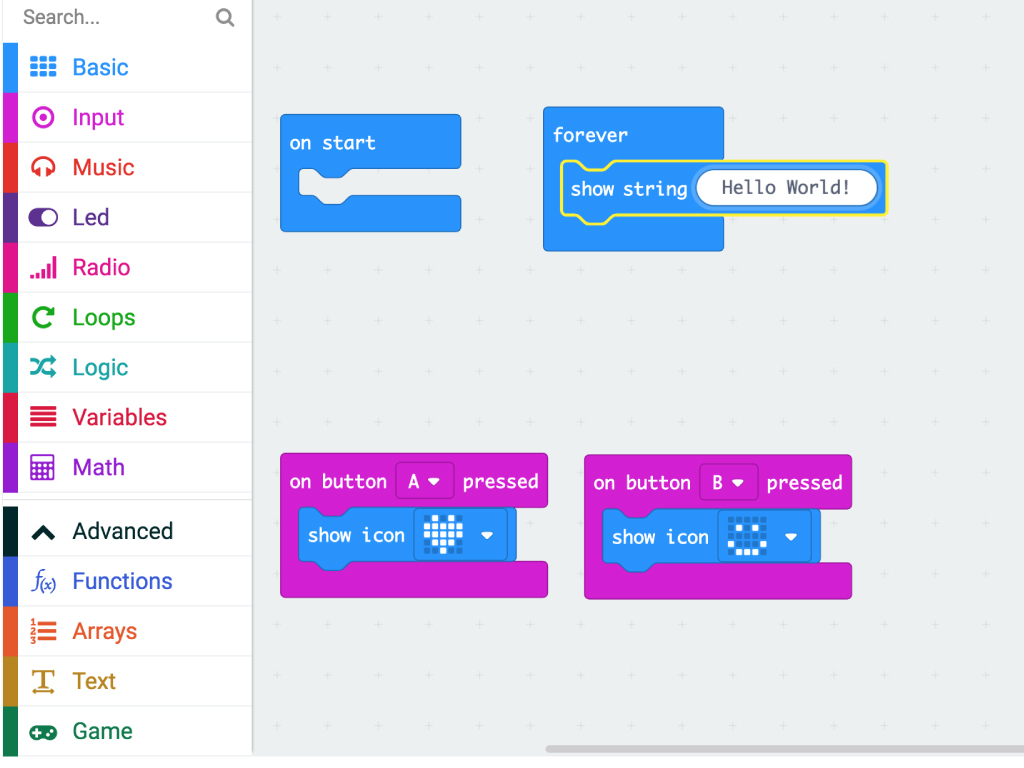
Click on the 'Basic' tab again, this time getting out a 'show string "Hello!" block.
Click on "Hello!" to change the string. Use "Hello World!" instead.
Upload this code to the micro:bit as before.
You might notice that the "Hello World!" string will display forever while the micro:bit is powered on. Click on the buttons A or B, and the icon will briefly display after "Hello World!"
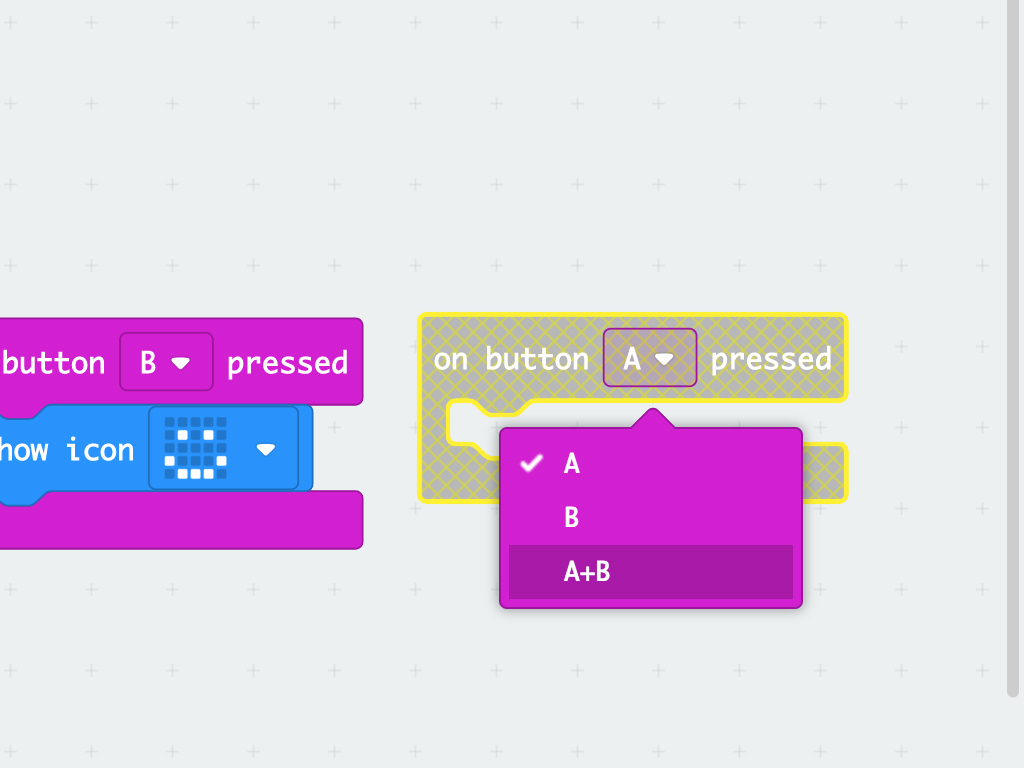
This time, let's get "Hello World!" to display only on button press. There is actually a third option for reading buttons, too. You can read both at the same time. So let's get "Hello World!" to show when buttons A and B are pressed together. Get out another 'on button A pressed' block from the 'Input' tab.
Click on 'A' to change it to 'A+B'.
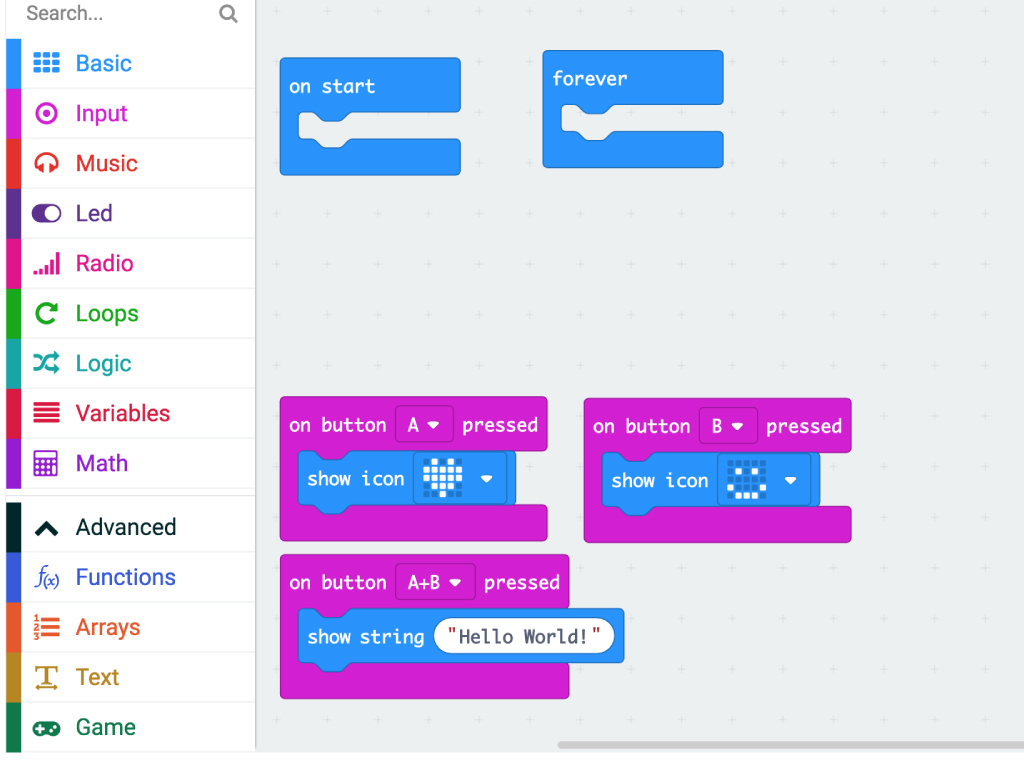
Move the 'show string "Hello World!"' block from 'forever' to 'on button A+B pressed'.
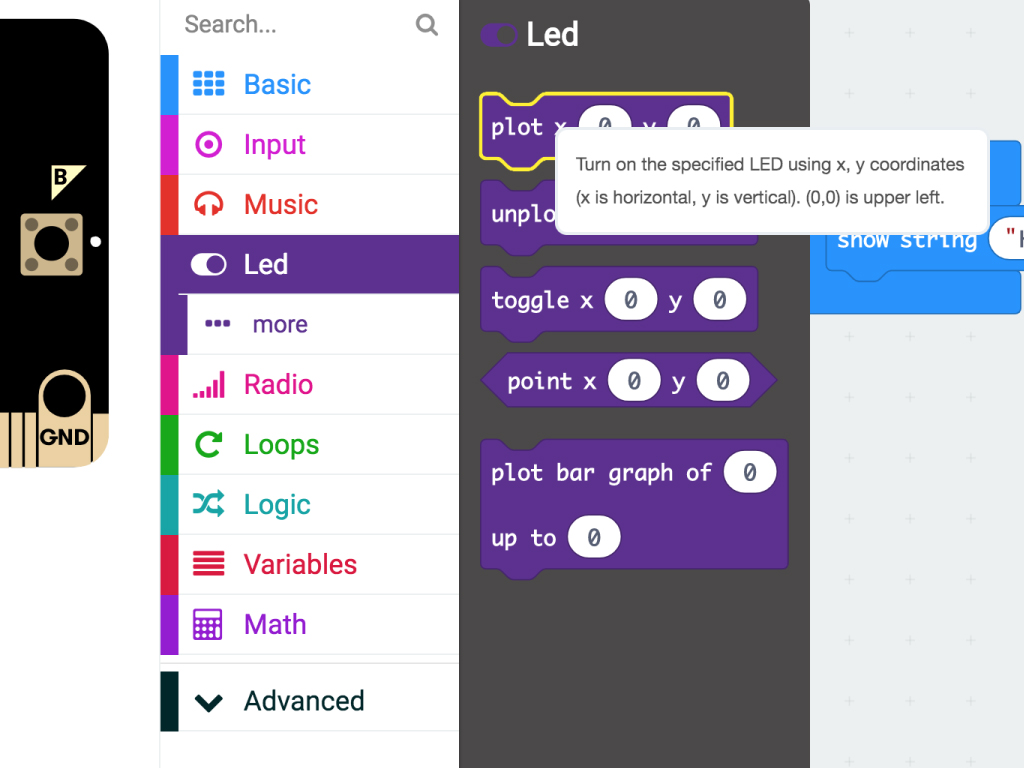
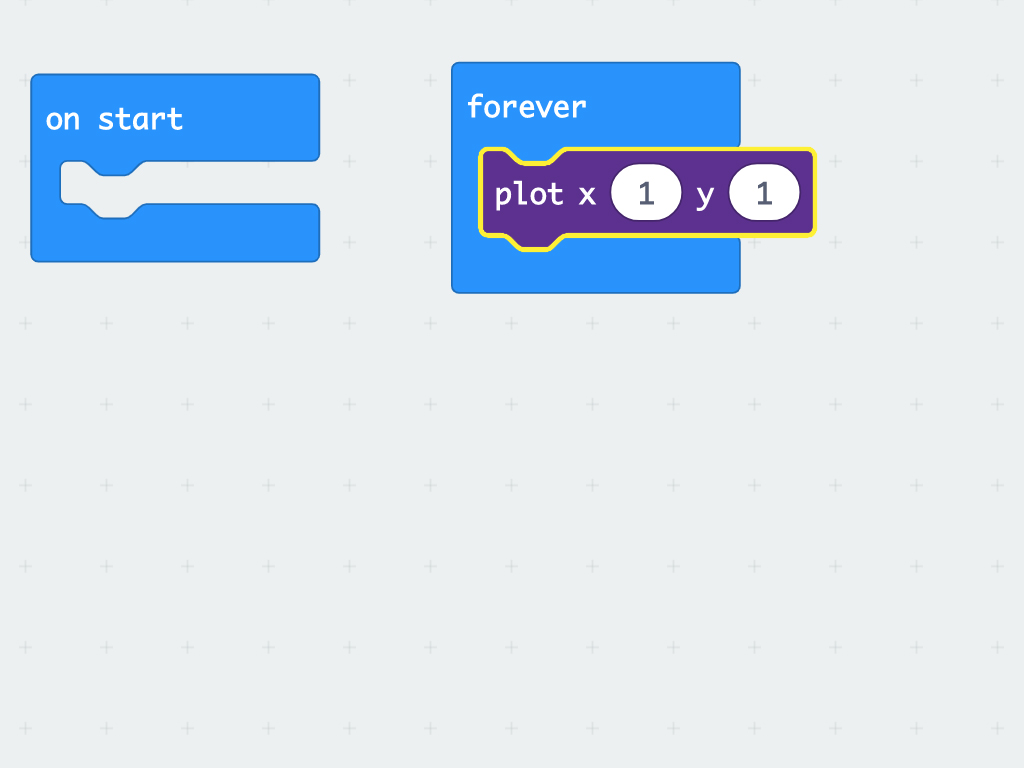
Another way to use the LED display is by using the 'plot x ... y ... ' block, this comes in handy when displaying graphs. Try it out for yourself, get a "plot x ... y ...' block from the 'Led' tab.
Enter the coordinates, 'x 1 y 1' and place it in the 'forever' block
Upload this code to the micro:bit.
The LED on x:1 y:1 will light up.
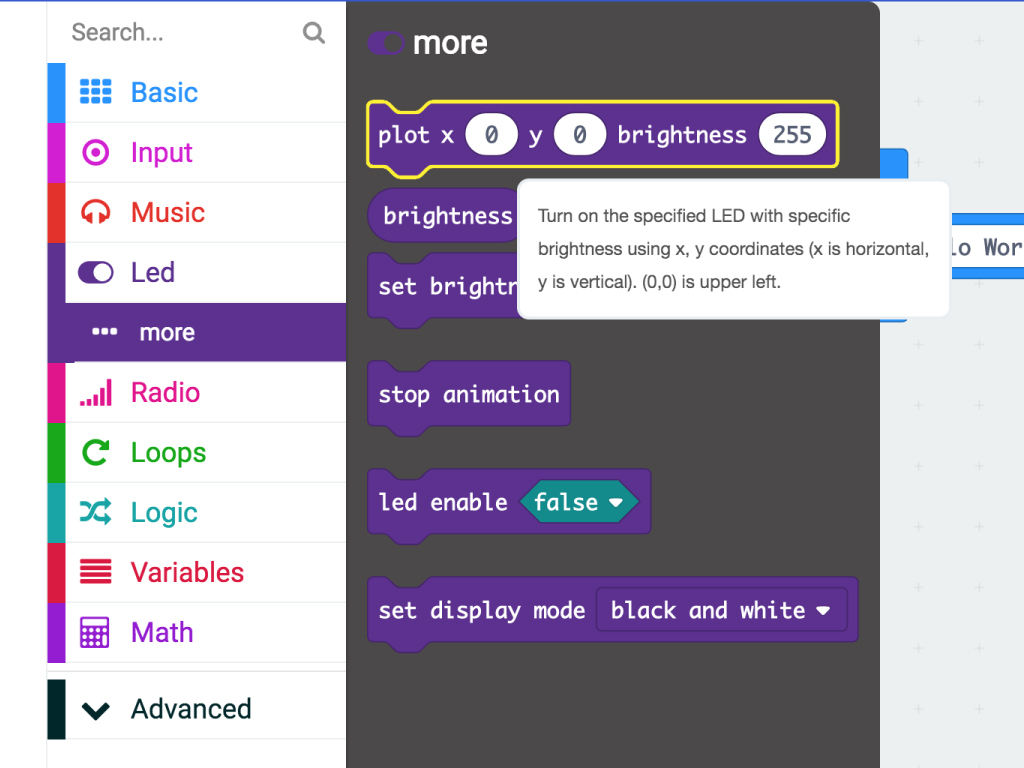
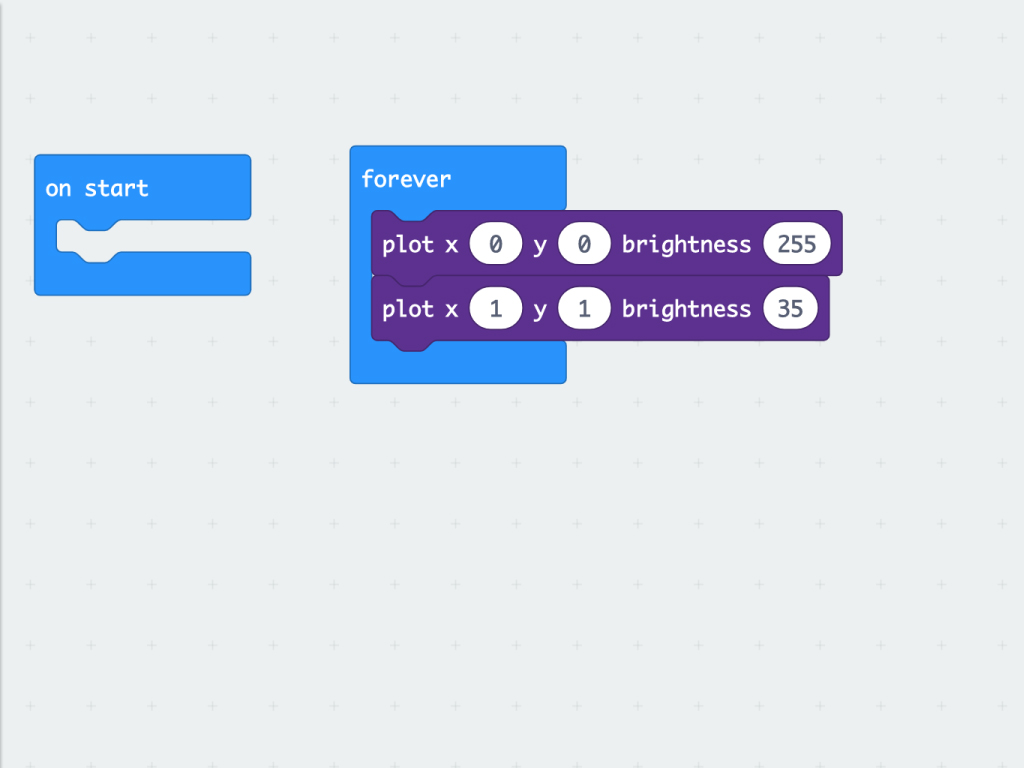
You can also control the brightness of the LEDs being displayed. To do so, use a 'plot x ... y ... brightness ...' block.
To see the difference, use another 'plot x ... y ... brightness' block.
Set the first block's brightness to be '255' and the other as '35'.
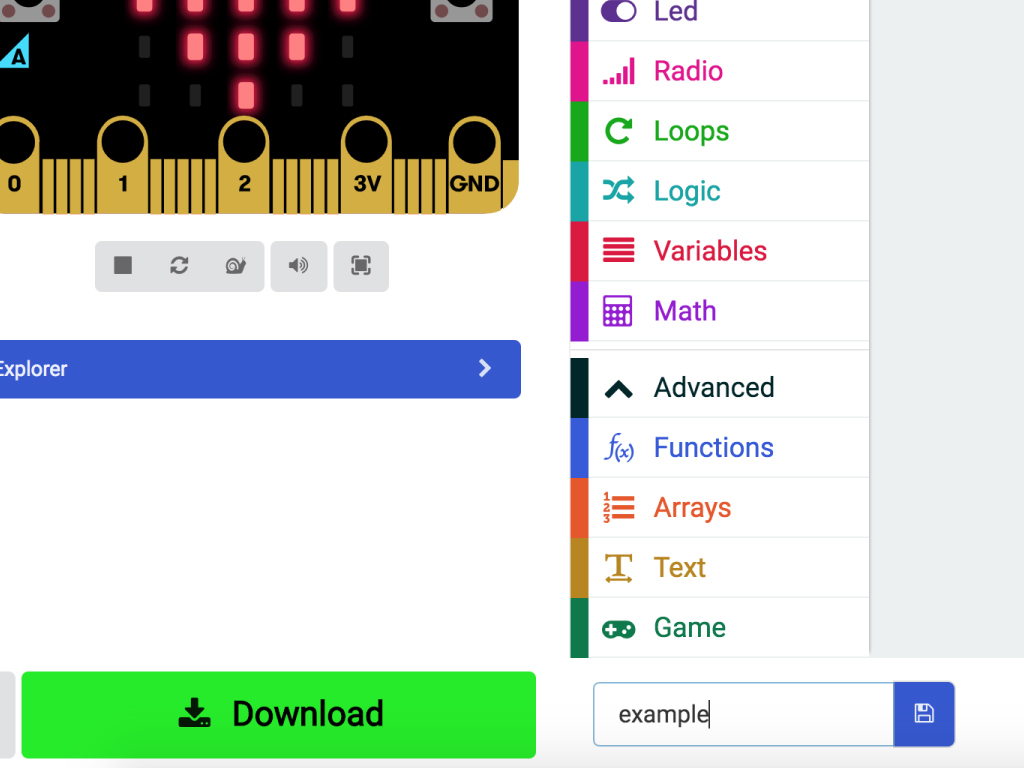
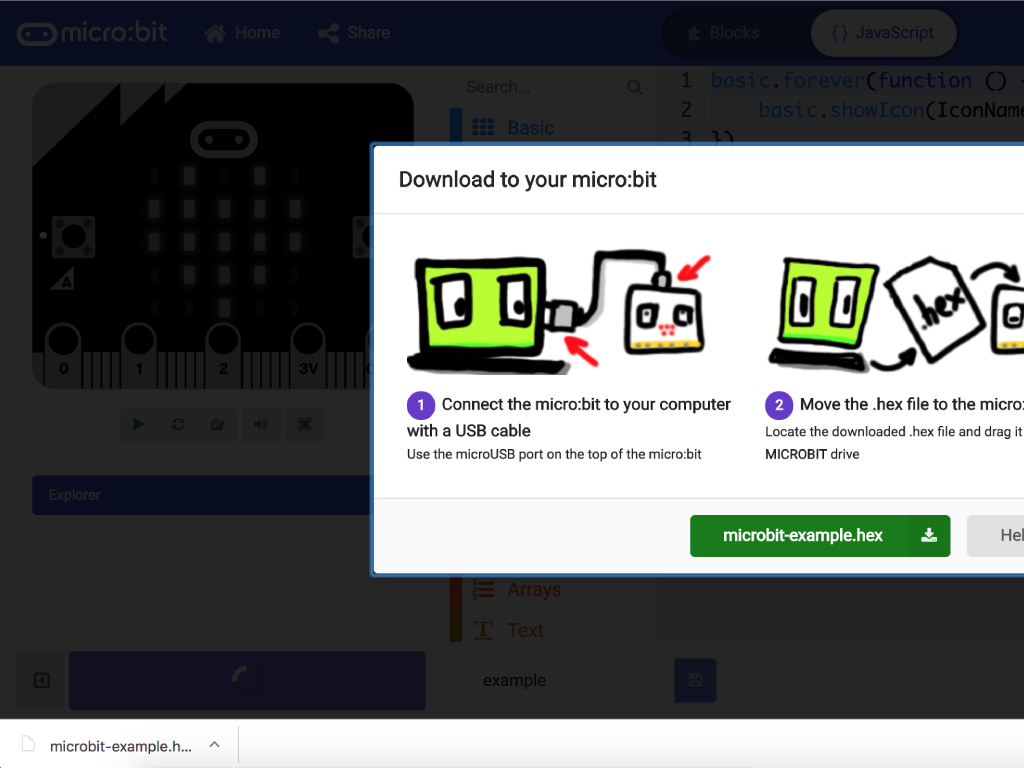
To upload the code to the micro:bit, first click the download button in the bottom left corner of the screen.
This will download a hex file (computer program file) which the micro:bit can read.
Next, plug in your micro:bit, this will reveal a USB on your computer.
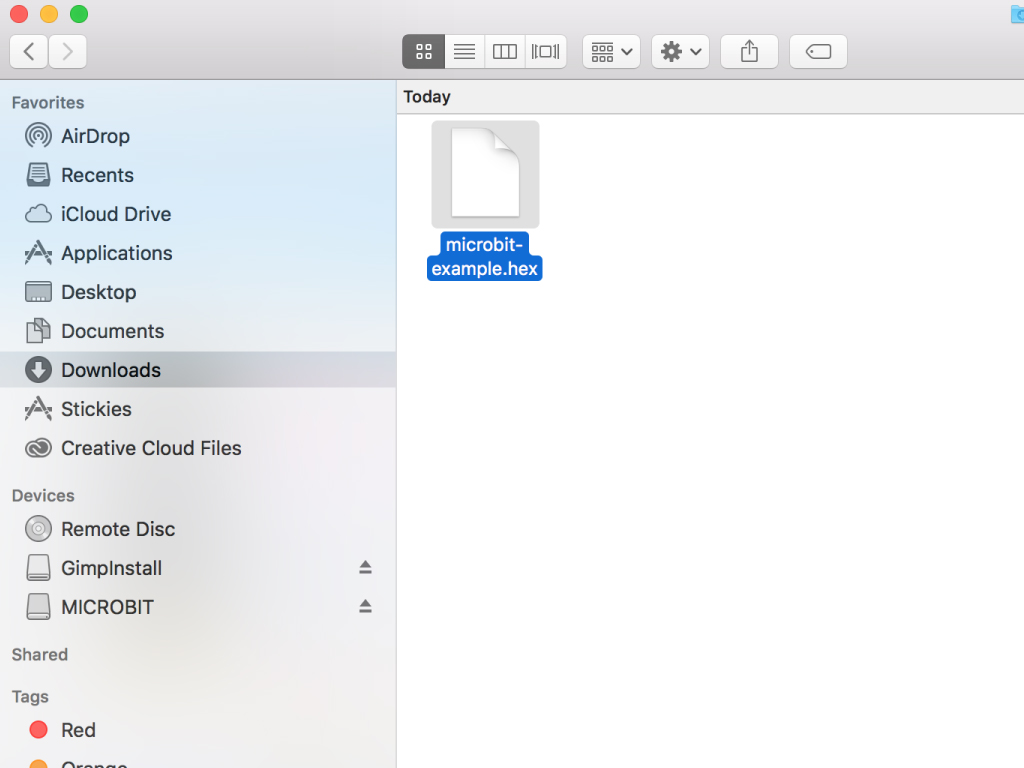
Copy across the downloaded file to the micro:bit by dragging and dropping it to the MICRO:BIT drive
The micro:bit will flash as the code is being uploaded. Once done, unplug the micro:bit.