Tilt Sensor with micro:bit
Learn to use a tilt sensor with micro:bit
Written By: Cherie Tan

Difficulty
Easy
Steps
11
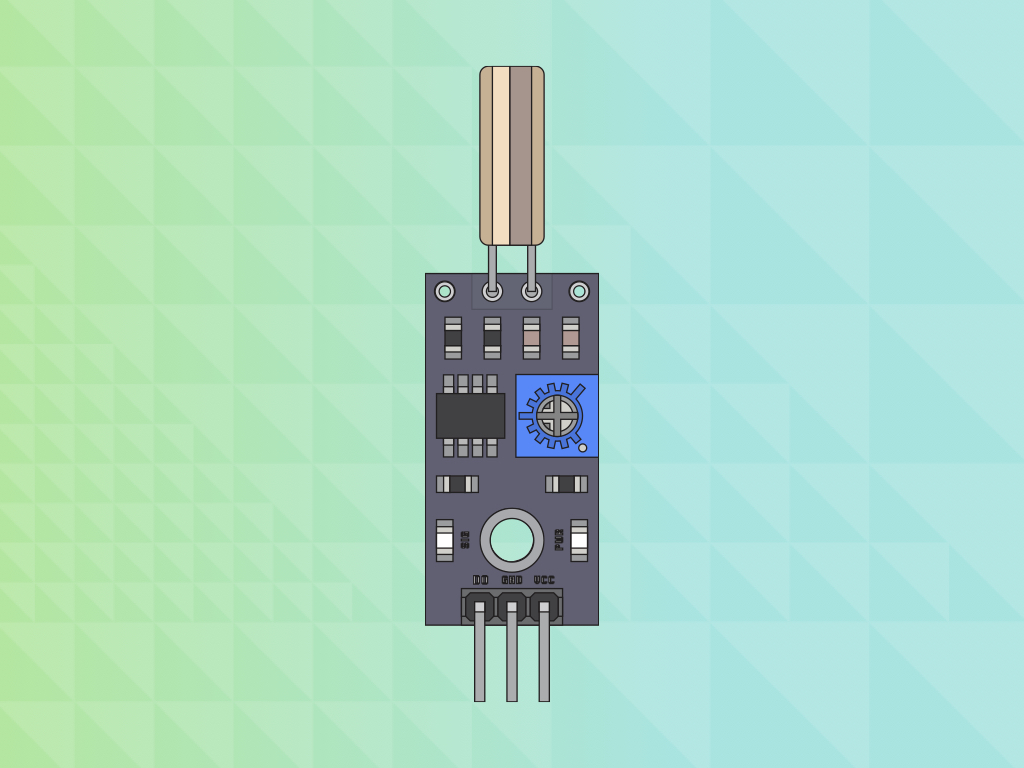
A tilt sensor is a type of sensor that allows the detection of orientation, and are tiny, inexpensive and low-power components. They can be used as a simple way to detect orientation.
How it works: Tilt sensors are typically cylindrically shaped tubes with a conductive object such as a rolling ball contained within. When the sensor is tilted downwards, the conductive ball no longer completes the circuit. But when returned to the normal upward position, the balls make contact and the circuit is completed.
In this guide, we will learn to connect the tilt sensor to a micro:bit, and make it turn an LED on and off. Completing this guide will enable you to use the tilt sensor in your own projects.

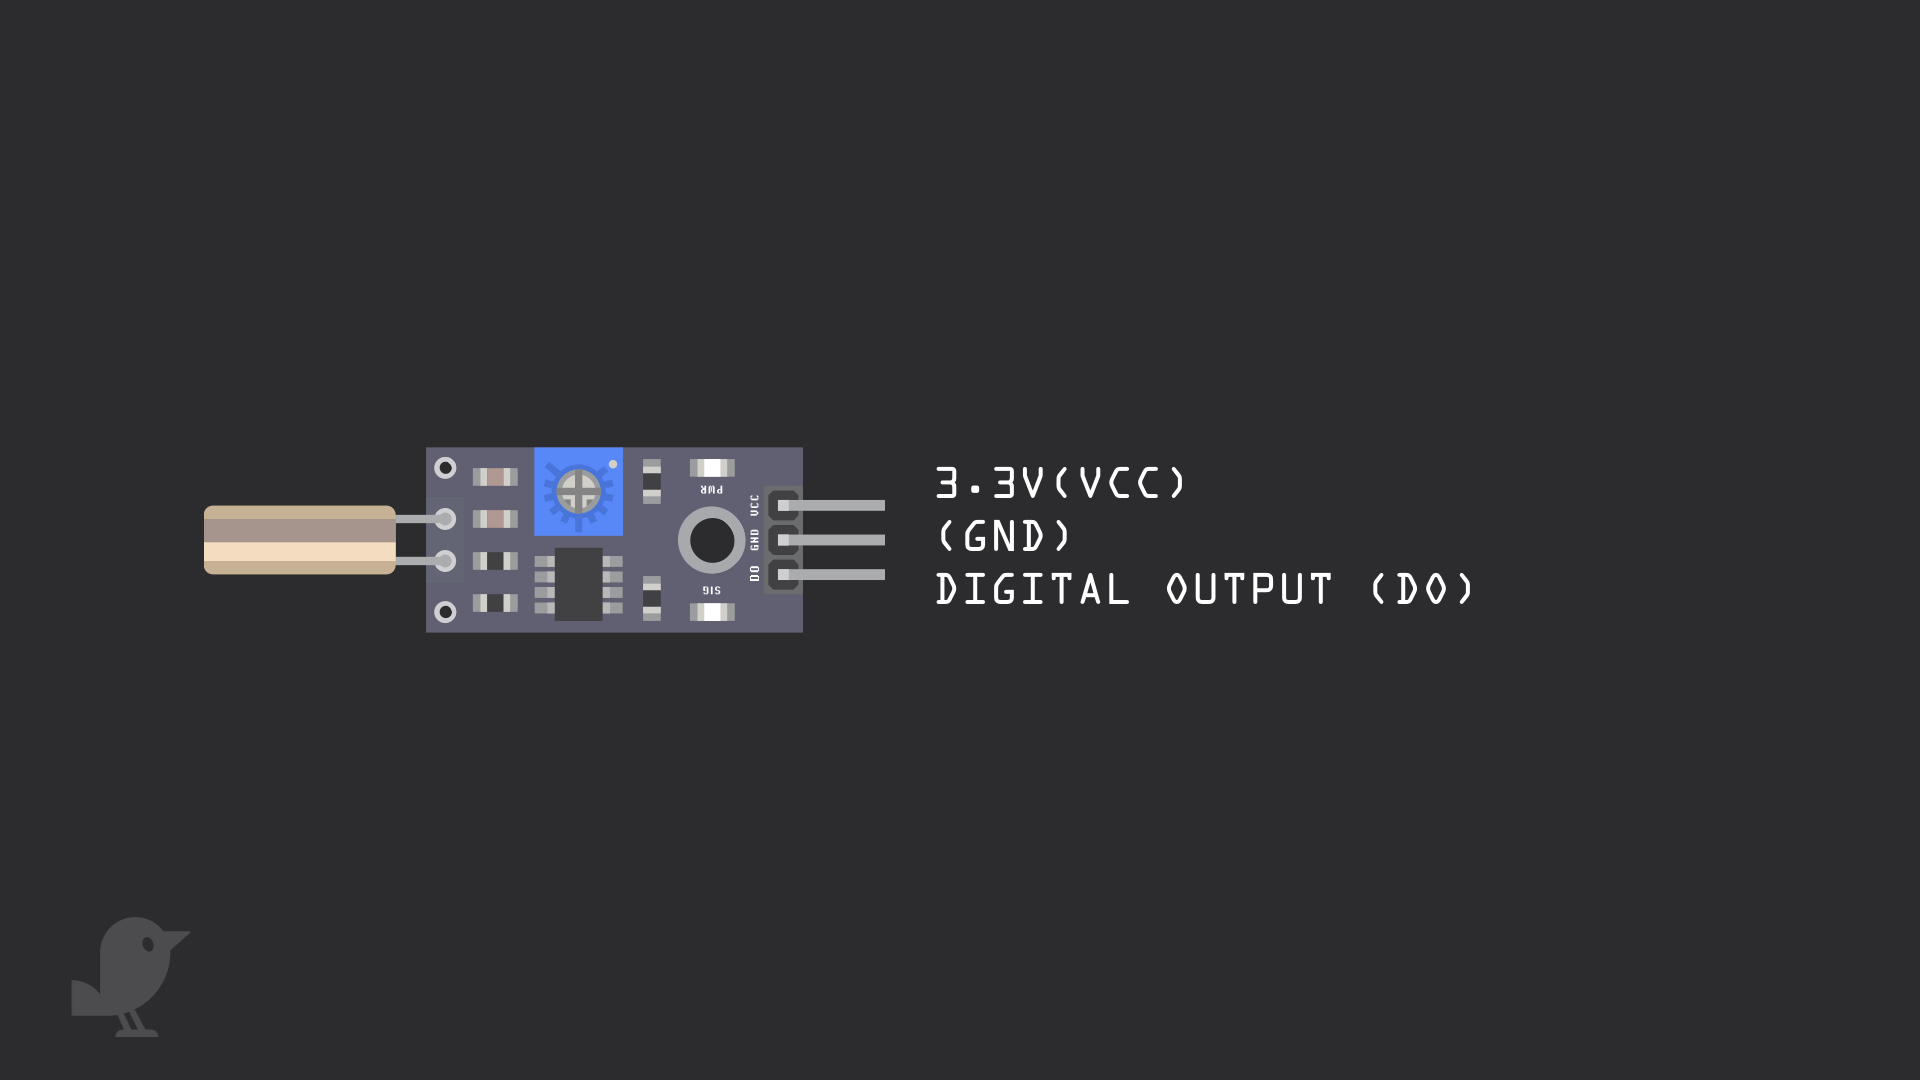
Before we begin, let's take a closer look at the tilt sensor module. It has three pins:
DO: Digital Output
GND: In electronics, we define a point in a circuit to be a kind of zero volts or 0V reference point, on which to base all other voltage measurements. This point is called ground or GND.
3.3V : 'VCC' stands for Voltage Common Collector, we'll connect the VCC pin to 3.3V on the micro:bit
Voltage is the difference in potential between two points. As it is difficult to talk about voltage without a reference point, we need another point to compare it to.
let sensorVal = 0
pins.setPull(DigitalPin.P0, PinPullMode.PullUp)
basic.forever(function () {
    sensorVal = pins.digitalReadPin(DigitalPin.P0)
    if (sensorVal == 0) {
        pins.digitalWritePin(DigitalPin.P1, 1)
    } else if (sensorVal == 1) {
        pins.digitalWritePin(DigitalPin.P1, 0)
    }
})
First, head over to MakeCode editor
Click on 'New Project'
Copy and paste the following into the Javascript interface.
let sensorVal = 0
pins.setPull(DigitalPin.P0, PinPullMode.PullUp)
basic.forever(function () {
    sensorVal = pins.digitalReadPin(DigitalPin.P0)
    if (sensorVal == 0) {
        pins.digitalWritePin(DigitalPin.P1, 1)
        basic.showLeds(`
            . . # . .
            . . # . .
            # . # . #
            . # # # .
            . . # . .
            `)
    } else if (sensorVal == 1) {
        pins.digitalWritePin(DigitalPin.P1, 0)
        basic.showLeds(`
            . . # . .
            . # # # .
            # . # . #
            . . # . .
            . . # . .
            `)
    }
})
Copy and paste this code into the Javascript interface.
Here, 'basic.showLeds' is used. We've programmed it so that the first one shows a downwards pointing arrow, and the second one shows an upwards arrow.

Alright, it's time to upload an test the MakeCode. Connect a microUSB cable from the micro:bit to your computer
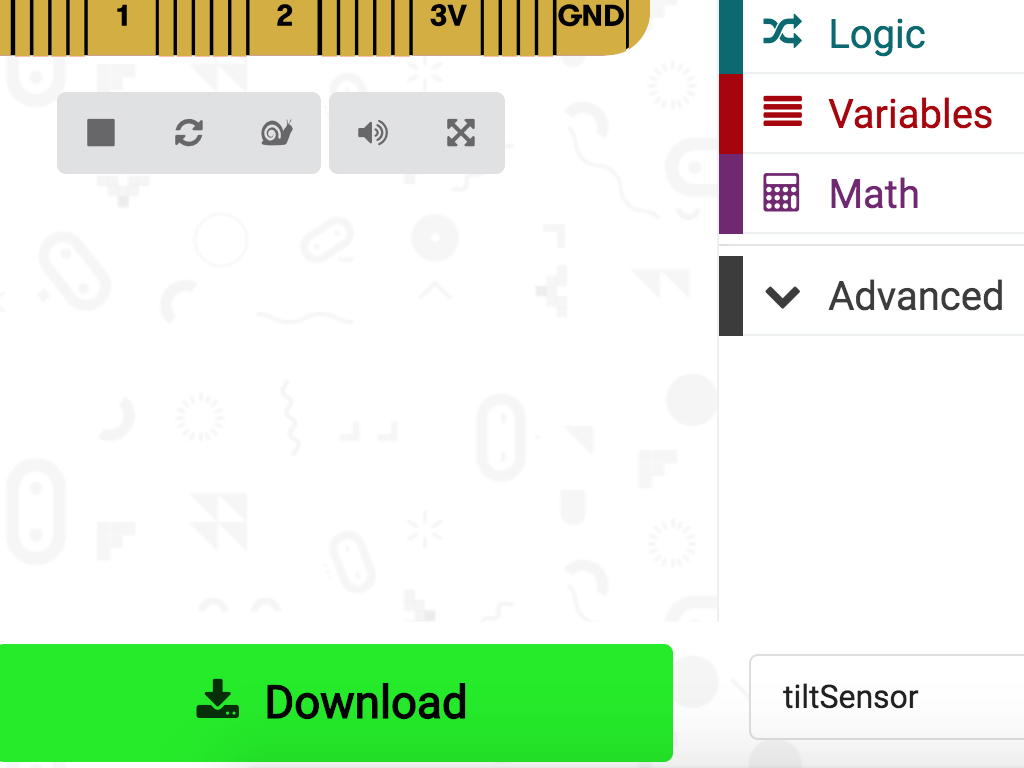
Click on the 'Download' button on the bottom left corner of MakeCode editor.
The hex file will be downloaded, and you can find it in your Downloads folder.
Open up Finder if you are using Mac OSX, or Explorer if using Windows. Locate the downloaded hex file.
Drag and drop it to the MICRO:BIT drive and the micro:bit will blink as the code uploads!