Obstacle Avoidance with Micro:bit Robit Smart Car
Get the Robit Smart Car to move and avoid obstacles!
Written By: Cherie Tan
Difficulty
Easy
Steps
7
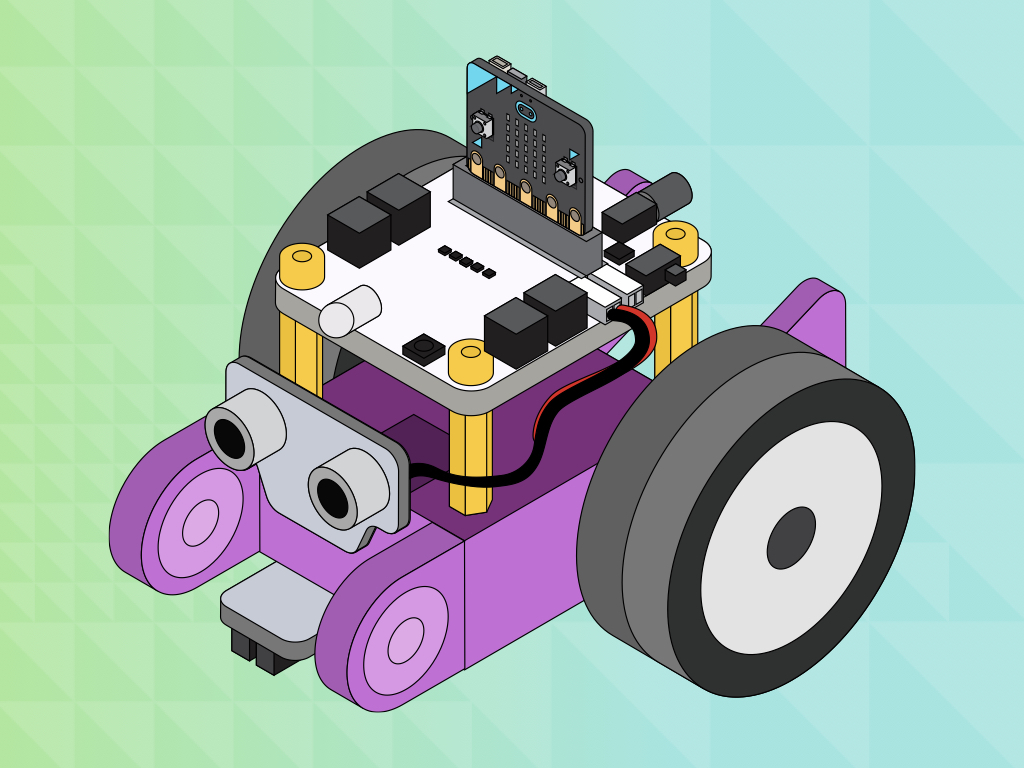
The Robit Smart Car is a great starting point if you're new to electronics and programming. It can be easily programmed by using the accessible micro:bit and MakeCode editor.
In this guide, you will learn to use the Robit Smart Car with a Sonar Module. The smart car will be programmed to move and avoid obstacles.
After completing this guide, you will understand the basics on how to use the Robit Smart Car!

Before we will start to program the Robit Smart Car, it will need to be set up! For this guide, we will need:
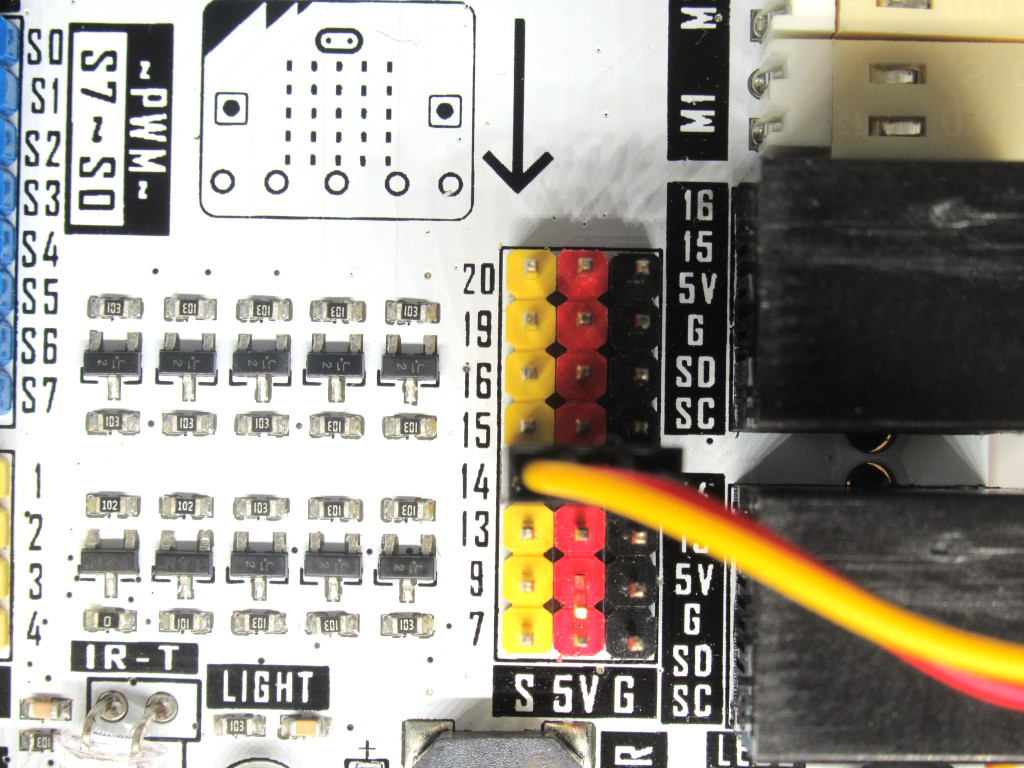
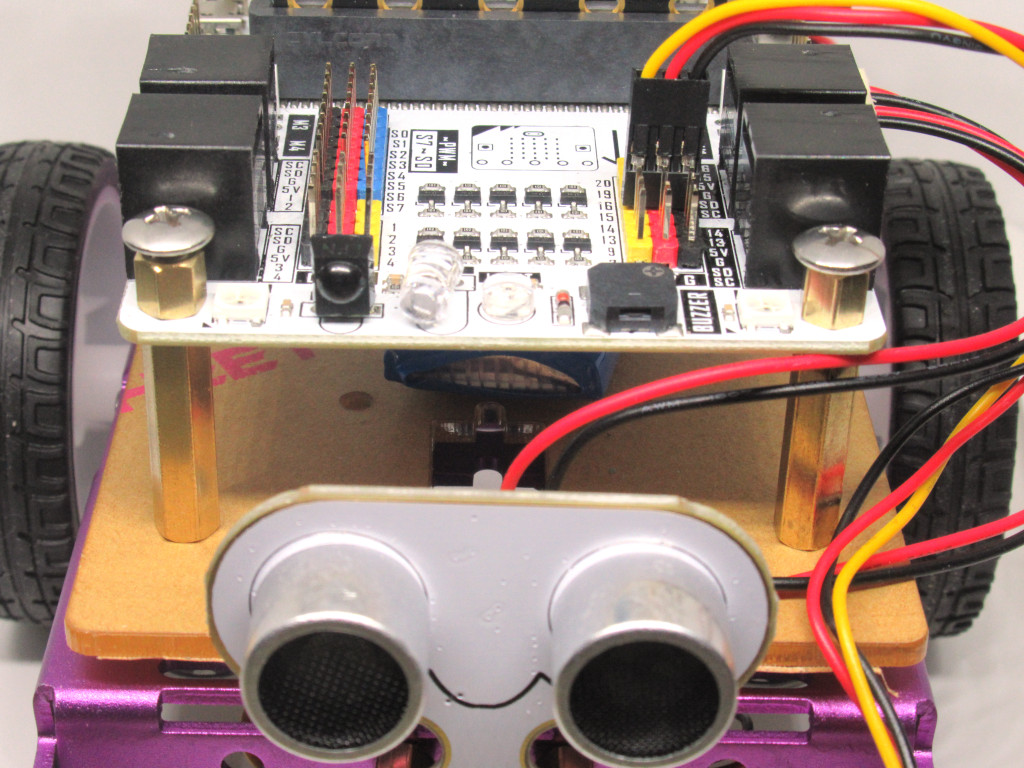
The Sonar module to be connected to the robit motherboard. Make sure it is connected to Pin 14 on the motherboard.
The two motors are to be connected to M1 and M2.
The Sonar module to be connected to the robit motherboard. Make sure it is connected to Pin 14 on the motherboard.
The two motors are to be connected to M1 and M2.
If you haven't done so already, head over to the Robit Smart Car product page for instructions on how to assemble the smart car.
To program the smart car, we will use MakeCode editor.
Click on 'New Project'
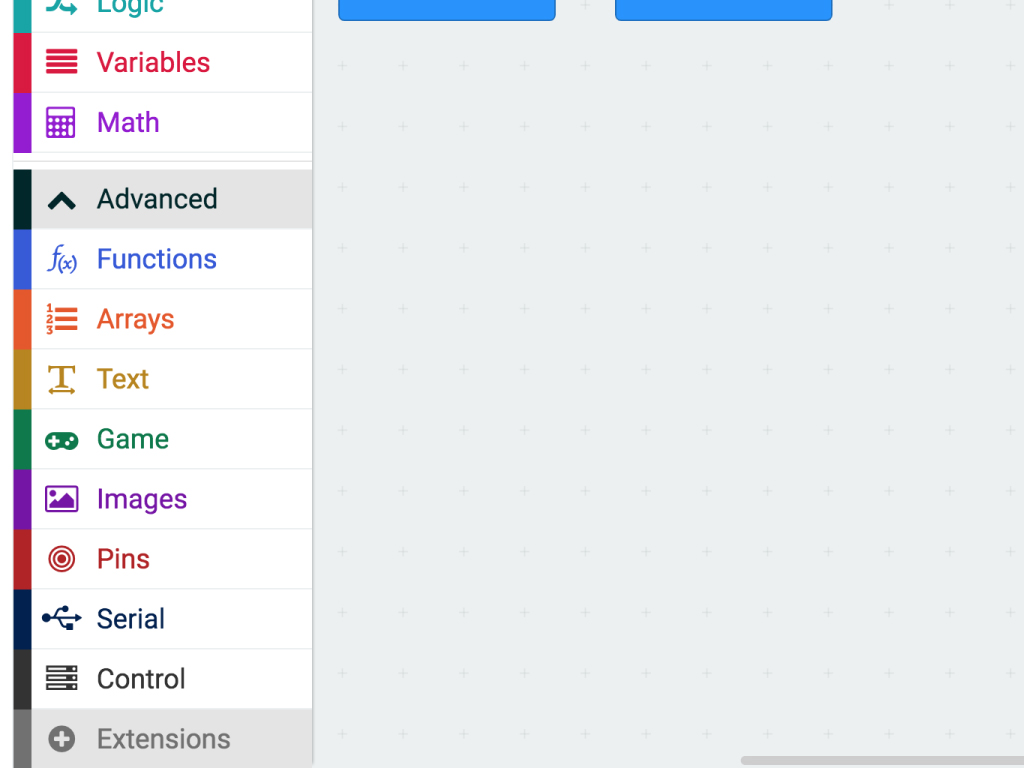
Click on 'Advanced'
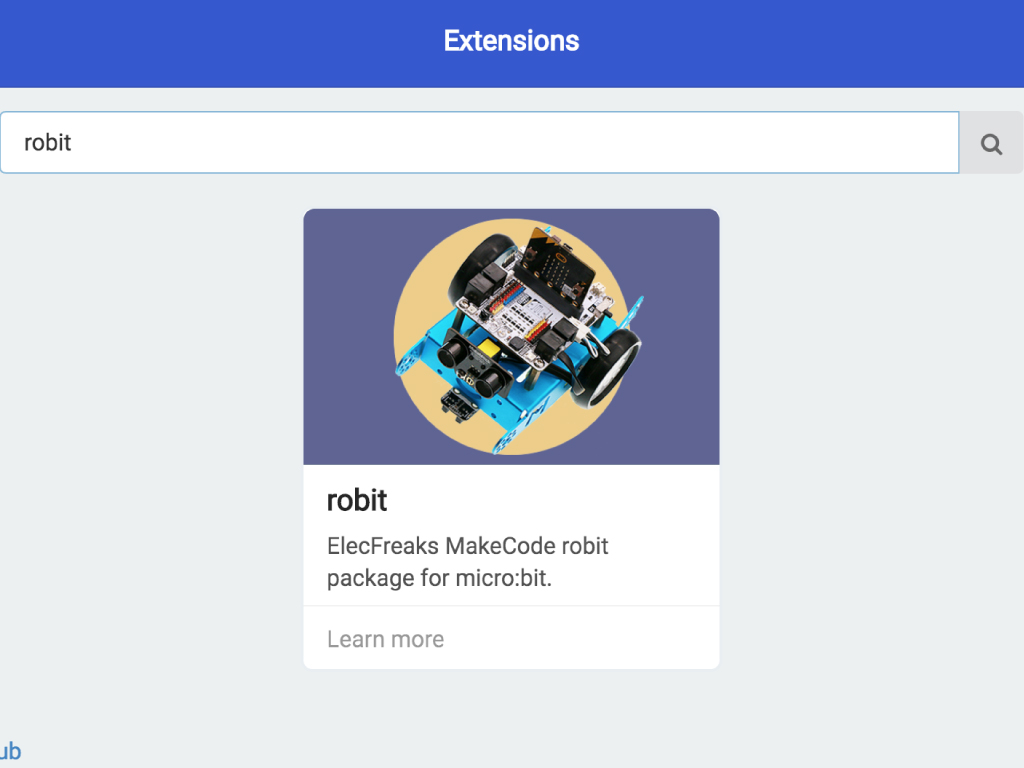
Click on 'Extensions'
Type 'robit' in the search bar
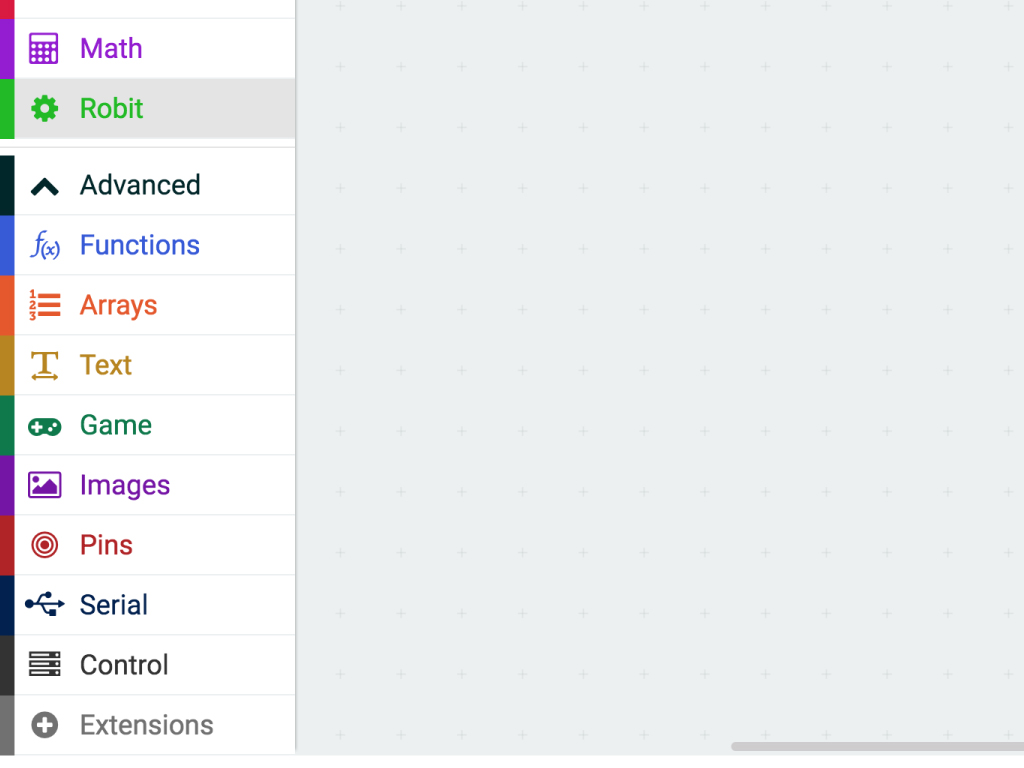
Click on the robit package and it will be automatically added to the MakeCode editor
basic.forever(function () {
    robit.MotorRunDual(
    robit.Motors.M1,
    50,
    robit.Motors.M2,
    50
    )
    basic.pause(1000)
    robit.MotorRunDual(
    robit.Motors.M1,
    -50,
    robit.Motors.M2,
    -50
    )
    basic.pause(1000)
})
Let's get started with programming the Robit Smart Car! First, we'll get it to move backwards and then forwards, forever, as long as it is powered on.
Copy and paste the following code to the Javascript interface.
let dist = 0
dist = 0
robit.MotorRunDual(
robit.Motors.M1,
50,
robit.Motors.M2,
50
)
basic.forever(function () {
    dist = robit.Ultrasonic(robit.Jpin.J1)
    if (dist < 5 && dist != 0) {
        robit.MotorStopAll()
        basic.pause(500)
        robit.MotorRunDual(
        robit.Motors.M1,
        -50,
        robit.Motors.M2,
        -50
        )
        basic.pause(500)
    } else {

    }
})
In the 'basic.forever' loop, we've set it so that the ultrasonic data from J1 port is assigned to the variable, 'dist'.
To prevent collisions with obstacles, we've created a condition. When the measured distance is less than 5cm, get the Robit Smart Car to stop. After stopping, we want the Robit Smart Car to then reverse. In the previous example, remember how we got it to move backwards? We do the same thing here, by setting a negative number to M1 and M2. Then set it with a delay time of 500 ms or half a second.
We've created a variable called 'dist' that is used to represent the distance from the obstacle. It is set to be '0'.
The speed of both motors, M1 and M2, have been set to be '50'. You may change this value to increase or decrease its speed.
For this next example, we'll get the Robit Smart Car to avoid obstacles. Replace the existing code with the following in the Javascript interface.
let dist = 0
dist = 0
robit.MotorRunDual(
robit.Motors.M1,
50,
robit.Motors.M2,
50
)
basic.forever(function () {
    dist = robit.Ultrasonic(robit.Jpin.J1)
    if (dist < 5 && dist != 0) {
        robit.MotorStopAll()
        basic.pause(500)
        robit.MotorRunDual(
        robit.Motors.M1,
        -50,
        robit.Motors.M2,
        -50
        )
        basic.pause(500)
    } else if (dist < 15) {
        if (Math.randomRange(0, 99) < 45) {
            robit.MotorRun(robit.Motors.M1, -50)
        } else {
            robit.MotorRun(robit.Motors.M2, -50)
            basic.pause(500)
        }
    } else {
        robit.MotorRunDual(
        robit.Motors.M1,
        50,
        robit.Motors.M2,
        50
        )
    }
})
Replace the existing code with the following in the Javascript interface.
The final part of this MakeCode involves getting the Smart Car to avoid obstacles while steering.
We'll create a condition. When the distance from obstacle is less than 15cm, generate a random number.
If the random number is less than 45, set the motor speed of M1 to be negative. Doing so, the left wheel will run oppositely, completing a left turn.
When the random number is beyond 45, the motor speed of M2 is set to be negative. Thus, the right wheel runs oppositely, completing a left turn.
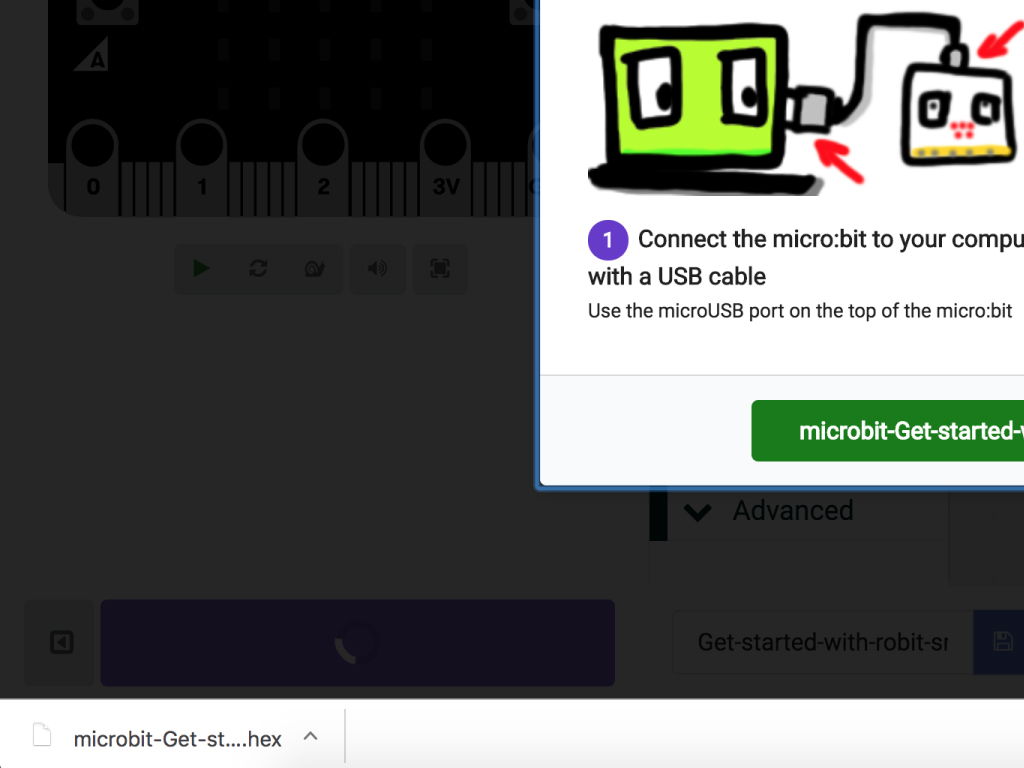
To upload the code to the micro:bit, first connect the micro:bit to the computer via microUSB cable.
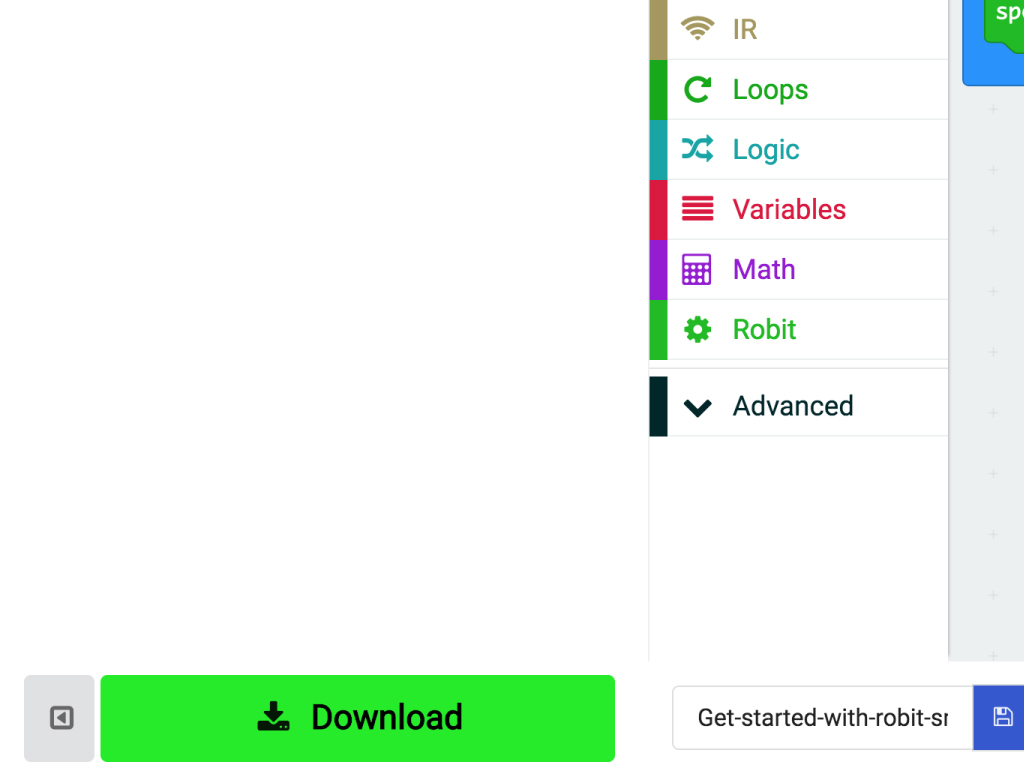
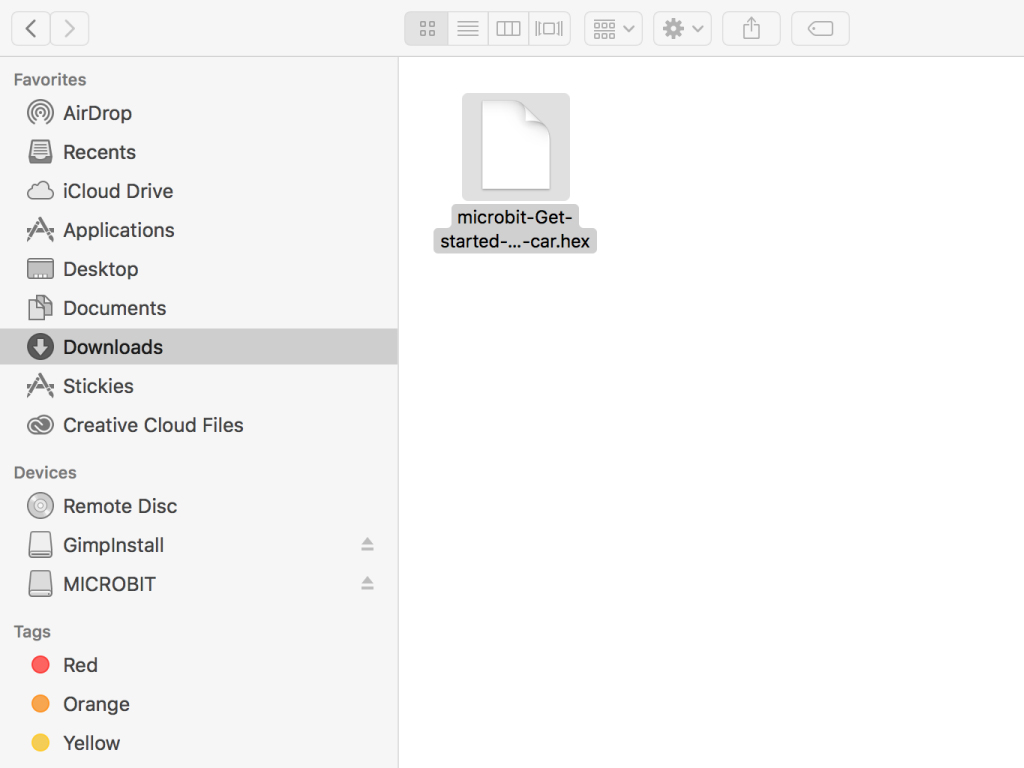
Click on the 'Download' button and the hex file will be automatically downloaded to your 'Downloads' folder
Drag and drop the downloaded .hex file to the MICROBIT drive
Leave the micro:bit alone for a few seconds as it blinks. The code is uploading.