Make an RGB LED Blink with micro:bit
Light up and blend the colours of an RGB LED
Written By: Cherie Tan
Difficulty
Easy
Steps
11
You might have already tried your hands at making a two colour LED module blink with the micro:bit, but have you tried using an RGB LED module?
In this guide, you will learn to make an RGB LED blink and change to a variety of colours.
Complete this guide to learn the basics of programming an RGB LED!
If you're using the Micro:bit Advent Calendar, you'll need the contents of the bags labelled 2 and 25.
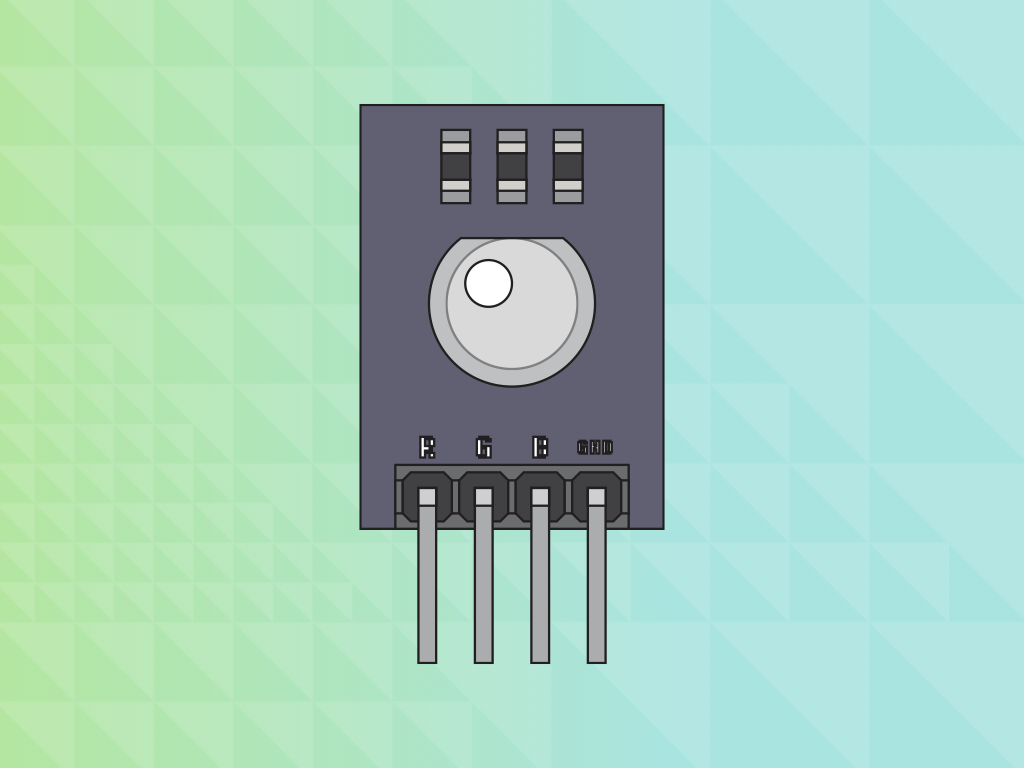
Let's take a look a closer look at the RGB LED Module before we begin. There are four pins:
RED (R)
GREEN (G)
BLUE (B)
GND: In electronics, we define a point in a circuit to be a kind of zero volts or 0V reference point, on which to base all other voltage measurements. This point is called ground or GND.
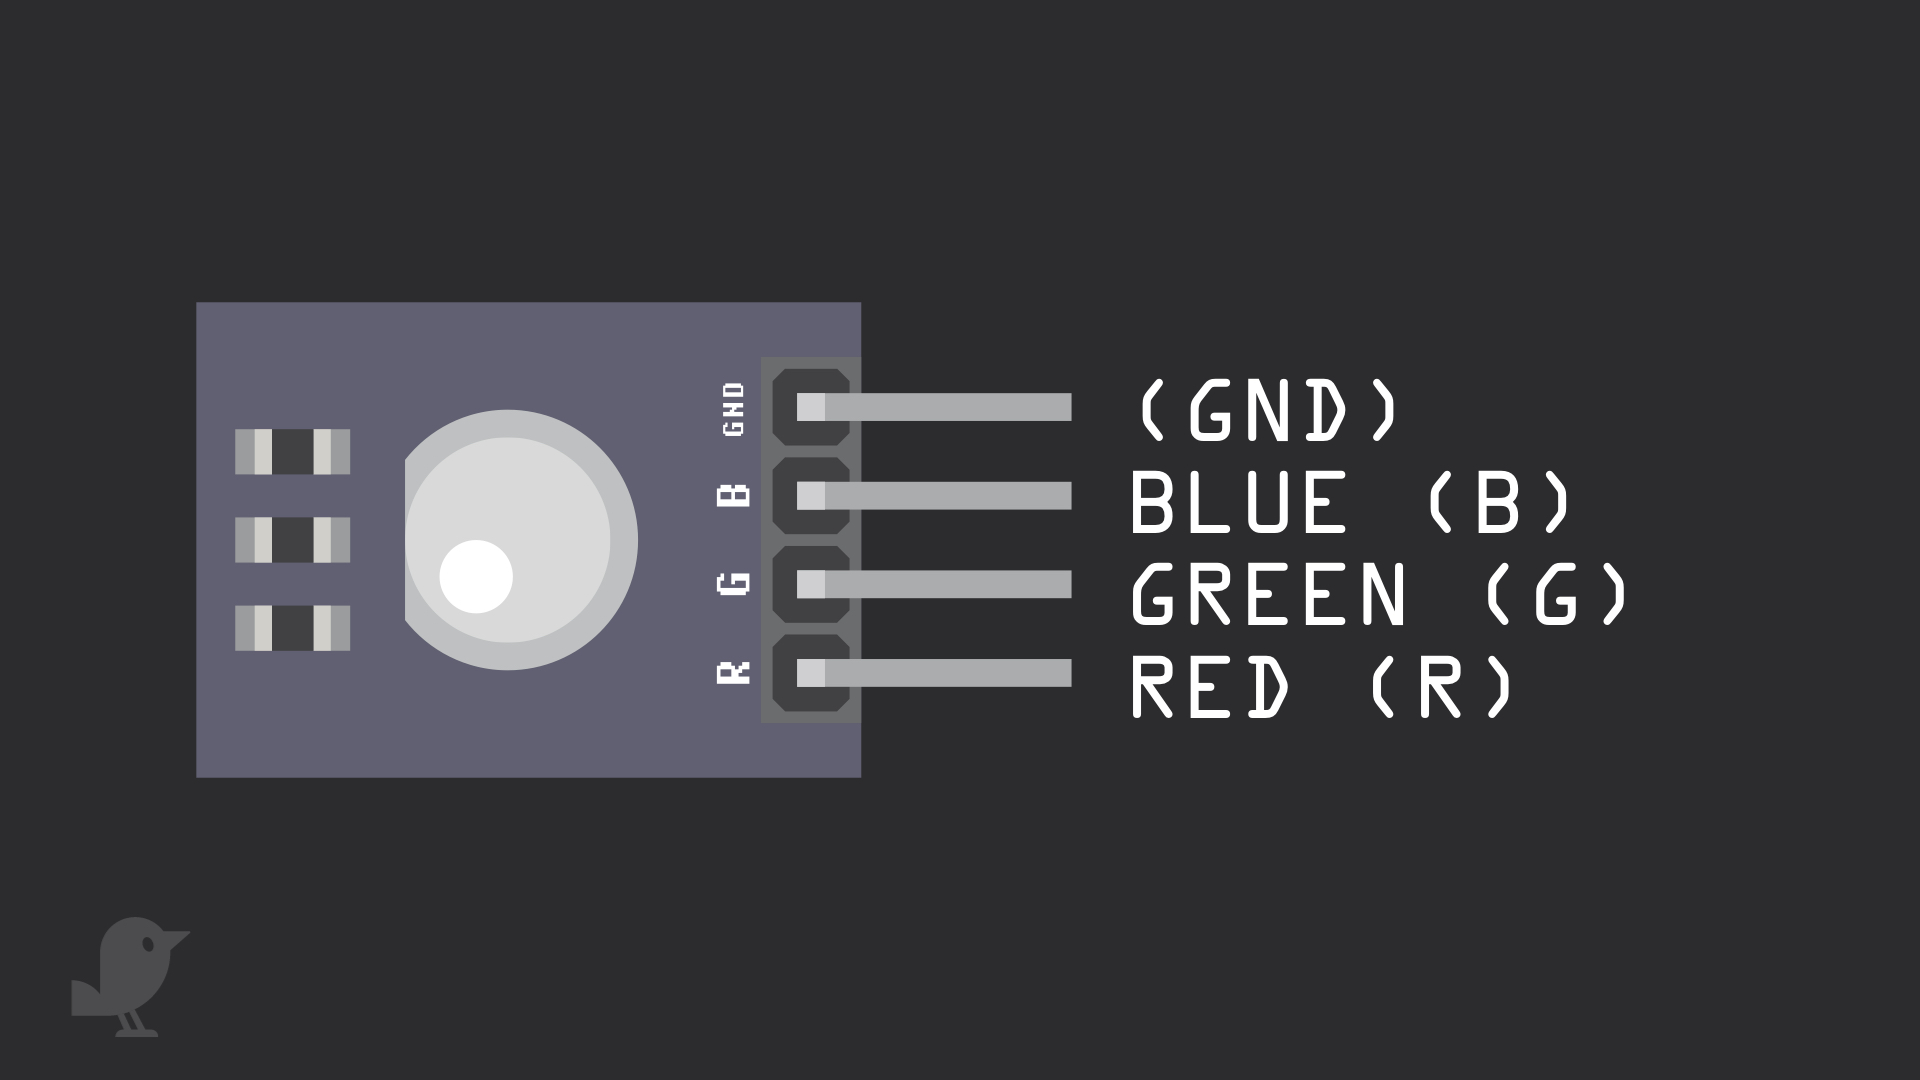
RED (R)
GREEN (G)
BLUE (B)
GND: In electronics, we define a point in a circuit to be a kind of zero volts or 0V reference point, on which to base all other voltage measurements. This point is called ground or GND.
Voltage is the difference in electric potential between two points. As it is difficult to talk about voltage without a reference point, we need another point to compare it to.
As you might guess, this module is capable of emitting red, green, blue as well as a variety of colours based on how they are combined. This module has on-board resistors, so external resistors are not required here.
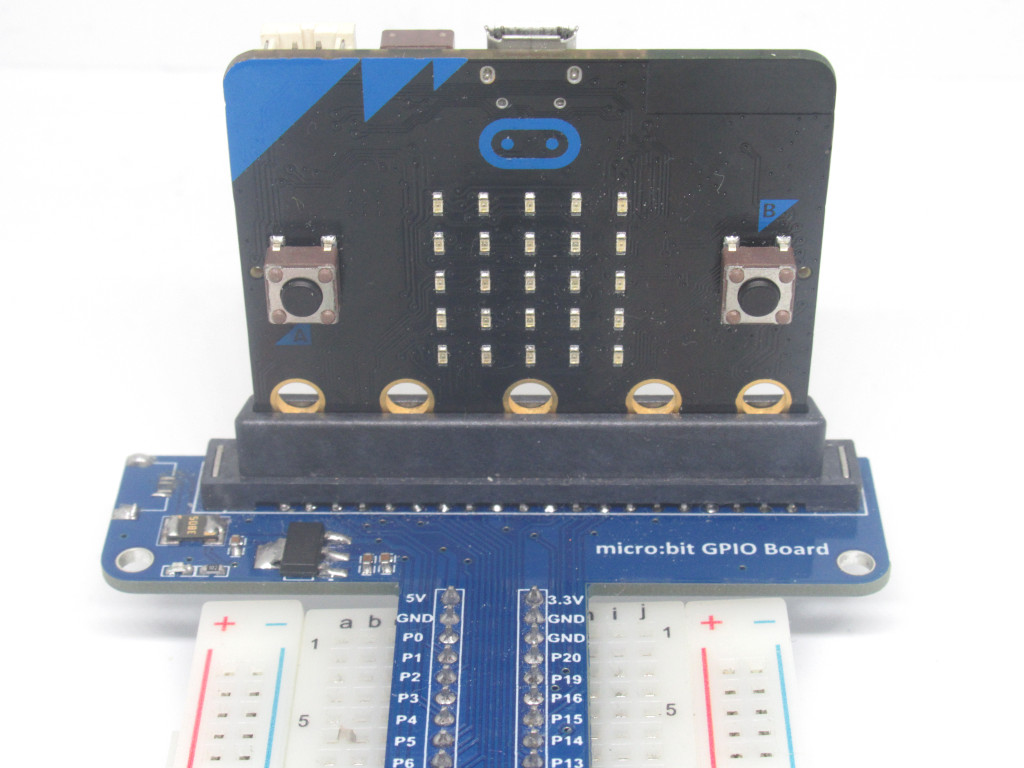
Insert the micro:bit into the breakout board
Make sure that the micro:bit is inserted in the right orientation, with the buttons facing inward as shown.
basic.forever(function () {
    pins.digitalWritePin(DigitalPin.P0, 1)
    basic.pause(500)
    pins.digitalWritePin(DigitalPin.P0, 0)
    basic.pause(500)
    pins.digitalWritePin(DigitalPin.P1, 1)
    basic.pause(500)
    pins.digitalWritePin(DigitalPin.P1, 0)
    basic.pause(500)
    pins.digitalWritePin(DigitalPin.P2, 1)
    basic.pause(500)
    pins.digitalWritePin(DigitalPin.P2, 0)
    basic.pause(500)
})
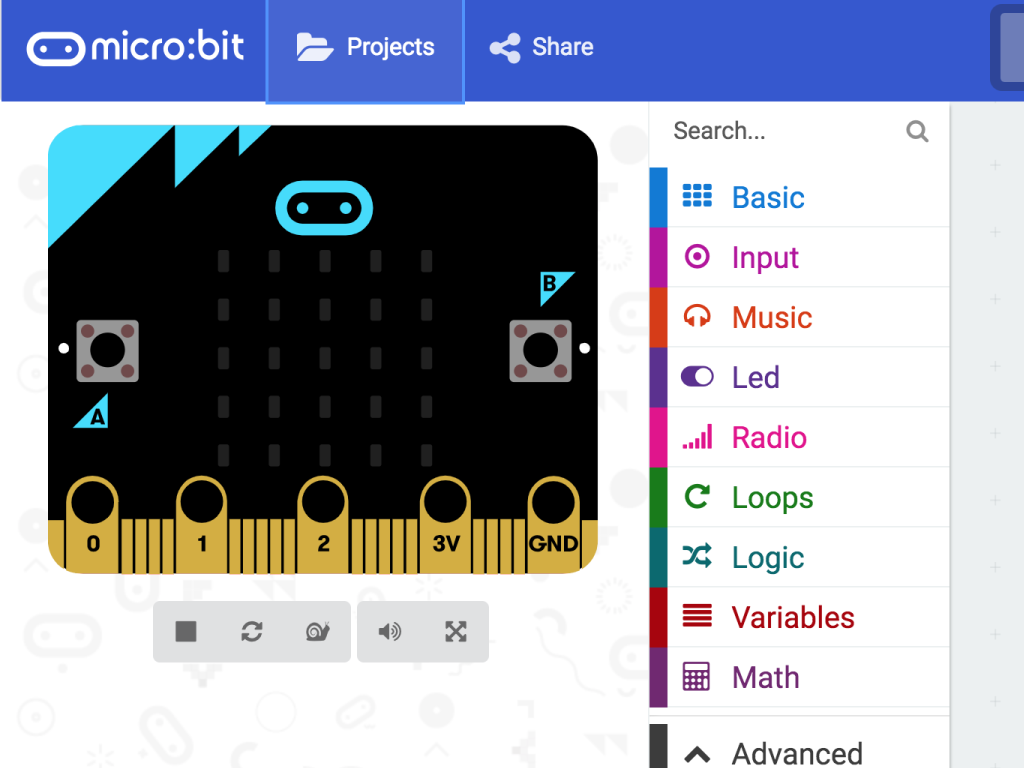
Copy and paste this code into the Javascript blocks interface.
basic.forever(function () {
    pins.digitalWritePin(DigitalPin.P0, 1)
    basic.pause(500)
    pins.digitalWritePin(DigitalPin.P1, 1)
    basic.pause(500)
    pins.digitalWritePin(DigitalPin.P1, 0)
    basic.pause(500)
    pins.digitalWritePin(DigitalPin.P2, 1)
    basic.pause(500)
    pins.digitalWritePin(DigitalPin.P2, 0)
    basic.pause(500)
})
You can turn on more than one of the colours at the same time. When this happens, the overall colour of the LED will be a blend of the RGB LED colours. Let's try that out and find out what colours you get for each combination!
Copy and paste this code into the Javascript blocks interface.
Copy and paste this code into the Javascript blocks interface.
Give it a try, test out these combinations yourself:
- RED + GREEN
- RED + BLUE
- GREEN + BLUE
- RED + GREEN + BLUE
Connect a microUSB cable to the micro USB port of the micro:bit.
Then connect the other end of the cable to your computer or laptop's USB port.
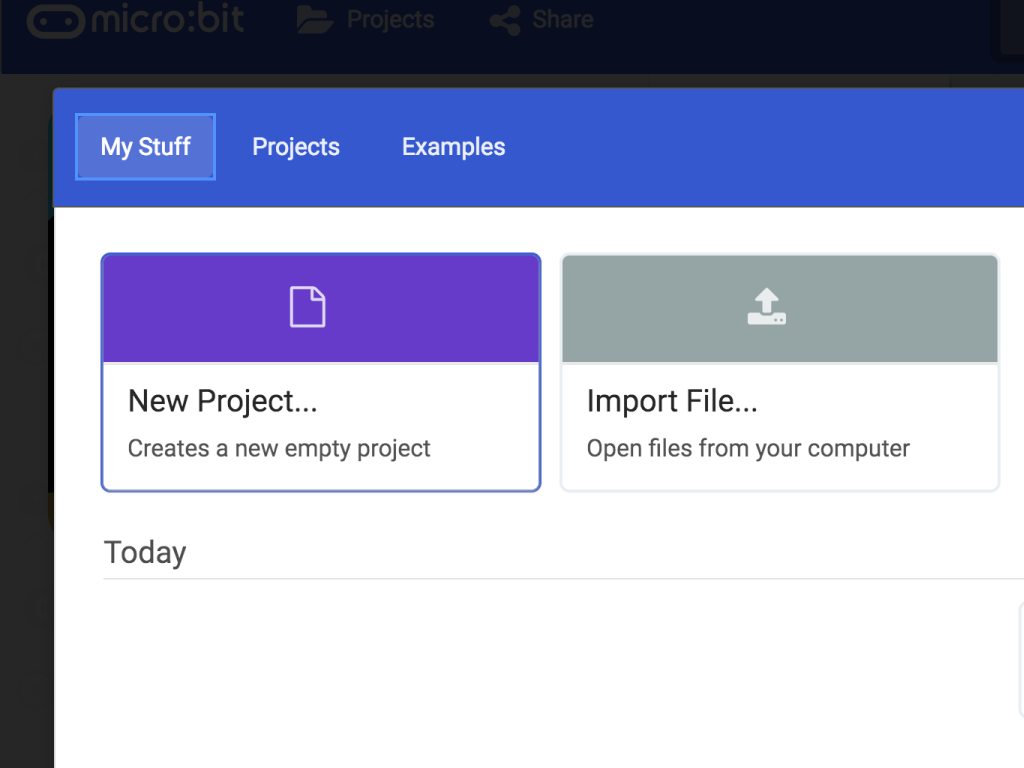
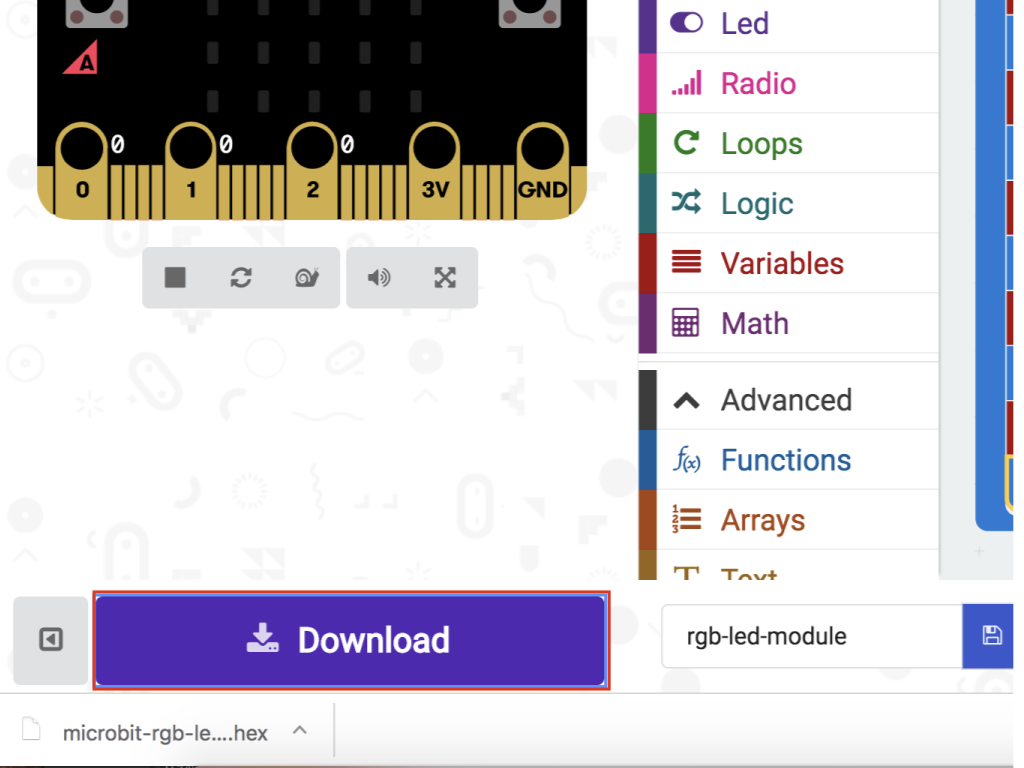
Click on the Download button on the bottom left-hand corner
Find the hex file in the Downloads folder or other folder that you might have moved it to
Open up Finder on the MacOS or Explorer on Windows, and drag the hex file into MICROBIT under 'Devices' on the macOS.
Watch the micro:bit flash for a few seconds and watch the LED blink!