Make a Grove Zero Line Follower Robot
Create a robot that will follow a line you draw and learn about programming logic!
Written By: Cherie Tan
Difficulty
Easy
Steps
8
The Grove Zero bit kit allows you to create a small but cool car robot in just a few seconds.
In this guide, we will create a line-following robot using the BBC micro:bit and Grove Zero bit kit.
After completing this guide, you will have delved into the basics of programming logic and in the process, learned how to make a robot that follows lines.
Open up the MakeCode Editor.
Click on 'New Project'.
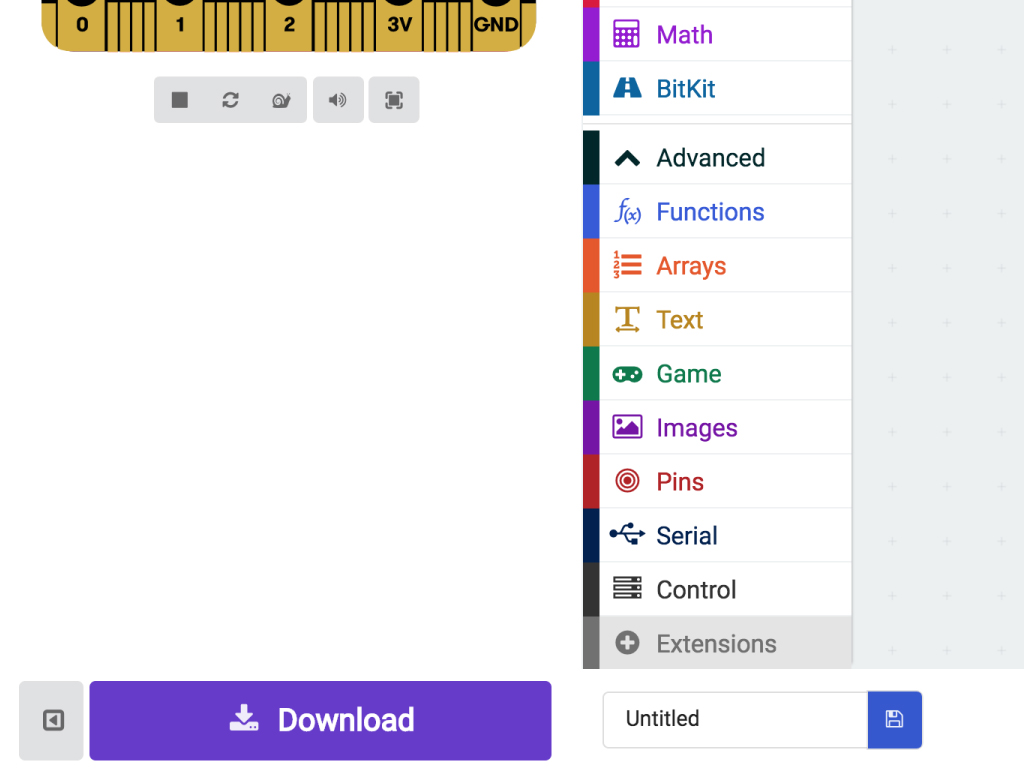
Before we can program the Grove Zero Bit kit micro:car, we'll need to add the extension package for it in MakeCode. So click on the 'Advanced' tab which will expand, then click on 'Extensions' tab.
Type 'zero' in the search field.
Click on 'grove-zero-for-microbit' package.
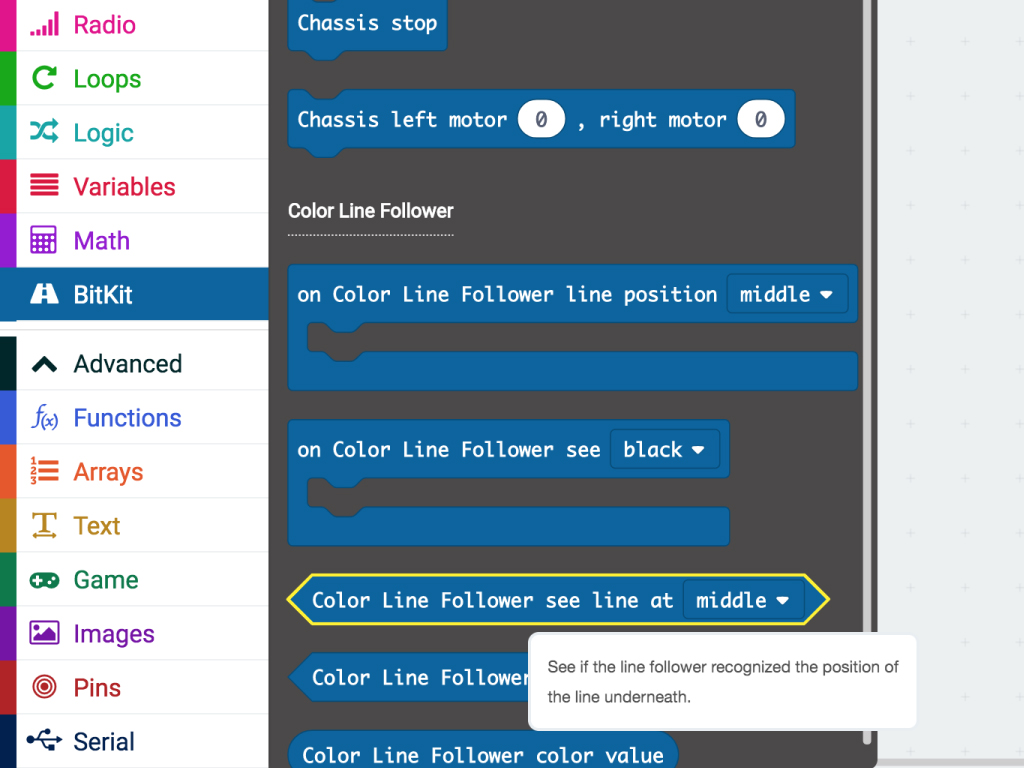
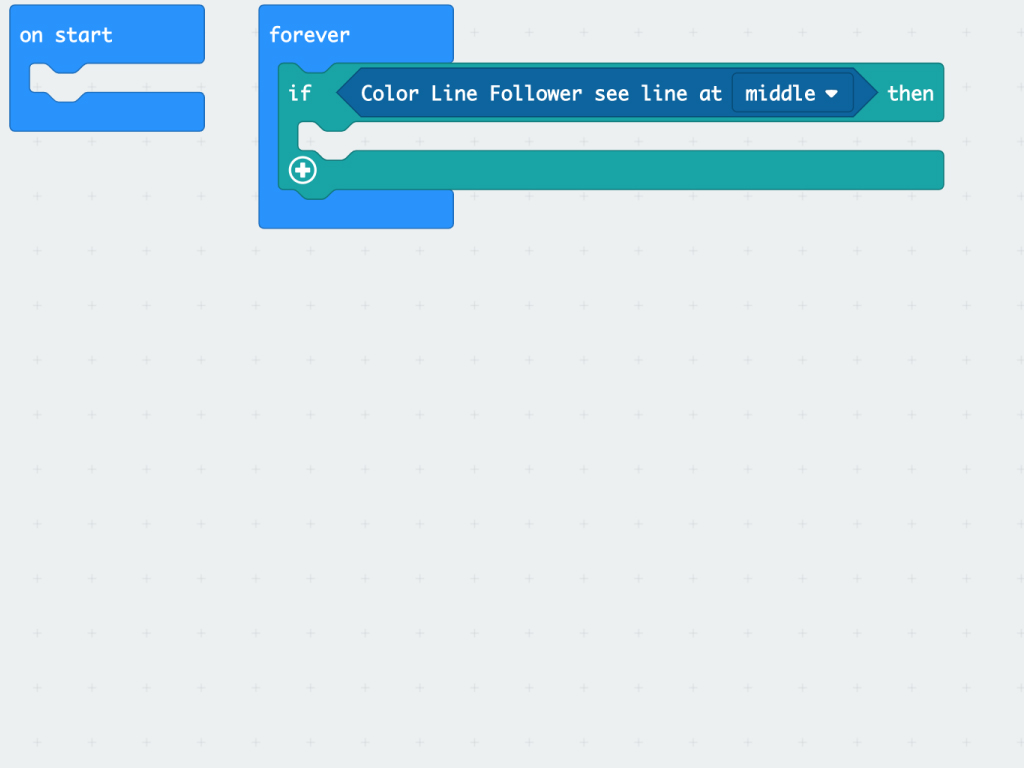
Click on 'BitKit' tab to find a 'Color Line Follower see line at middle' block. Add this to 'If ... then ...' in the 'forever' block.
The if statement is used as such: if "this happens" then "do this"
Add a 'Chassis go forward at slow speed' block in the "if ... then ..." condition.
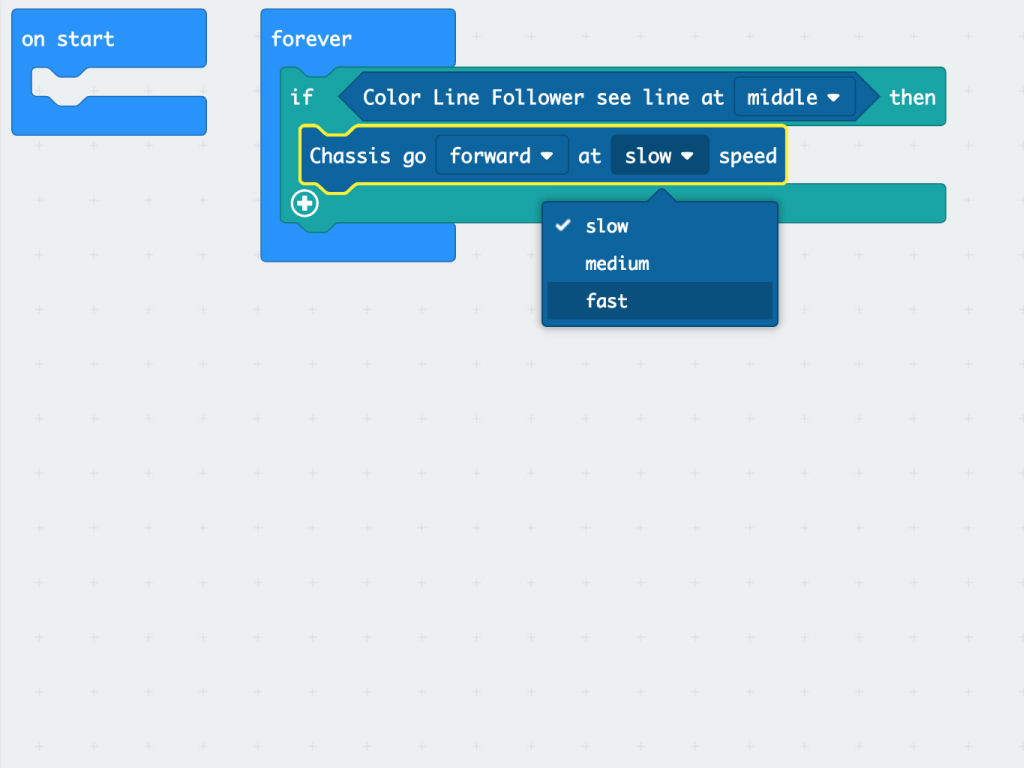
Now, we need to add a statement for the 'if' to follow. Add a "Chassis go ... at ... speed' from BitKit tab to complete the 'if ... then ...' logic control block.
Next, we need to sense when our robot needs to move left or right. It is a simple process and follows our layout above. However, we need to add another 'if', to do this:
Click on the white cross icon at the bottom of the 'if ... then ...' statement. Click it again.
Delete the 'else' statement by clicking on the white minus icon.
Click on the white cross icon at the bottom of the 'if ... then ...' statement. Click it again.
Delete the 'else' statement by clicking on the white minus icon.
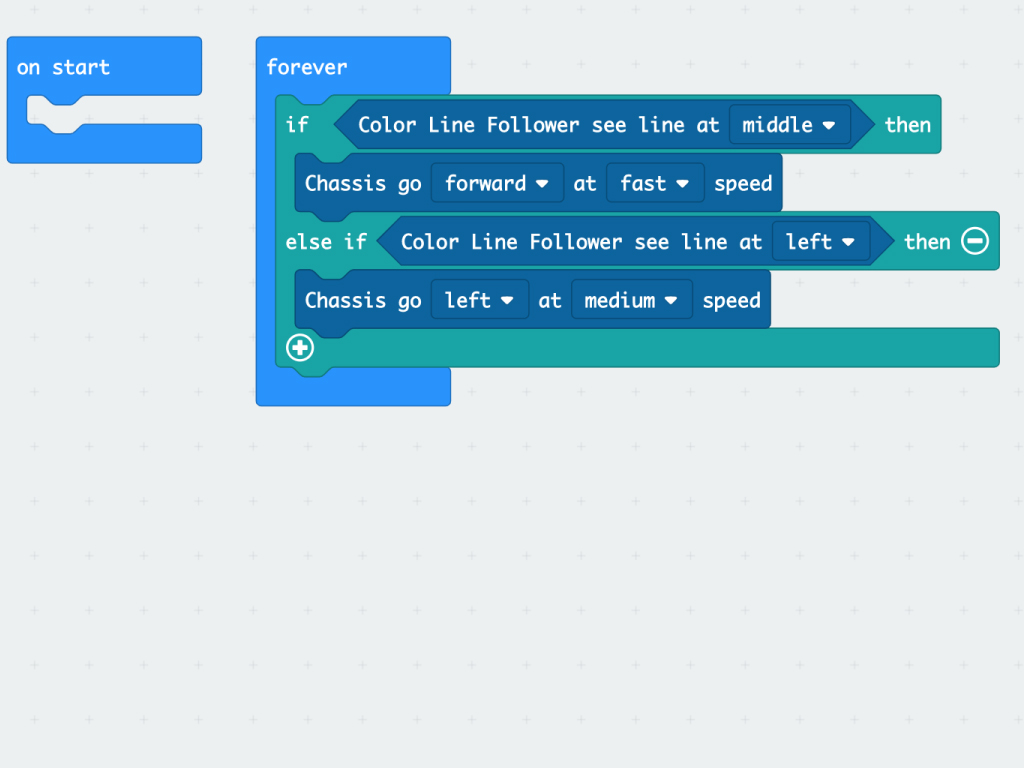
We can do the same as the step above but replace this values:
The line position variable can change from 'middle' to 'left';
The direction variable needs to be changed from 'forward' to 'left' at speed 'medium'
The line position variable can change from 'middle' to 'left';
The direction variable needs to be changed from 'forward' to 'left' at speed 'medium'
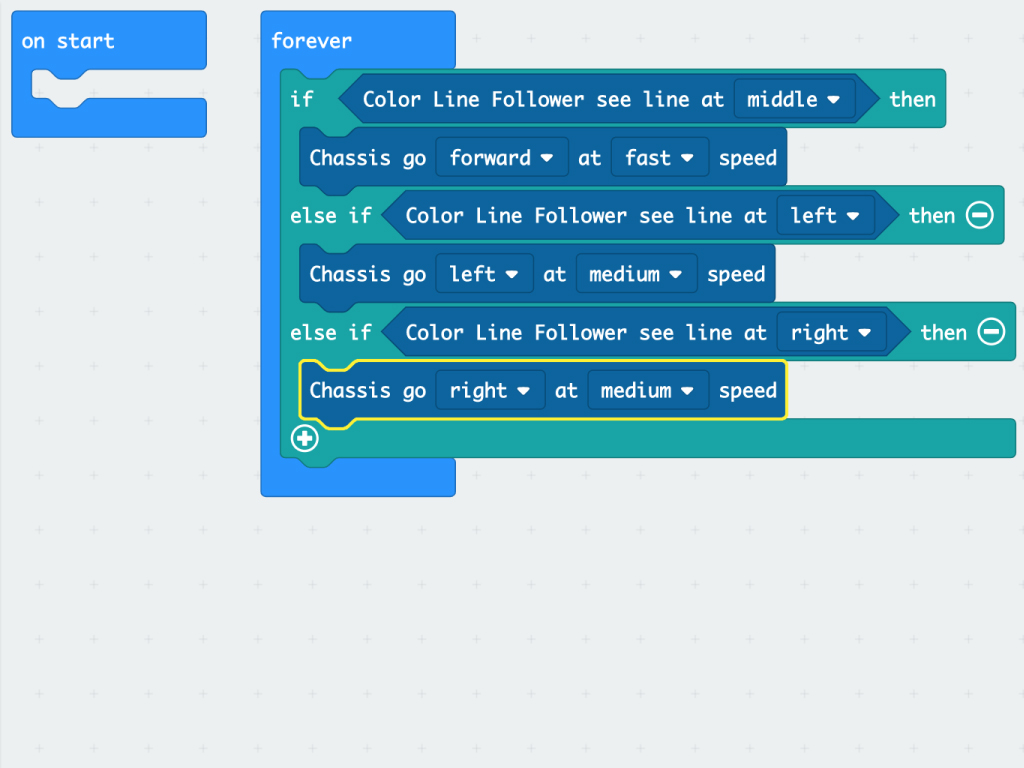
Moving right is similar as the step above.
Create a new 'else if' section;
Create a new 'else if' section;
Add a 'Color Line Follower see line at ...' block
Set its value to 'right'
Add a 'Chassis go ... at ... speed' block.
Set its values as 'right' and 'medium'
basic.forever(function () {
    if (BitKit.wasLinePositionTriggered(LinerEvent.Middle)) {
        BitKit.setMotormoduleAction(DirectionTpye.Forward, SpeedTpye.Fast)
    } else if (BitKit.wasLinePositionTriggered(LinerEvent.Left)) {
        BitKit.setMotormoduleAction(DirectionTpye.Left, SpeedTpye.Medium)
    } else if (BitKit.wasLinePositionTriggered(LinerEvent.Right)) {
        BitKit.setMotormoduleAction(DirectionTpye.Right, SpeedTpye.Medium)
    } else if (BitKit.wasLinePositionTriggered(LinerEvent.Leftmost)) {
        BitKit.setMotormoduleAction(DirectionTpye.Left, SpeedTpye.Fast)
    } else if (BitKit.wasLinePositionTriggered(LinerEvent.Rightmost)) {
        BitKit.setMotormoduleAction(DirectionTpye.Right, SpeedTpye.Fast)
    } else if (BitKit.wasLinePositionTriggered(LinerEvent.Lost)) {
        BitKit.setMotormoduleAction(DirectionTpye.Anticlockwise, SpeedTpye.Fast)
    }
})
Now, what happens if our little robot loses the line? What is it going to do? This is where you tell it what to do! Add the following in the Javascript interface.
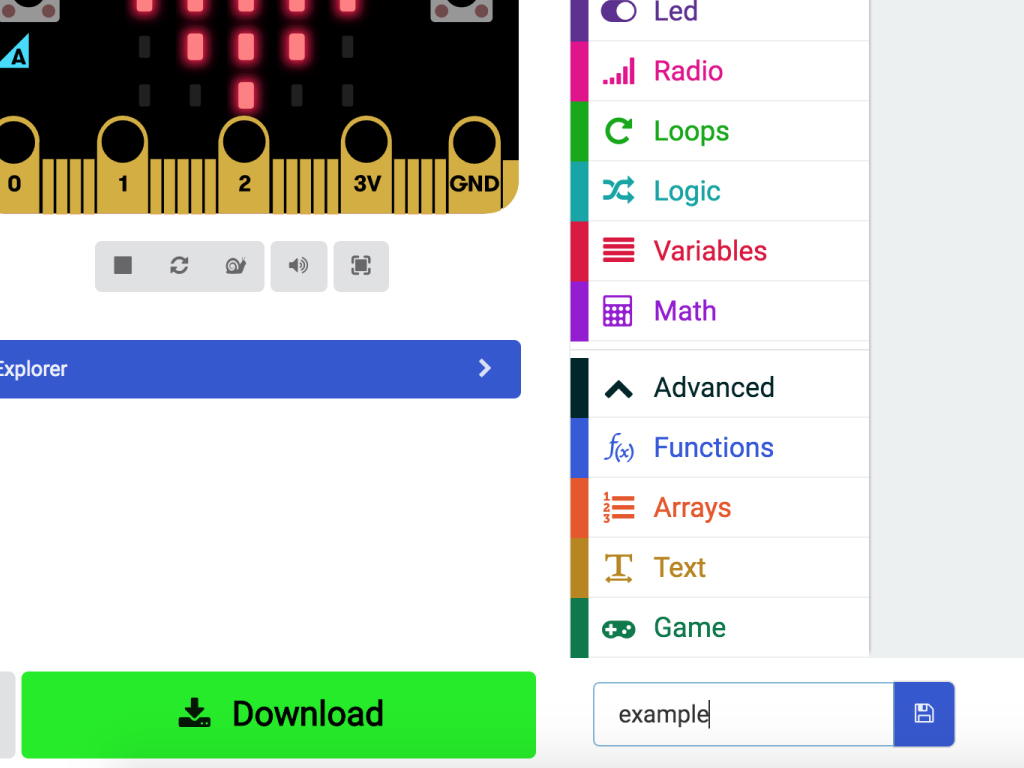

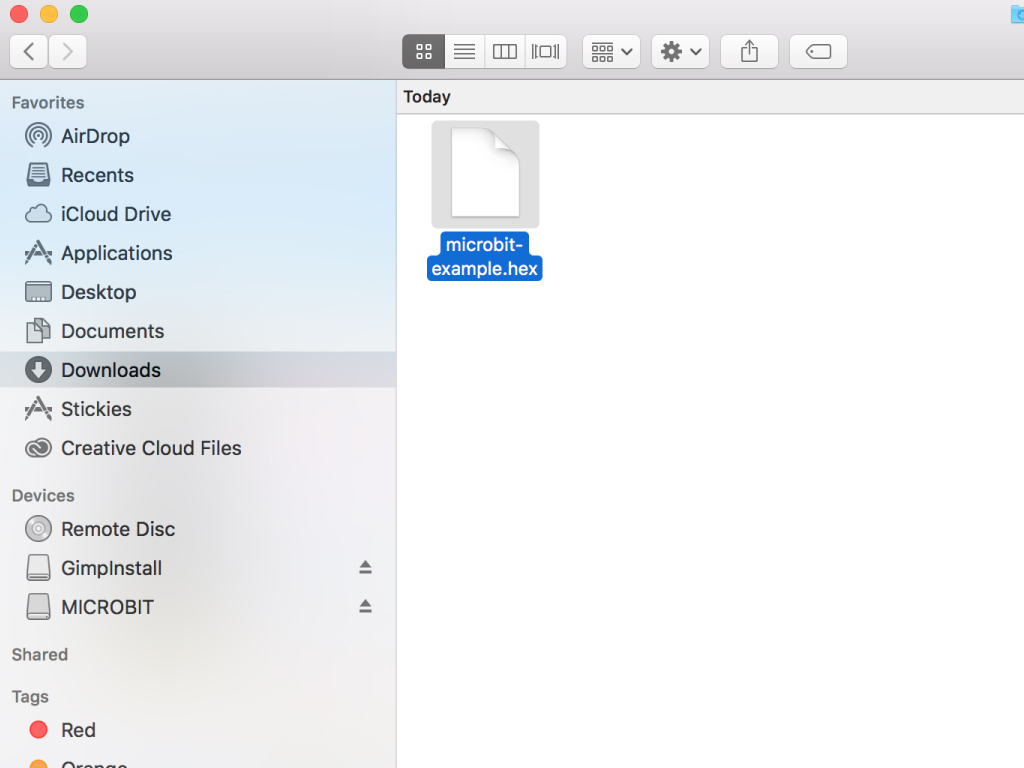
Download the hex file and copy across to the micro:bit
To copy the files across, the micro:bit must be plugged in, not the micro:car board. The USB port of the micro:car is only used to charge the battery and it is not for programming.
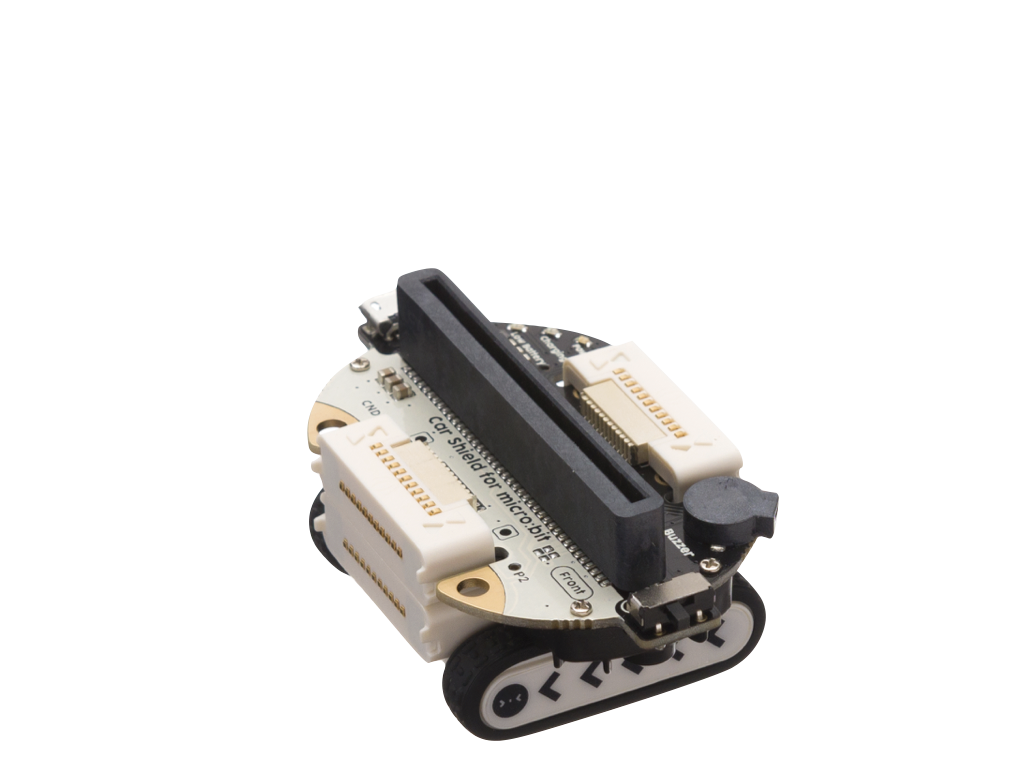
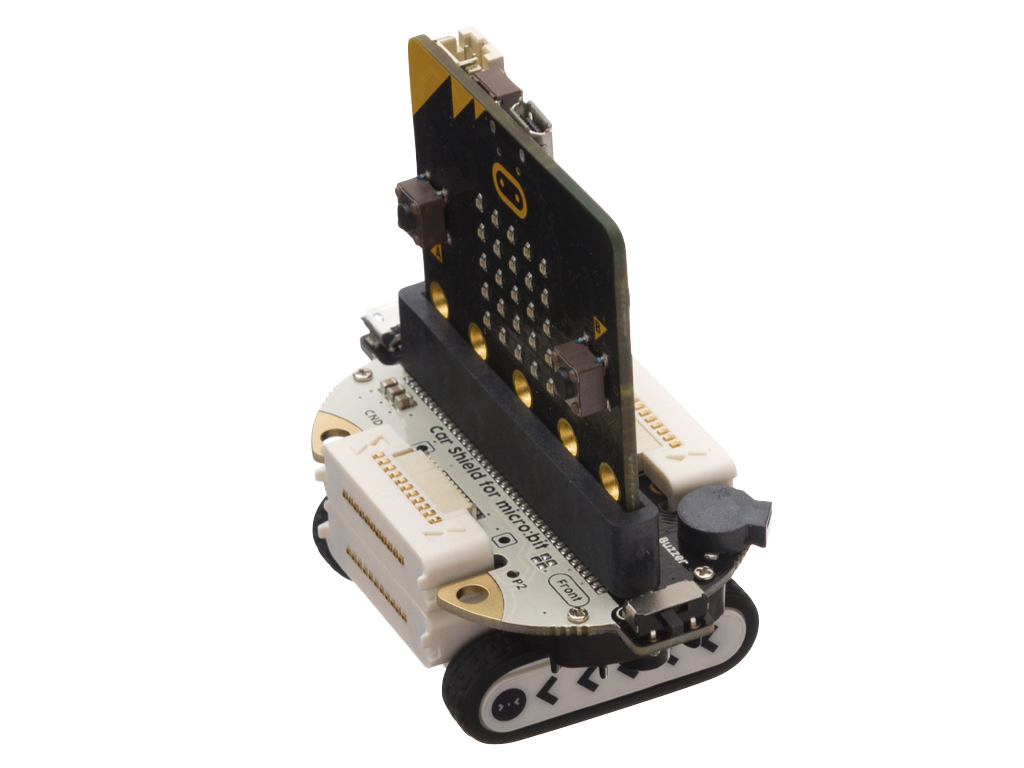
Next, place the micro:bit into the slot.
Add the blue line follower module to the front of the bot, making sure that it is also on the lowest connector.
Lastly, turn on the power switch on the left hand side of the mounting board
We have completed our robot. Place it on a line and watch it go!
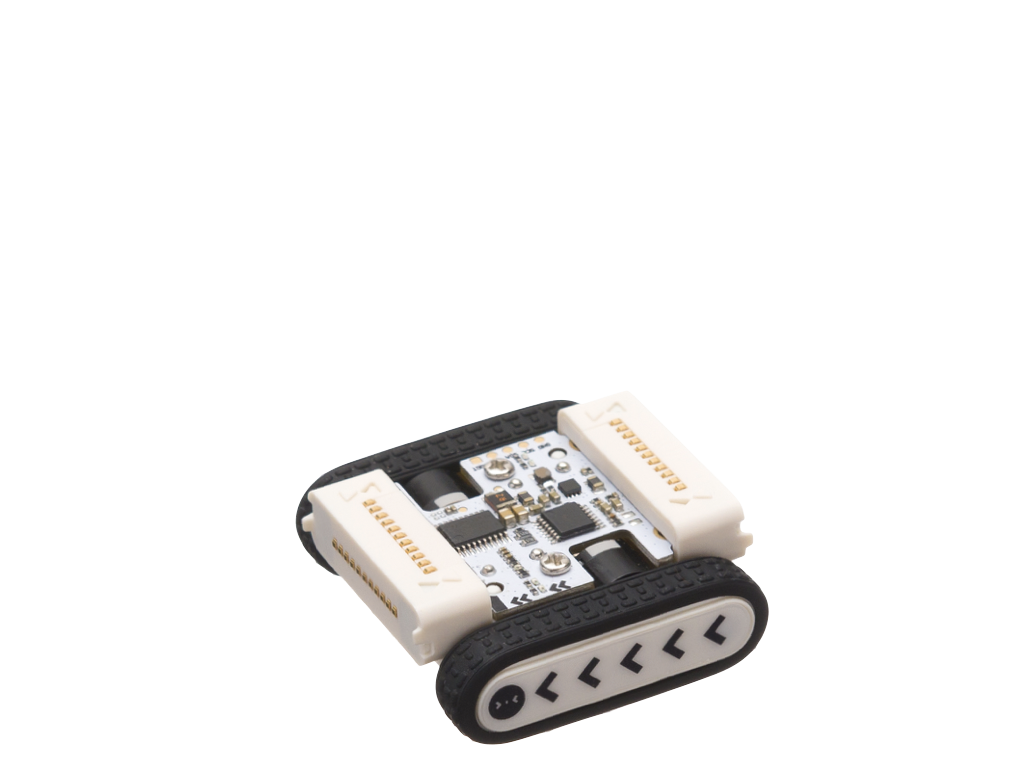
The final step is to build the Grove Zero micro:car. Begin by getting the motor base (the one with the tracks) and connecting the battery/micro:bit mount on-top.
Note that this piece is dependent on the orientation.
The white part of the board must face the front of the robot (the direction of the arrows on the side are pointing).
Without the correct orientation, the robot will not do anything!
The battery is located underneath the board and is surrounded by black plastic.