Create a Doorbell with micro:bit
Use a push button and buzzer module to create a simple doorbell
Written By: Cherie Tan
Difficulty
Easy
Steps
11
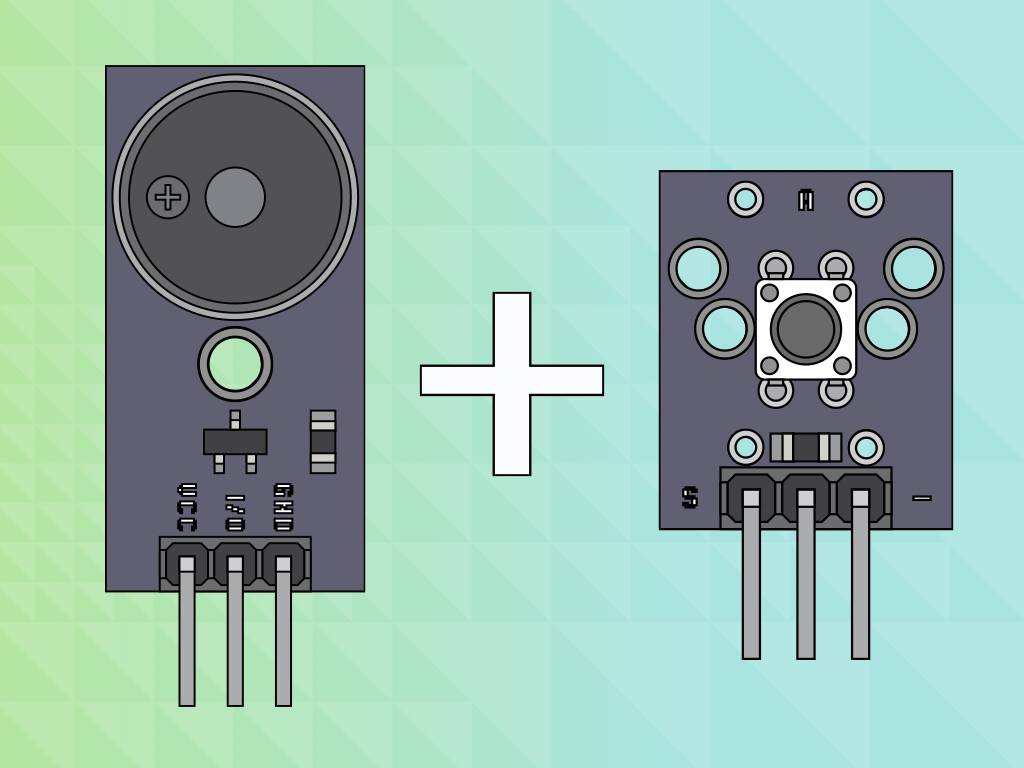
While the micro:bit has its own on-board pushbuttons, to play any sound you will need an external speaker or buzzer.
In this guide, we will create a simple doorbell using an external pushbutton and a buzzer module. We will also use a second micro:bit as a handheld device that will notify you when someone has pressed the doorbell.
Learn the basics and go on to customise your own build!
input.onPinPressed(TouchPin.P1, function () {
    basic.showLeds(`
        . . . . .
        . # # # .
        . # . # .
        . # # # .
        . . . . .
        `)
    music.playTone(311, music.beat(BeatFraction.Whole))
    music.playTone(247, music.beat(BeatFraction.Whole))
    basic.showLeds(`
        # # . # #
        # . . . #
        # . . . #
        # . . . #
        # # . # #
        `)
})
basic.showLeds(`
    # # . # #
    # . . . #
    # . . . #
    # . . . #
    # # . # #
    `)
Add this code to the Javascript interface in MakeCode editor.
Here, we introduced a start loop, with the code in it running only once on start up. If you pressed the reset button, the code in here will run again.
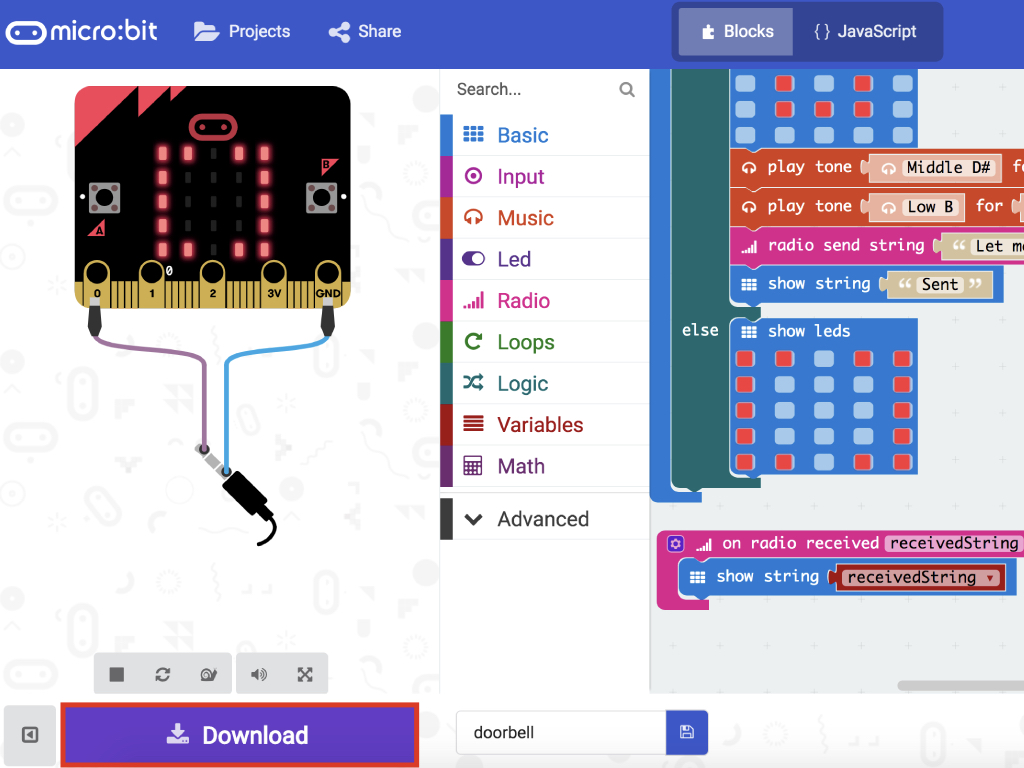
input.onPinPressed(TouchPin.P1, function () {
    basic.showLeds(`
        . . . . .
        . # # # .
        . # . # .
        . # # # .
        . . . . .
        `)
    music.playTone(311, music.beat(BeatFraction.Whole))
    music.playTone(247, music.beat(BeatFraction.Whole))
    radio.sendString("Let me in!")
    basic.showLeds(`
        # # . # #
        # . . . #
        # . . . #
        # . . . #
        # # . # #
        `)
})
radio.onReceivedString(function (receivedString) {
    basic.showString(receivedString)
})
basic.showLeds(`
    # # . # #
    # . . . #
    # . . . #
    # . . . #
    # # . # #
    `)
What if you've missed the sound of the door bell or are away from your room or house or wherever you have installed the doorbell system? Wouldn't it be handy to have the micro:bit send you a message on a handheld device? If you have a second micro:bit lying around, use this code in the Javascript interface. Otherwise, please move to the final step and upload the previous code.
The new code that comes after "play tone Low B for 1 beat" sends a message by radio to any nearby micro:bit devices. When the pushbutton is pressed, a string of "Let me in!" is now sent to the second micro:bit device.
Connect the micro:bit to your computer via a microUSB cable
Click on the Download button over in the MakeCode editor
Find the hex file in the Downloads folder
Open up Finder on the MacOS or Explorer on Windows, and drag the hex file into MICROBIT under 'Devices' on the macOS.
Watch the micro:bit flash for a few seconds as the code is uploaded.
Test your micro:bit doorbell by pressing the button. Congratulations, you've created a simple doorbell using the micro:bit and a few little modules!