SNES controller for Retropie
Quick-start guide on how to configure controllers for Retropie
Written By: Cherie Tan
Difficulty
Easy
Steps
5
Retropie supports many popular controllers out of the box.
This guide will show you how to configure the SNES-styled controller included in The Gamer's Kit for Raspberry Pi.
Complete this guide to start retro gaming on the Raspberry Pi.
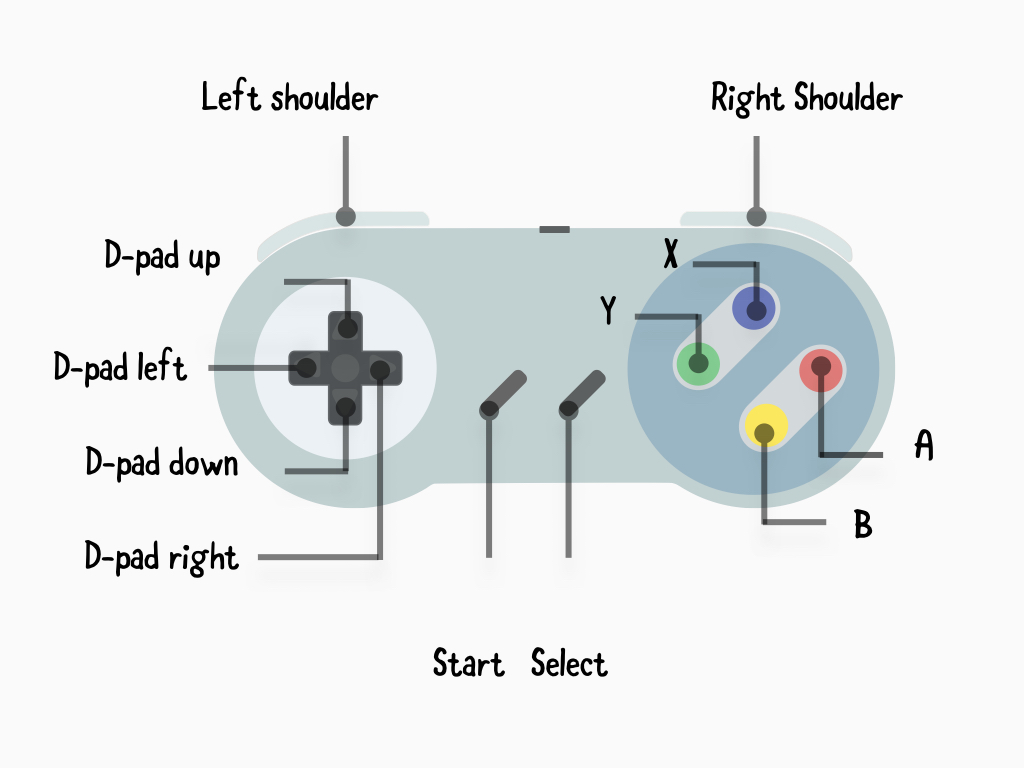
Included in The Gamer's Kit for Raspberry Pi is an SNES-styled game controller.
It has 12 buttons in total. That's enough buttons to play many retro games on various emulators for GBC, GBA, NES, SNES etc.
It has 12 buttons in total. That's enough buttons to play many retro games on various emulators for GBC, GBA, NES, SNES etc.
The buttons are:
- D-pad up
- D-pad down
- D-pad left
- D-pad right
- Start
- Select
- A
- B
- X
- Y
- Left shoulder
- Right shoulder

Retropie is an application for retro gaming on the Raspberry Pi and other boards such as the Odroid as well as on PC.
The microSD card included in the kit has Retropie already pre-installed.
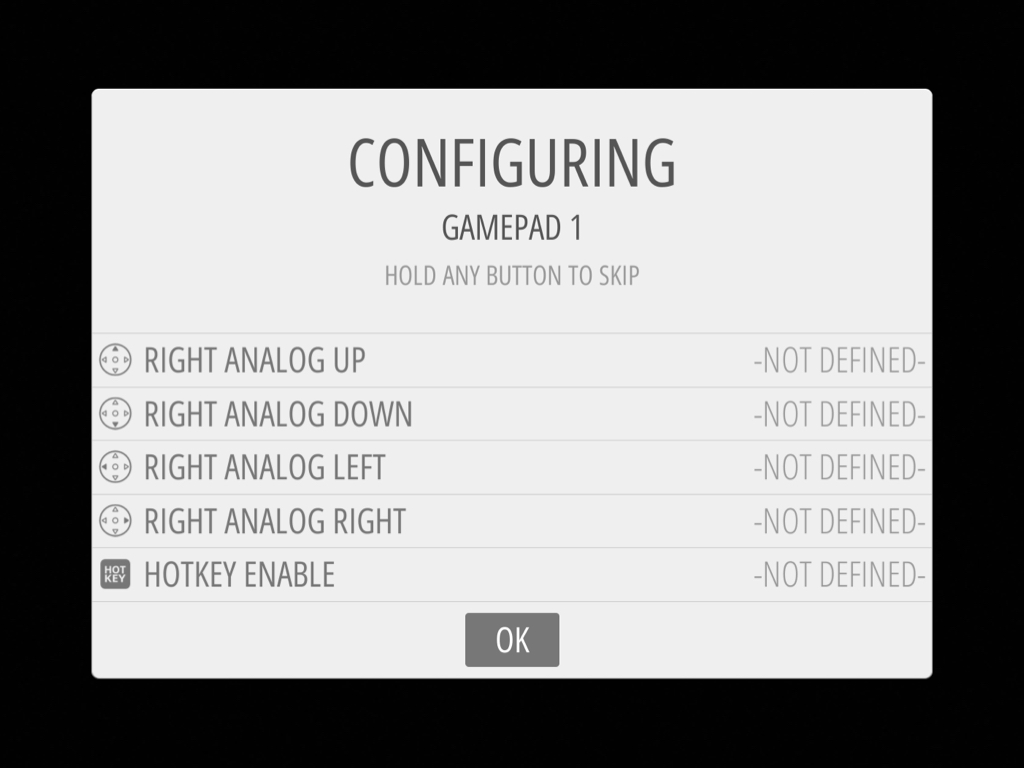
As Retropie has already been pre-installed, you will see the Retropie splash screen on boot up.
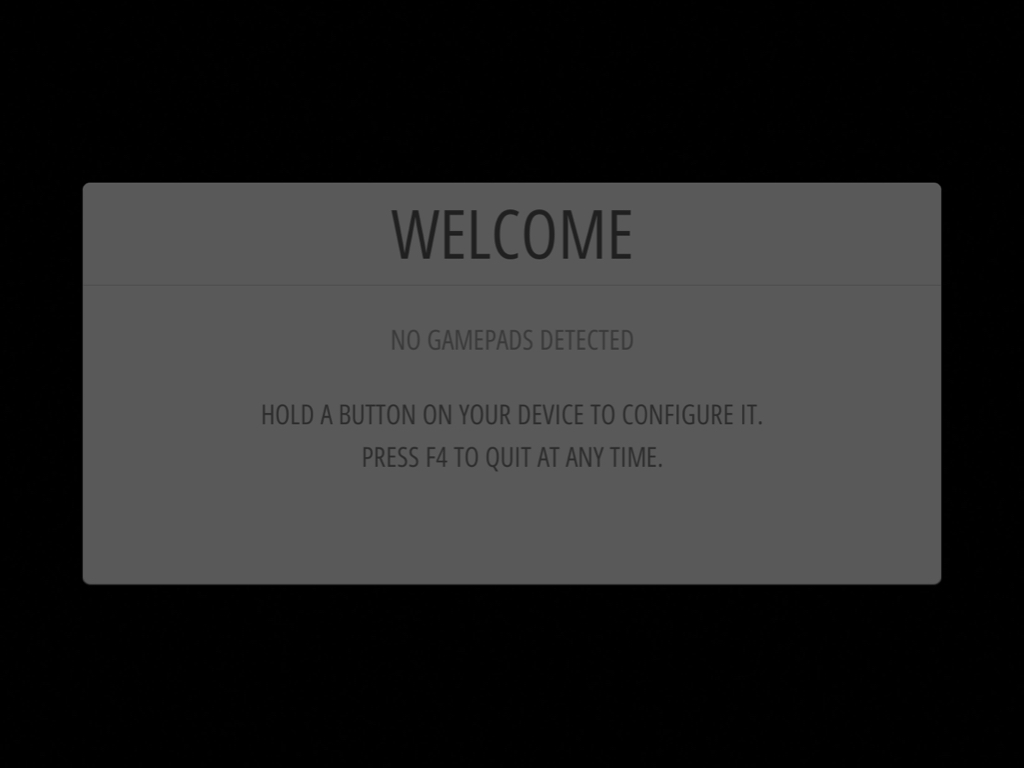
After the splash screen, you will see 'WELCOME'. This is the menu that will take you through configuring the controls.
Hold down any button on your controller or keyboard and the name of it will appear. "... GAMEPAD DETECTED" will appear at the top.
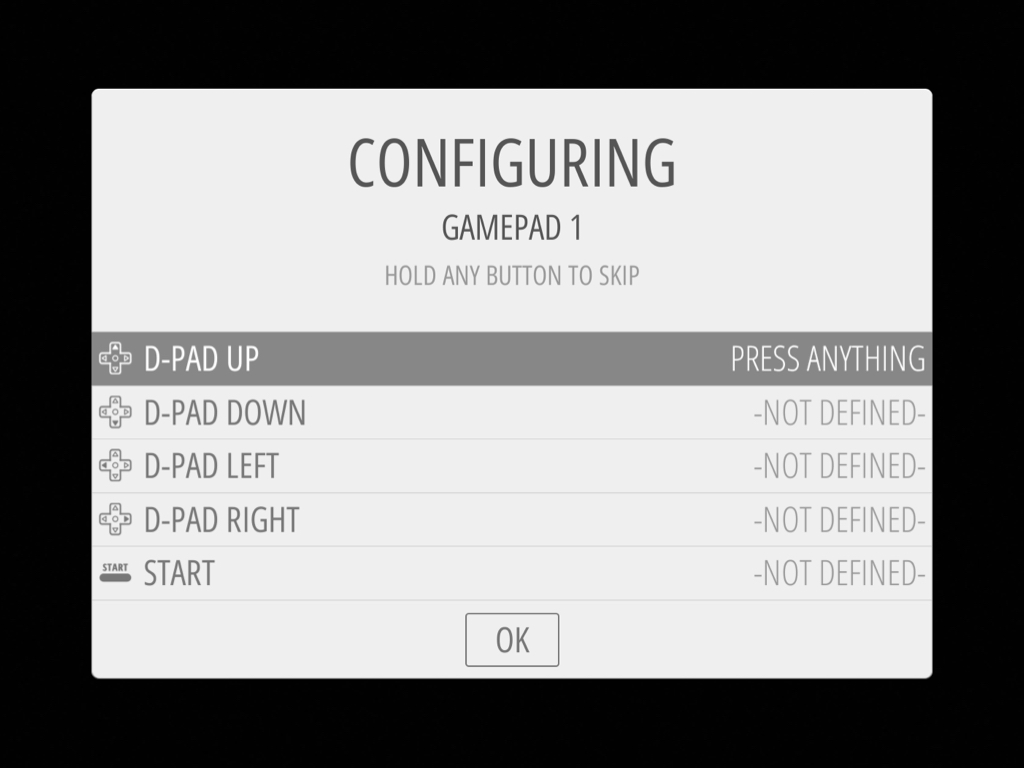
Follow the onscreen instructions to configure the game controller.
If there are not enough buttons on your controller (the SNES controller in the kit has 12 buttons), just hold down ANY button to skip a control. Finally, when you get to the 'OK', press the button which you have configured as "A"
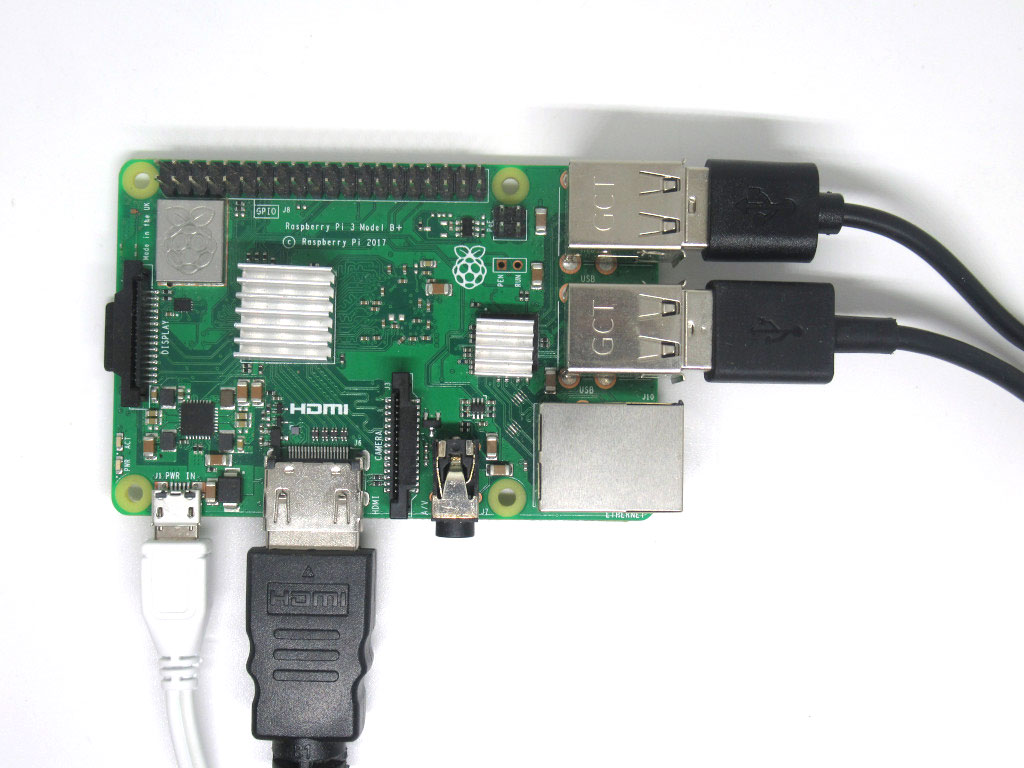
If you would like to set up more controllers, connect another controller to the Raspberry Pi's USB port.
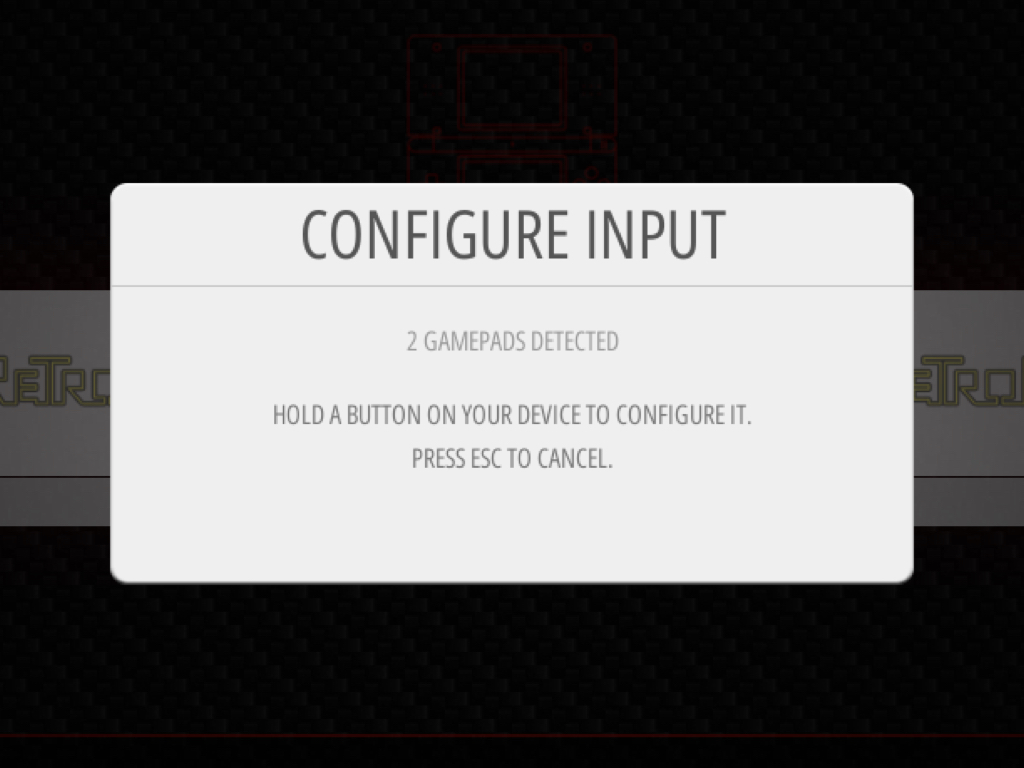
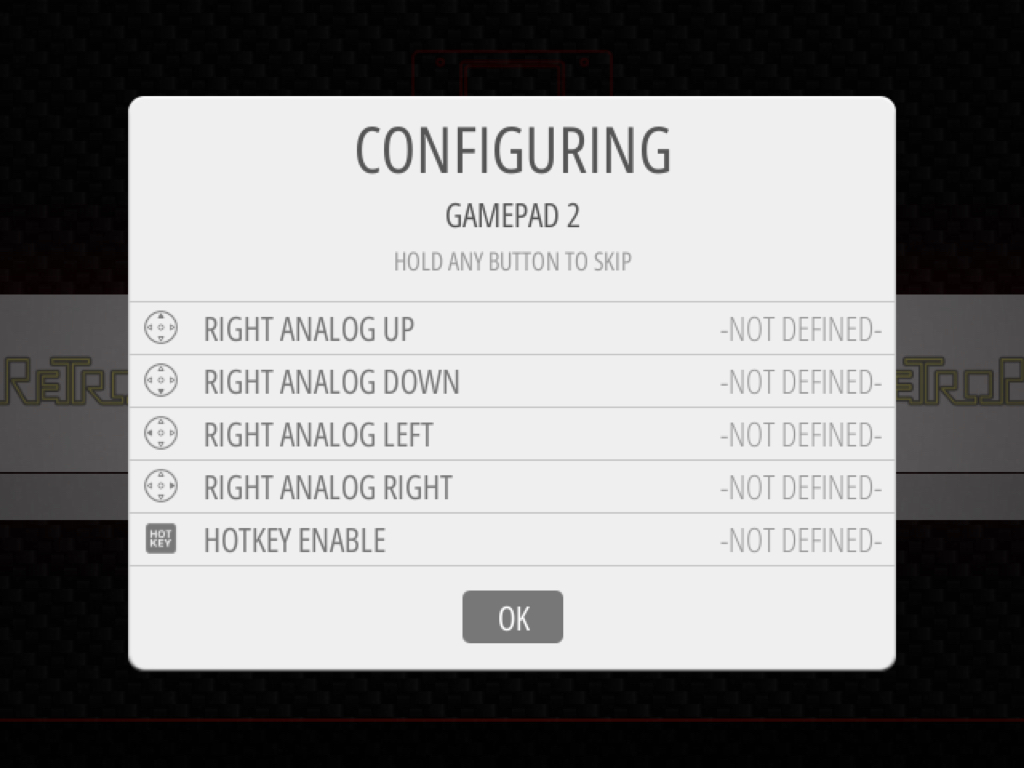
Press the 'Start' button
Select 'Configure Inputs'
Select 'Yes'
Hold down any button on the second controller
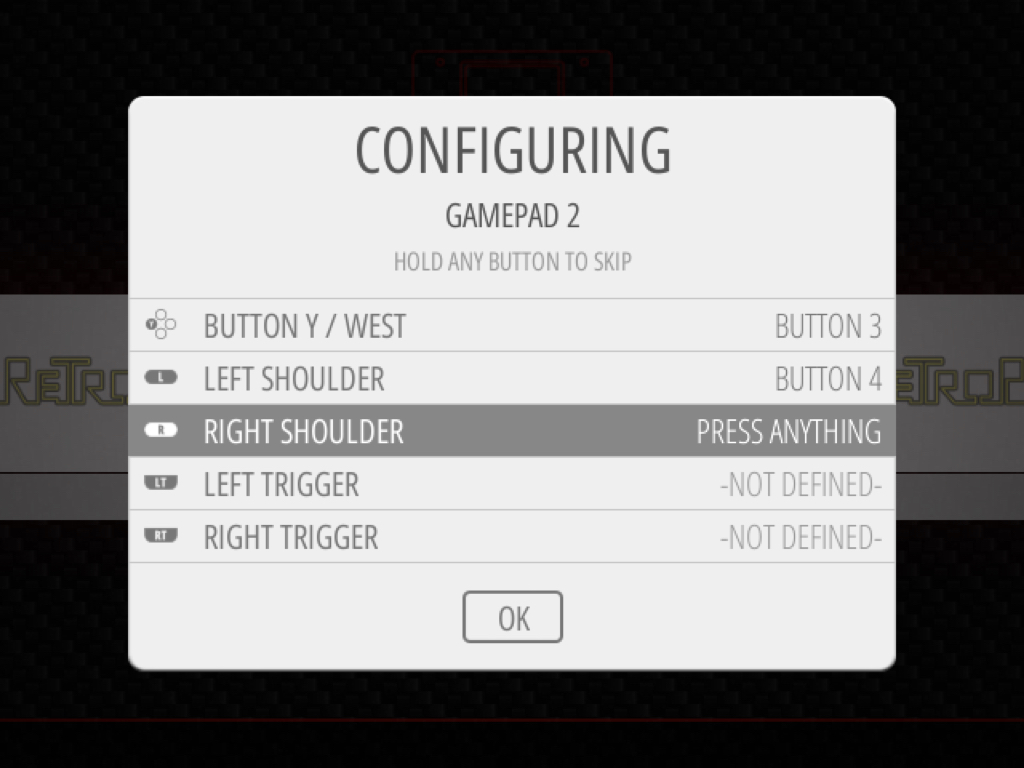
Map the button configurations
The SNES controller has 12 buttons, and will not cover every control listed in the configurations. Just hold down ANY button to skip a control.
When you get to the 'OK', press the button which you have configured as "A"