How to install Pi-hole
Install Pi-hole for the Raspberry Pi, includiung how to point Windows and Mac devices to the Pi-hole for DNS
Written By: Cherie Tan

Difficulty
Easy
Steps
7
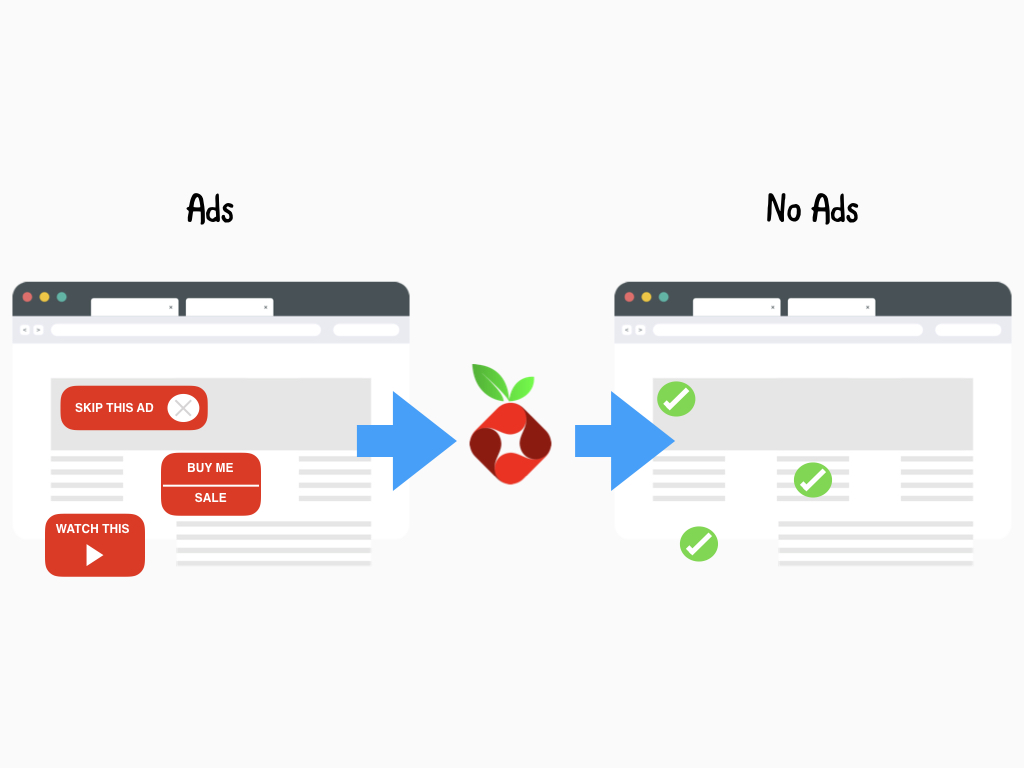
Tired of intrusive ads slowing down your browsing? Wish you could block them on all your devices at once? Look no further than Pi-hole! This clever software acts like a bouncer for your internet traffic, filtering out those pesky ads before they even reach your devices.
Pi-hole isn't just another browser extension. It's a network-level ad blocker that works on your Raspberry Pi, creating an ad-free zone for your entire network. Faster browsing, improved security, and enhanced privacy – all within your grasp! Including how to point Windows, and Mac devices to Pi-hole for DNS.
This guide will take you step-by-step through installing and setting up Pi-hole on your Raspberry Pi. Say goodbye to annoying ads and hello to a cleaner, more secure internet experience!
Think of Pi-hole as a bouncer for your internet traffic. It acts like a DNS (Domain Name System) server, translating website names into internet addresses. When a device on your network requests a website, Pi-hole intercepts the request. If the website is known for serving ads, Pi-hole acts like a black hole, silently blocking the request and preventing the ad from loading. This means faster browsing and a cleaner internet experience!
Some benefits of Pi-hole:
Enhanced Performance: By blocking ads, Pi-hole reduces the amount of data your devices download, leading to faster browsing and improved overall network performance.
Some benefits of Pi-hole:
Enhanced Performance: By blocking ads, Pi-hole reduces the amount of data your devices download, leading to faster browsing and improved overall network performance.
Increased Security: Pi-hole can also block access to malicious websites, adding an extra layer of protection for your devices.
Improved Privacy: Many ads track your browsing habits. Pi-hole helps safeguard your privacy by blocking these trackers.

Pi-hole can run on various devices, but this guide focuses on setting it up on a Raspberry Pi 4.
Parts required:
Parts required:
- Raspberry Pi 4 or 5 (older models may work but with lower performance)
- MicroSD card with at least 8GB capacity
- Power supply for Raspberry Pi
- Ethernet cable (recommended for a stable connection)
Install Pi-hole:
1. Set up your Raspberry Pi: Install Raspberry Pi OS Lite (preferably the 64-bit version) on your microSD card using the Raspberry Pi Imager: https://www.raspberrypi.com/software/.
2. Connect your Raspberry Pi to your network using an ethernet cable.
3. Open a terminal window on your Raspberry Pi.
4. Run the Pi-hole installer:
curl -sSL https://install.pi-hole.net | bash
The installer will guide you through the setup process:
- Upstream DNS Provider: Choose a reliable DNS server for resolving website addresses that Pi-hole doesn't block.
- Adlists: Select adlists to target specific types of ads. The default recommendations are a good starting point.
- Web Interface Password: Set a strong password to protect access to the Pi-hole web interface for configuration and monitoring.

- Access the Pi-hole web interface: Open a web browser on any device connected to your network and navigate to http://<your_raspberry_pi_ip_address>/admin (replace <your_raspberry_pi_ip_address> with the actual IP address of your Raspberry Pi).
- Note the Pi-hole IP address: The web interface will display the Pi-hole IP address. You'll need to configure your devices to use this IP address as their primary DNS server.

- Go to Control Panel > Network and Sharing Center.
- Click on "Change adapter settings".
- Right-click on your active network connection and select "Properties".
- Double-click on "Internet Protocol Version 4 (TCP/IPv4)".
- Choose "Use the following DNS server addresses".
- Enter the Pi-hole IP address in the "Preferred DNS server" field.
- Click "OK" on all open windows to save the changes.

- Open System Preferences and go to "Network".
- Select your network connection in the list.
- Click on the "Advanced" button.
- Go to the "DNS" tab.
- Click the "+" button to add a new DNS server.
- Enter the Pi-hole IP address in the provided field.
- Click "OK" on all open windows to save the configuration.


- Test for ad blocking: Visit a website known to be laden with ads. If Pi-hole is functioning correctly, you should see significantly fewer ads, or none at all.
- Monitor Pi-hole performance: Access the Pi-hole web interface (http://<your_raspberry_pi_ip_address>/admin) to view statistics on blocked ads, overall network queries, and other useful data to gauge Pi-hole's effectiveness.
Pi-Hole is a wonderful piece of software which can help you simplify ad blocking and domain tracking. Check out the dashboard and customise Pi-Hole by adding blacklisted or whitelisted sites, and much more!