Set Up EagLED with Arduino Create
Install the plugin and set up the Arduino Create Online Editor for EagLED
Written By: Cherie Tan
Difficulty
Easy
Steps
10
The Arduino IDE isn't the only platform to program your EagLED.
In this guide, learn to set up the EagLED with Arduino Create, a one-stop shop and an integrated online platform that will enable you to write code, access content, configure boards, and share projects.
Complete this guide to program your EagLED with all your libraries and sketches available, without being limited to the one computer.
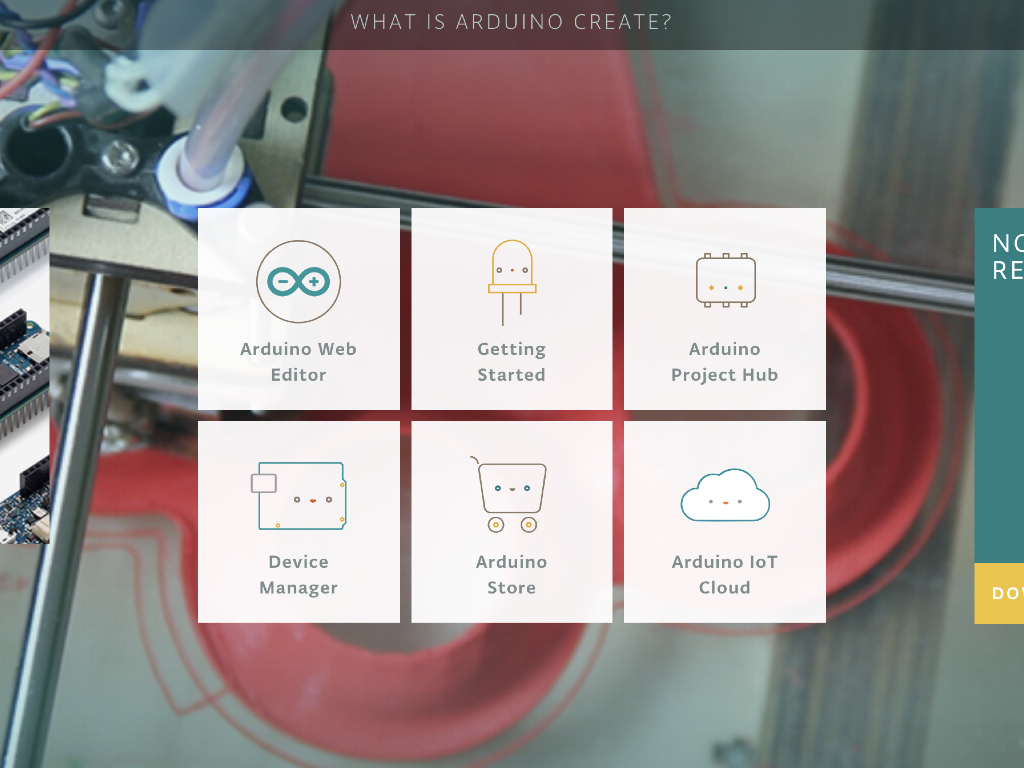
Arduino Create is an integrated online platform that enables you to write code, access content, configure boards, and share projects. Why use Arduino create? Generally, developing a fully-functional IoT device is a tedious process that may involve frequently switching back and forth between various tools and screens, from IDEs to cloud services.
While you could use the Arduino IDE, the Arduino Create Web IDE is a one-stop shop to create, collaborate and communicate with your projects. So, let's get started! Go to : https://create.arduino.cc/

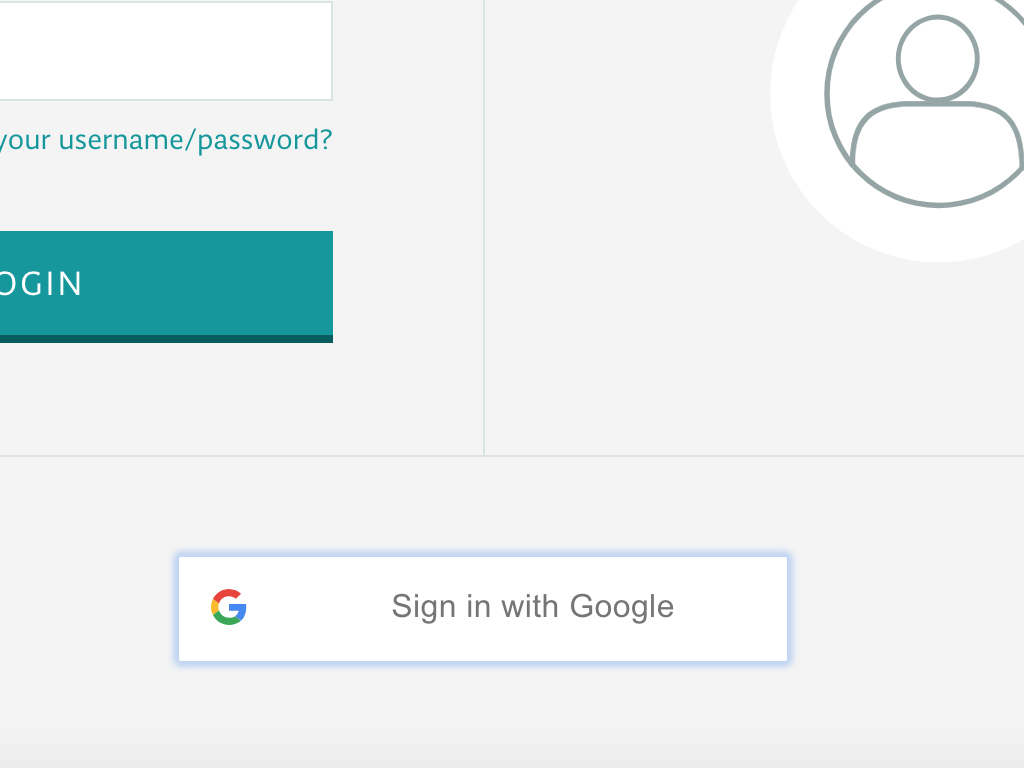
Click on the sign up button up the top right-hand corner
Click on 'Sign in with Google' button
Choose an email account
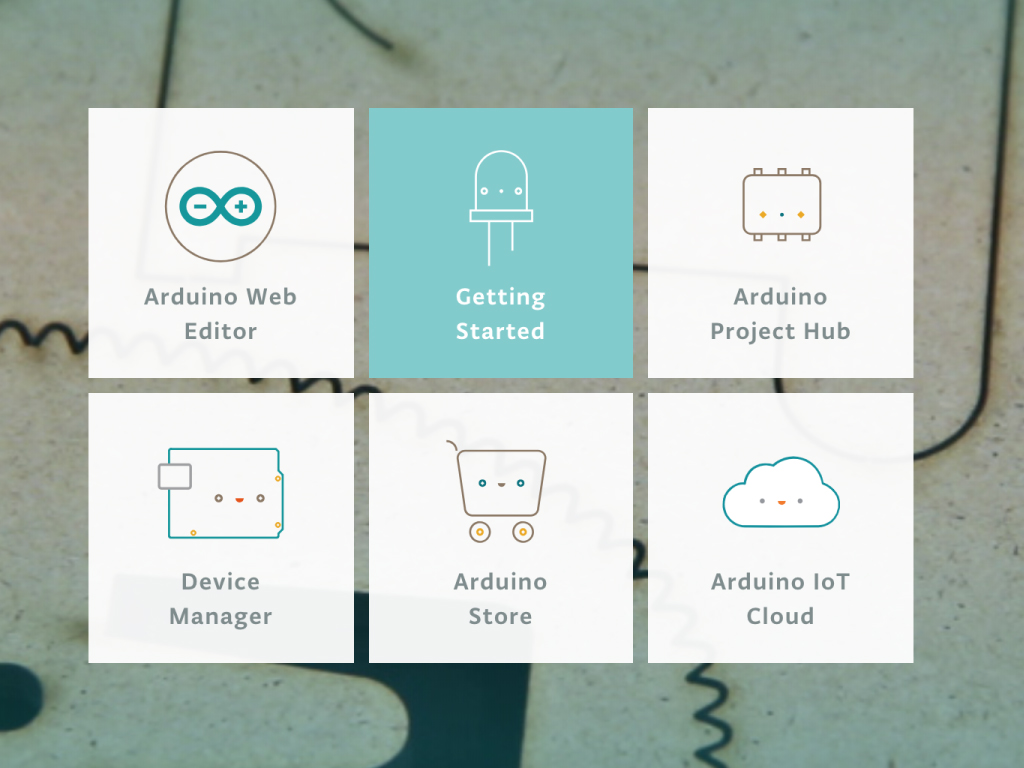
Back to the Arduino Create main page: https://create.arduino.cc/
Click on the 'Getting Started' button
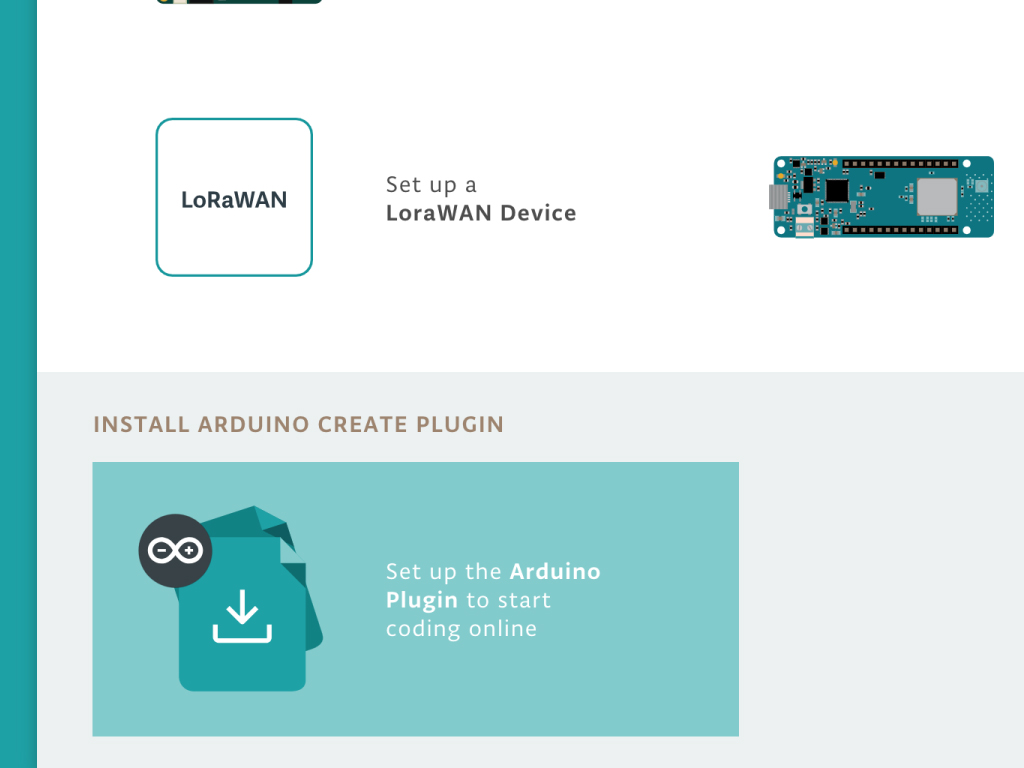
Scroll down the page until you see 'Install Arduino Create Plugin'
Click on the 'Set up the Arduino Plugin to start coding online' button
Click on the 'Next' button
Select the operating system that you are using
Then click on the 'Download Plugin'
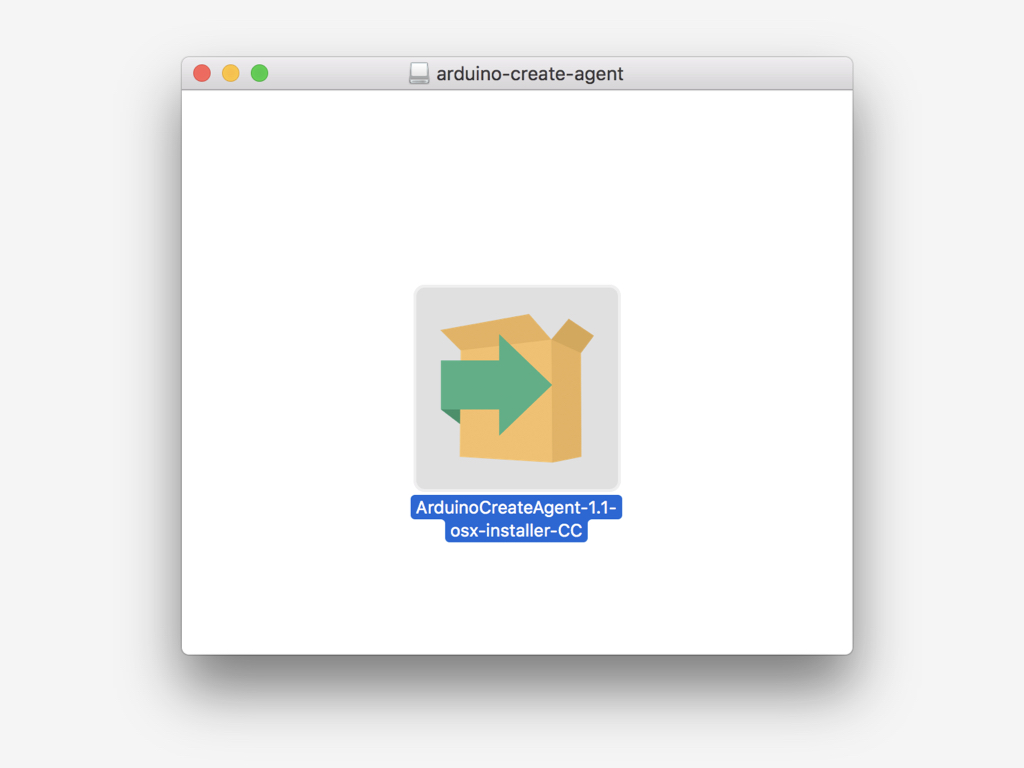
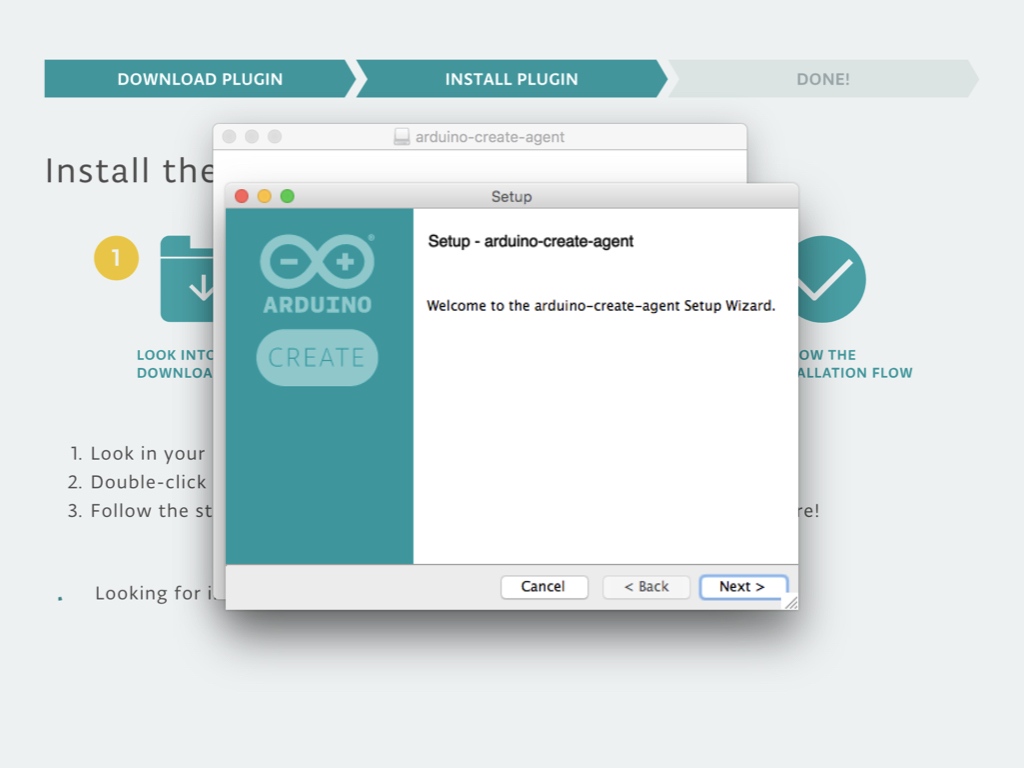
In this guide, a MacOS is used and a "ArduinoCreate....dmg" file was downloaded
Double-click on ArduinoCreate....dmg.
Then double-click on ArduinoCreateAgent-1.1-osx-installer-cc
If you are not using a MacOS, run the installer file for your operating system.
Click on the next button
Run through the installer instructions
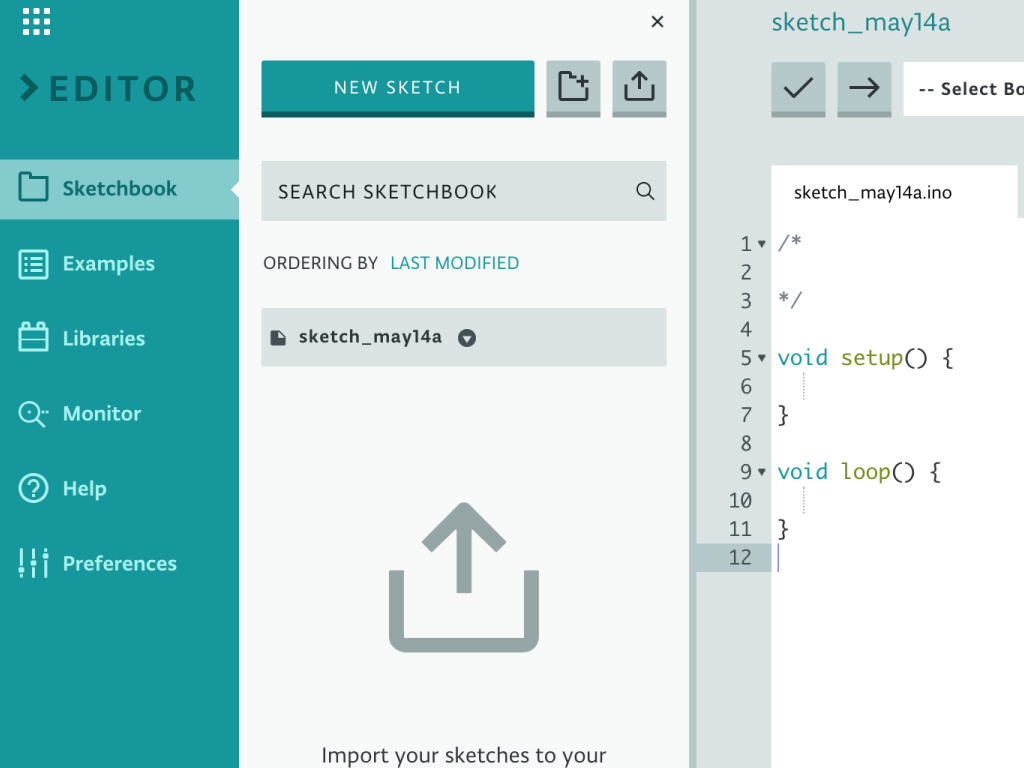
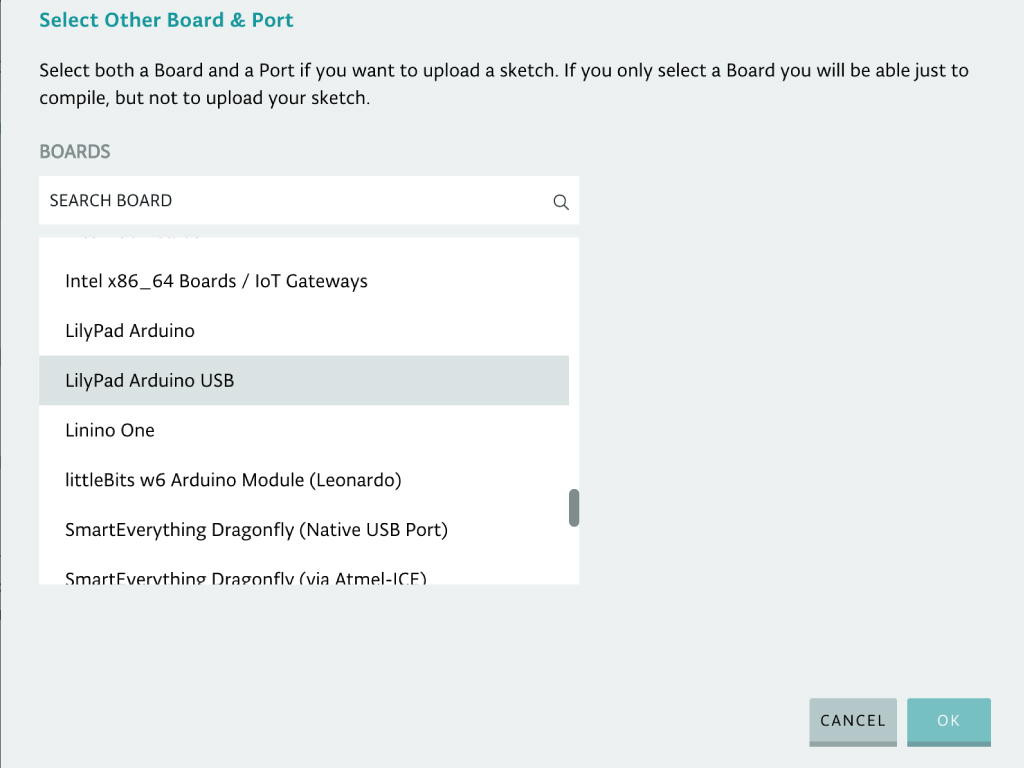
Connect EagLED to the computer via a microUSB cable
Click on '-- Select Board or Port--'
Select 'Lilypad Arduino USB'
Click the 'OK' button
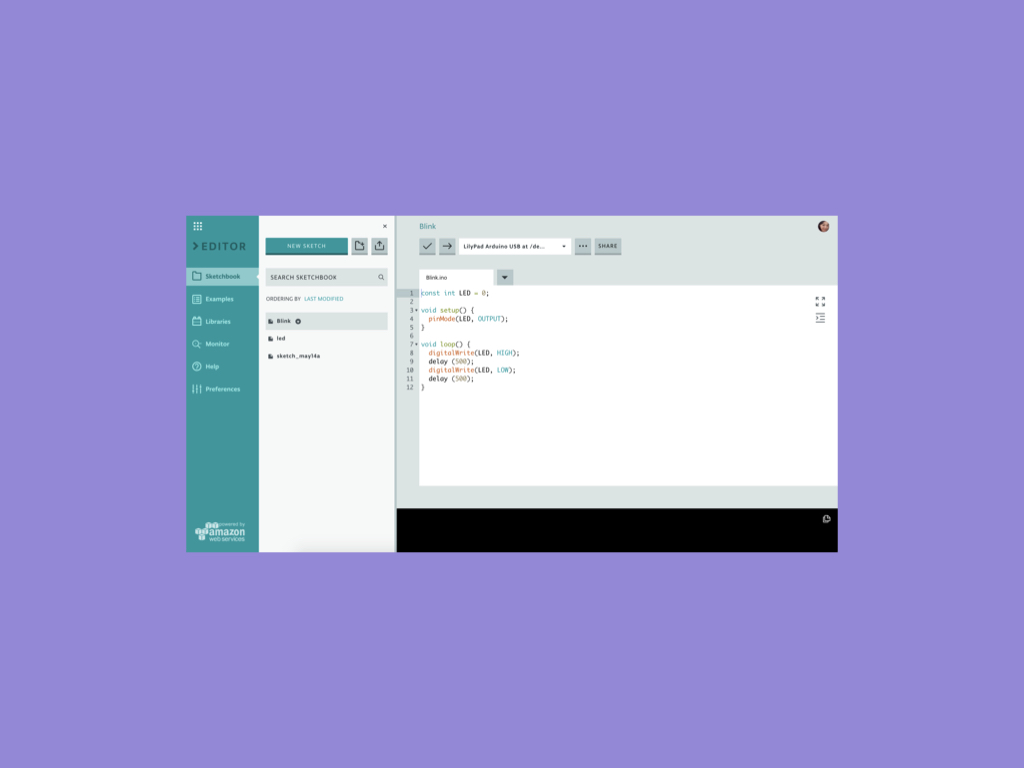
const int LED = 0;

void setup() {
  pinMode(LED, OUTPUT);
}

void loop() {
  digitalWrite(LED, HIGH);
  delay (500);
  digitalWrite(LED, LOW);
  delay (500);
}
We'll upload a sketch to the EagLED. Copy and paste this code into the Arduino Create IDE.
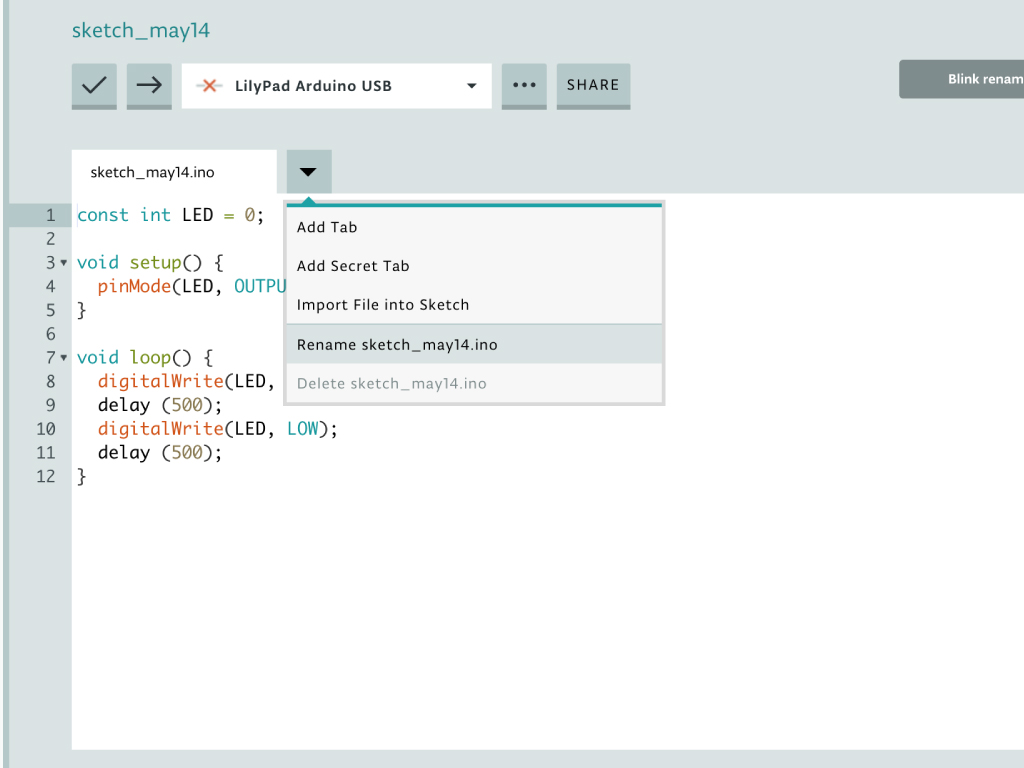
Click on the drop down arrow next to the sketch name.
By default, the sketch name will be the sketch_month day i.e. sketch_may14
Click on 'Rename ...ino' and name it 'Blink.ino'
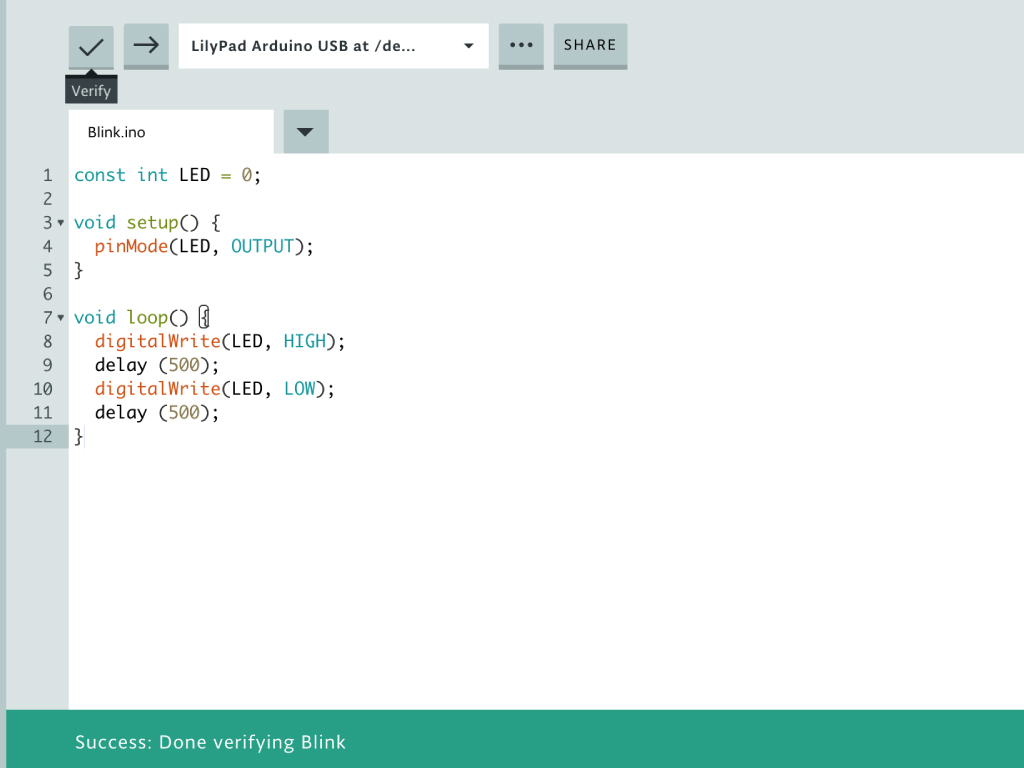
Click on the 'Verify' button and when complete, you should see 'Success: Done verifying Blink'

