Connect Arduino to Processing
Learn to send data from Arduino to Processing
Written By: Cherie Tan

Difficulty
Medium
Steps
8
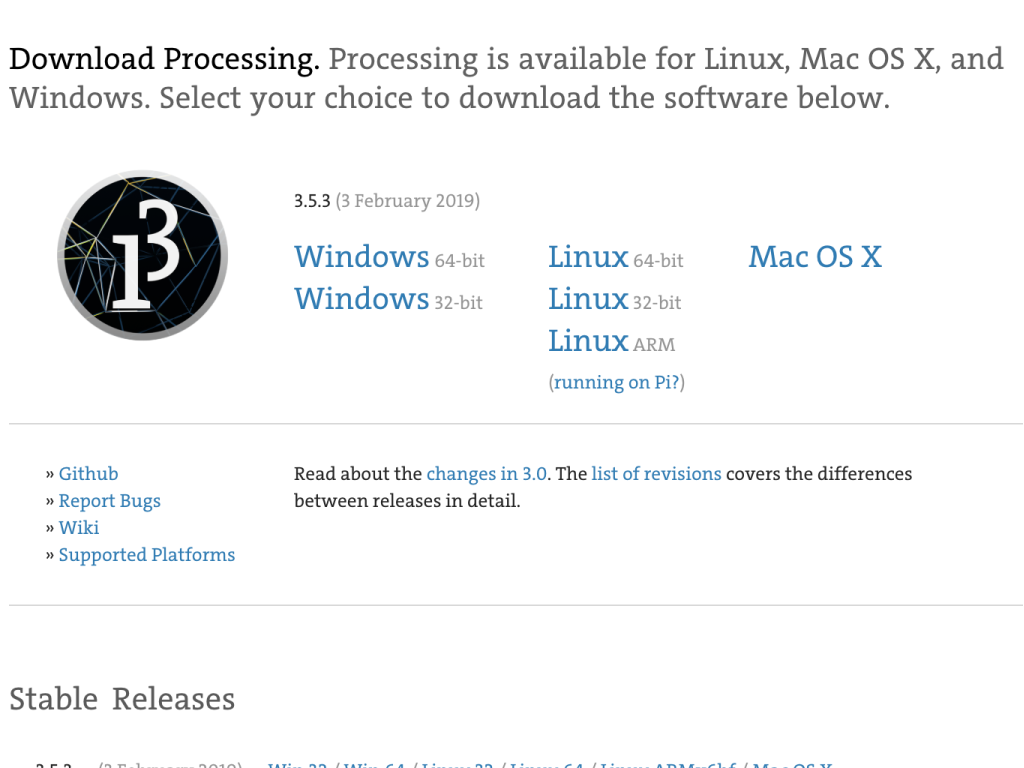
Processing is a programming language and tool to create visual programs, you can create artwork, prototype interfaces and much more. It's also possible to use the Arduino IDE with it.
In this guide, you will learn to set up the Arduino IDE and Processing, and then send data from Arduino to Processing.
Complete this guide to get started. There are a wide variety of uses, for example, you could use them to visualise sensor data, or for virtual reality applications.

First, you'll need to have the Arduino IDE installed. If not, please follow our guide on how to set up the Arduino IDE.
void setup(){
  //initialize serial communications at a 115200 baud rate
  Serial.begin(115200);
}
Open up the Arduino IDE and start a new Arduino sketch.
In void setup(), copy and paste the following code.
This is where we'll set it to communicate with the computer via serial communication.
Serial.begin() is used and set at a baud rate of 115200.
Serial.begin() is used and set at a baud rate of 115200.
void setup(){
  //initialize serial communications at a 115200 baud rate
  Serial.begin(115200);
}

void loop(){
  //send the string 'Hello!' over serial port
  Serial.println("Hello!");
  //wait 500 milliseconds
  delay(500);
}
To start off, we'll send the string 'Hello!' over to the serial port as long as the program is running. Make sure to use Serial.println() instead of Serial.print().
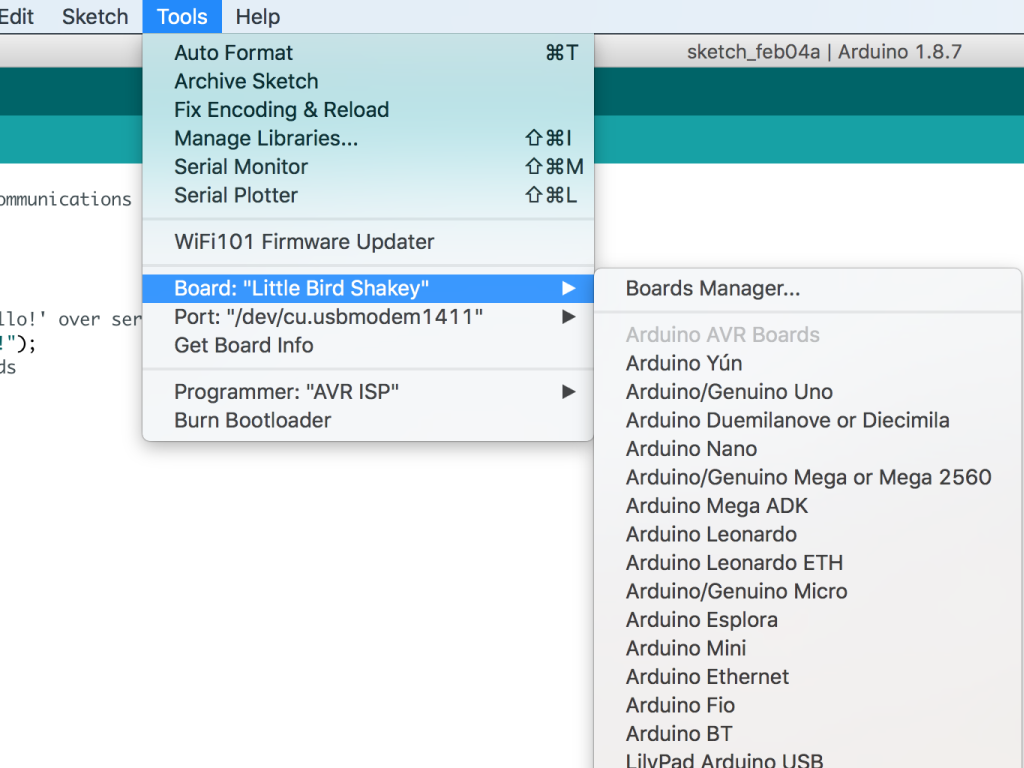
Next, connect your Arduino to the computer
Click on Tools > Board Type
- In this guide, we are using the Little Bird ShaKey, but you should choose the board that you are using.
Click on Tools > Serial Port
Verify and upload the code onto the Arduino.
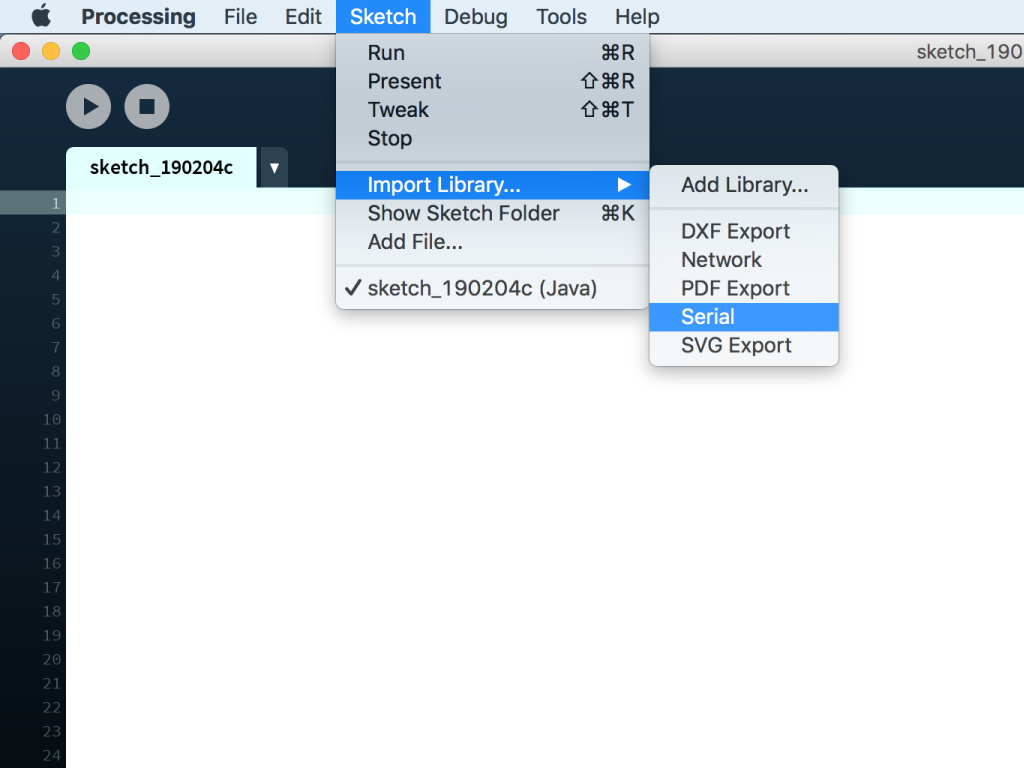
Open up Processing IDE and click on Sketch > Import Library... > Serial
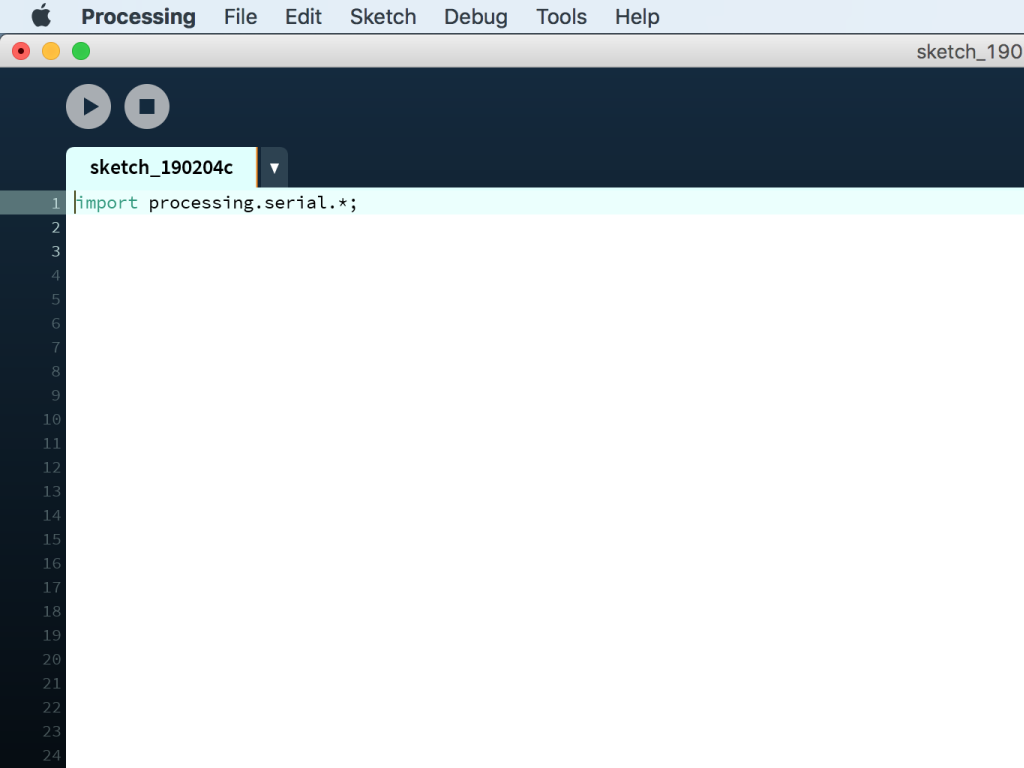
You should now see import processing.serial.*;
You should now see import processing.serial.*;
import processing.serial.*;
Serial port;    // Create an object from Serial class
String val;     // Data received from the serial port

void setup() {
  port = new Serial(this, "/dev/cu.usbmodem1411", 115200);
}

void draw() {
  if ( port.available() > 0)
  { // If data is available,
    val = port.readStringUntil('\n');         // read it and store it in val
  }
  println(val); //print out in the console
}
Copy and paste the code into Processing.
In the Arduino IDE, setup() and loop() are used. But in the Processing IDE, setup() and draw() are used instead.
In this guide, we are using the Mac OS:
1. To find out the port number for yours, open a terminal window on Mac, then type ls /dev/*
2. Look for /dev/tty.* where * is the port number
3. Change "/dev/cu.usbmodem1411" to your port number.
If you are using Windows:
On Windows machines, this would be "COMX", replace X with the number of the COM port that your Arduino is connected to.
Make sure that 115200 is used here as well so that the Arduino and Processing are communicating at the same rate!
Over in draw(), we're listening in on the serial port. If there is data available, it'll be read and placed in the variable, val. Then it is printed to the console.
Previously, we used Serial.println() in the Arduino sketch; It prints data to the serial port, followed by a carriage return character ('\r') and a newline character ('\n'). This is why it was used. In our Processing code, the newline character is used to terminate the readStringUntil() function.

